When to Use Graduated Neutral Density Filters
With the advance of technology, cameras have come closer to working as well as the human visual system. The human eye is capable of extreme resolution, instant, extremely accurate autofocus (at least while you're young), the ability to go from super-wide to extreme close-up in a moment and instant, automatic white balance. What photographers may value more than the other capabilities, however, is how that visual system handles extreme ranges of light (contrast).
Today's Nikon digital cameras offer a number of technologies that allow you to take great photographs in lighting situations where there is a very wide dynamic range. D-Lighting darkens areas that are too light and lightens areas that are too dark in an image after you've shot it. Active D-Lighting optimizes high contrast images to restore shadow and highlight details as you're taking the photograph. Built-in HDR or Backlight HDR modes (available in select Nikon camera models) do basically the same thing—they take a scene with extreme contrast, and create an image where there is detail across the entire dynamic range.
These are great technologies, built-into cameras for the purpose of taking better pictures. However, for purists, manually exposing an image and using graduated neutral density filters to bring down the dynamic range is often the chosen route.
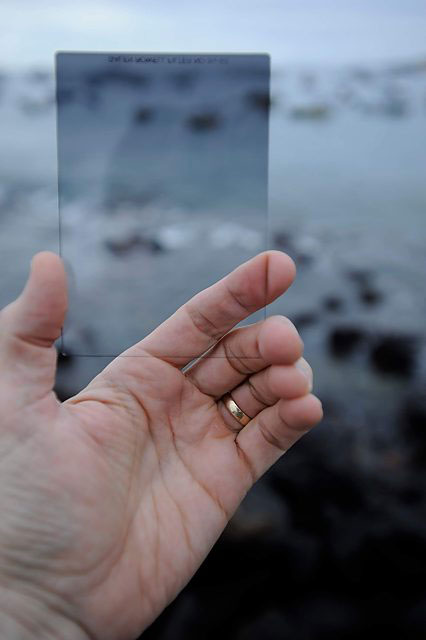
Holding the graduated neutral density filter up, you can see how the filter will darken the scene.
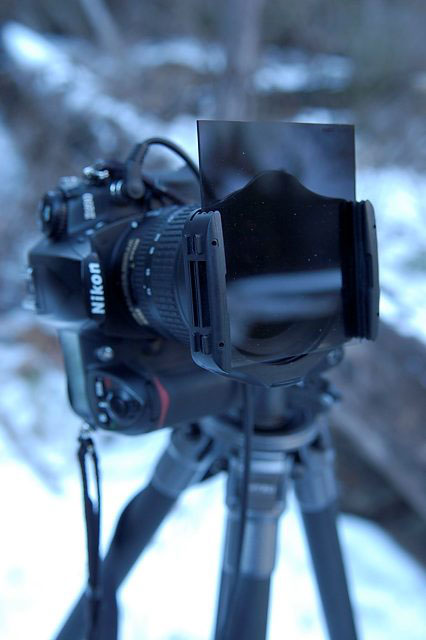
The graduated neutral density filter is made to slide into a filter holder which attaches to the camera's lens.
Photographers talk about light in terms of "stops." A "full stop" could mean double or half the light; as in open up a full stop (let more light in by one f/stop) or close down a full stop (decrease the amount of light reaching the camera's image sensor by one f/stop). Cameras are able to adjust the amount of light they let inside by using the aperture (f/stop) and shutter speed.
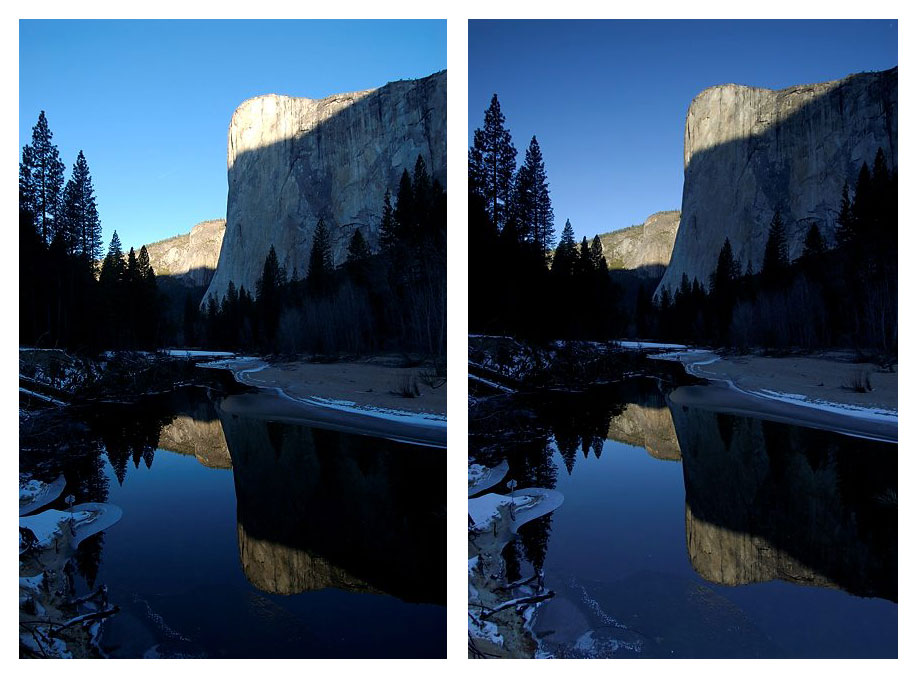
Human vision has a range of about 15 stops. Cameras, whether they use film or digital sensors, are limited to about six stops of light that they can record well. Anything outside that range records as either black or white, with no visible details. When this happens to highlight or bright areas, we say the highlights are blown out. When it happens in the shadows, we say the shadows are blocked up. In those cases photographers usually choose to let the dark areas go black, to keep detail in the other areas. That's one of the exposure choices they have to make, usually with exposure compensation (EV) or exposure manually.
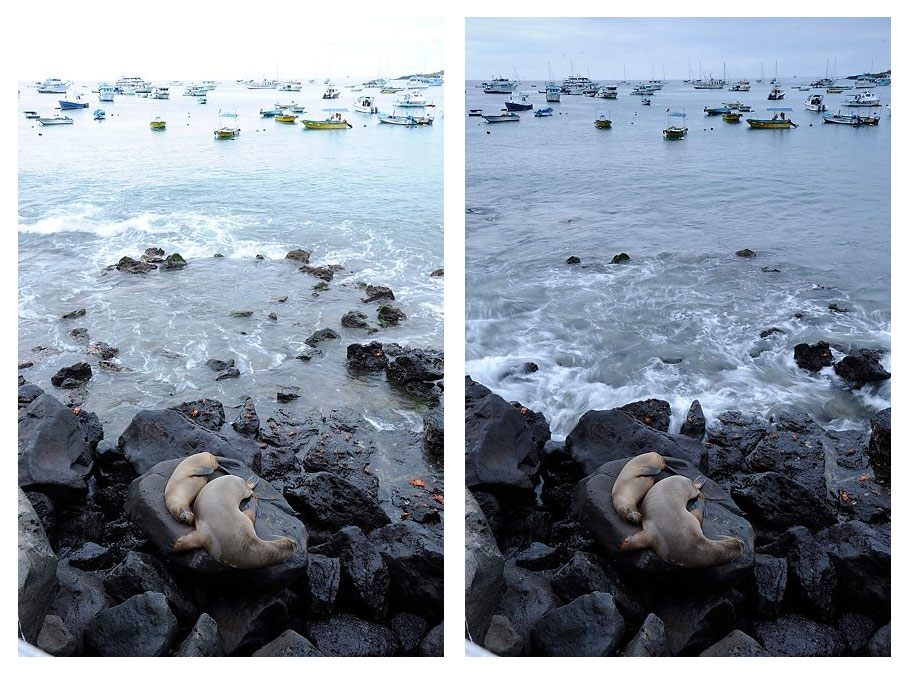
Over the years photographers have used one method more than any other to compensate for that range of light: the use of graduated neutral density filters. A neutral density (ND) filter looks like a gray piece of glass or plastic that's placed in front of the lens. Designed properly, it doesn't change the color of the scene in any way but simply lets in less light. These filters have been used for a long time to allow photographers to shoot at slower shutter speeds, while using a low ISO. Doing so creates the dreamy, cottony-look to moving water. What makes a graduated neutral density filter special is that it's a neutral density filter that goes from light to dark. And that helps photographers work with scenes of extreme exposure differences.
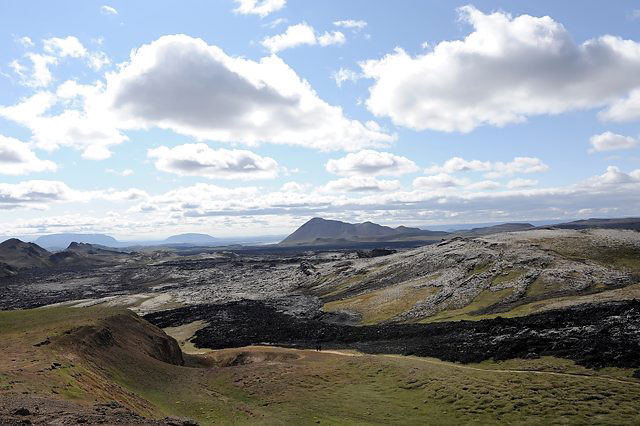
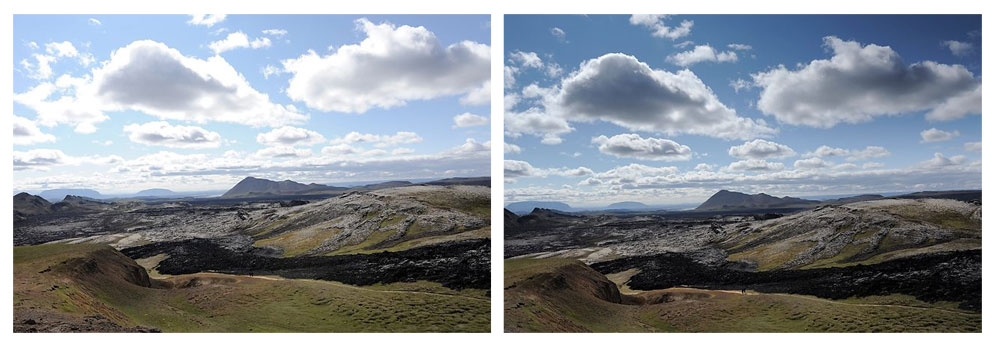
For instance, let's say you're looking at a landscape where the sky is much brighter than the land beneath it. To make that picture, you'd have to expose either for the sky, and let the land go dark (underexpose), or expose for the land, and let the sky be too bright (overexpose). With the addition of a graduated neutral density filter, by putting the darker part of the filter over the sky you have a chance to expose for both the sky and the land.
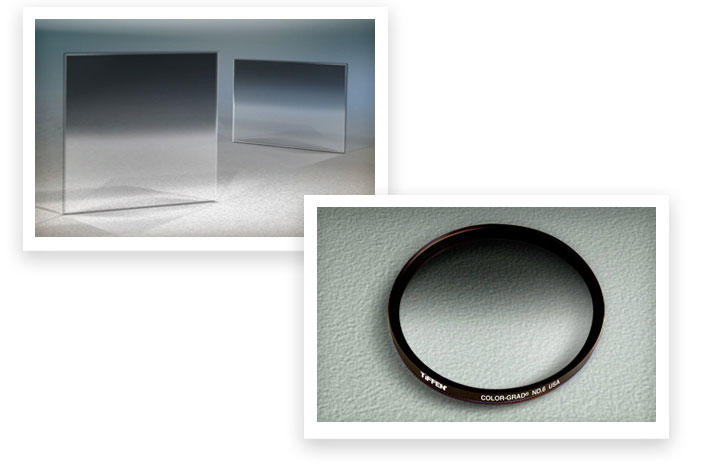
Tiffen Graduated ND filters come in a range of sizes and shapes, including screw in (r.) and square and rectangular filters that drop into a filter holder (l.). Images courtesy The Tiffen Company.
"Grads," as they're called, come in both "hard" and "soft." A hard grad makes the change from darker to lighter over a very small area. That is good if the edge where the exposure changes, is clearly defined and straight, like a horizon. A "soft" grad spreads that change over a wider area and is good when you don't have a clearly defined edge. The filters are available in different strengths. They also come in different shapes, including round filters that screw onto the front of your lens, as well as square and rectangular ones that slip into a filter holder that is attached to the front of your lens. They're made in a range of sizes, for use with small, medium and large format cameras.
Once you start using graduated neutral density filters you'll quickly find out why they're a part of every serious landscape photographer's gear. They let you do a better job of recording that special scene in front of you, to share with others.

