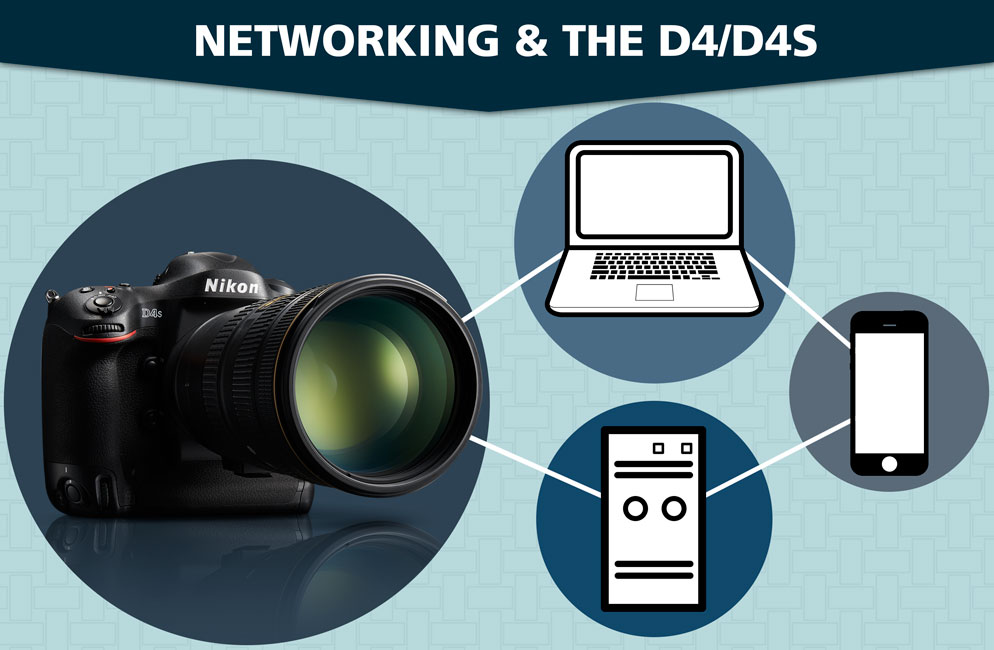
Setting Up Your D4S or D4 DSLR for Networking with the WT-5
Video Tutorial: - Learn how to connect the WT-5 wireless transmitter to the D4/D4S DSLRs and set the camera up for wireless networking.
There are a few different ways that professional photographers can connect to a computer while shooting. These include being tethered directly using a USB or FireWire cable (depending upon the camera) or using network connections to connect via an Ethernet cable or wirelessly.
For the D4 and D4S specifically, you can use either the built-in Ethernet port or the WT-5 Wireless Transmitter to connect over Wi-Fi®. In this article and accompanying video, we’ll show you how to set up and configure both options.
Getting Started
To start, you will need: your D4 or D4S, WT-5, the Wireless Transmitter Utility, your wireless router with its SSID or network name and encryption key or password, the USB cable that came with the camera and the computer you’re going to connect to.
Networking Options
The D4s offers photographers a choice between the following networking options types:
FTP upload and image transfer:
This type of connection allows you to upload existing photos and movies to a computer set up as a FTP server.
With the camera control option, you can control the camera using Nikon’s optional Camera Control Pro 2 software.
HTTP Server:
This type of connection allows you to view and take pictures remotely using a browser-equipped computer or mobile device.
Connecting the Camera and WT-5
-
To set up the WT-5 wireless transmitter for Image Transfer, in the set-up menu, select Network, then highlight Choose hardware and navigate to the hardware list.
-
Select WT-5 and press the OK to select the highlighted option and return to the network menu.
-
Navigate to the Network Connection and select Enable.
-
Use the Connection Wizard to create a network profile.
-
Under Network settings, select Create profile.
-
After you select Create profile, highlight the Connection wizard and press the right side of the multi-selector pad to start the connection wizard.
-
Select PC Image transfer method.
-
Enter a profile name and press OK when done.
-
Use the menu to search for the wireless network and then select it from the menu. If asked, enter the encryption key or password.
The green LED will light up as the camera attempts to connect to your Wi-Fi network. If you enter the password incorrectly, the LED will blink Red. Once a Wi-Fi connection has been made, the LED will blink Green.
-
Once connected, the camera will ask if you want the Connection Wizard to copy the profile to the computer. By Choosing yes, it will do this and pair the camera with the computer.
-
Connect the camera to the computer via USB. The camera will prompt you to start the Wireless Transmitter Utility on your computer at this point. Do so, and once complete, remove the USB cable.
You’re now set up to use the WT-5 with your D4 or D4S to transfer images to your computer wirelessly.
The Image Transfer Method creates a folder on your computer inside your pictures folder. Don’t rename the folder that’s created.
To upload new photographs as they are taken, select On for Network > Options > Auto send in the setup menu. This will send all images to the computer automatically. You can choose to send both RAW or JPEGs or send JPEG only. You can also start and stop video wirelessly. More options can be found in the camera’s Options menu under Network.


