How to Get Great Photos of the Great Outdoors
(Even When the Great Outdoors Isn't Looking So Great)
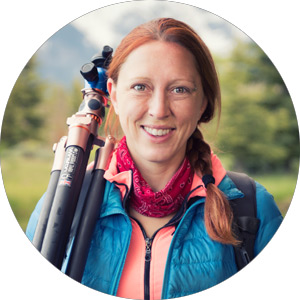
Many of the locations in which Mandy Lea photographs and conducts workshops are well known to her; others not so much, and some not at all. The stakes are perhaps higher for the workshops, as she chooses locales that will offer attendees the best opportunities for photos, but there's never a guarantee that the weather or the light will cooperate.
"I'm not always familiar with the place because I travel so much, and I can't plan my travel exclusively around the best light," Mandy says. But she can give herself an edge: PhotoPills, an app familiar to many landscape and travel photographers. "I use it to figure out where the sun is going to rise and set because I definitely aim for sunrise and sunset to increase the chances of good photos. Those are times of good light—and it can be great light—so we get there early and hope for the best."
Still, knowing where the sun will rise tells you nothing about what sunrise will look like. "In some places I've never before seen a sunrise, so I can't tell what we're likely to see," she says. Likewise, there's no accounting for weather changes at any time of the day.
But less than ideal weather and other limiting conditions are part of the learning aspect of a workshop: show up, see what the scene looks like and figure out how to make the best of what you're given.
The Point
"The great thing about a workshop is that it's awesome if you get a beautiful sky," Mandy says, "but the point of a workshop isn't necessarily to walk away with an award-winning image, even by your own standards. The point is to learn how to use your camera. So if we get a disappointing sunrise or sunset, I can still talk about camera settings and then turn that talk to, What do we do with this situation? What can we shoot? Good or bad, we can still learn by finding out how inventive we can be, given what we have to work with."
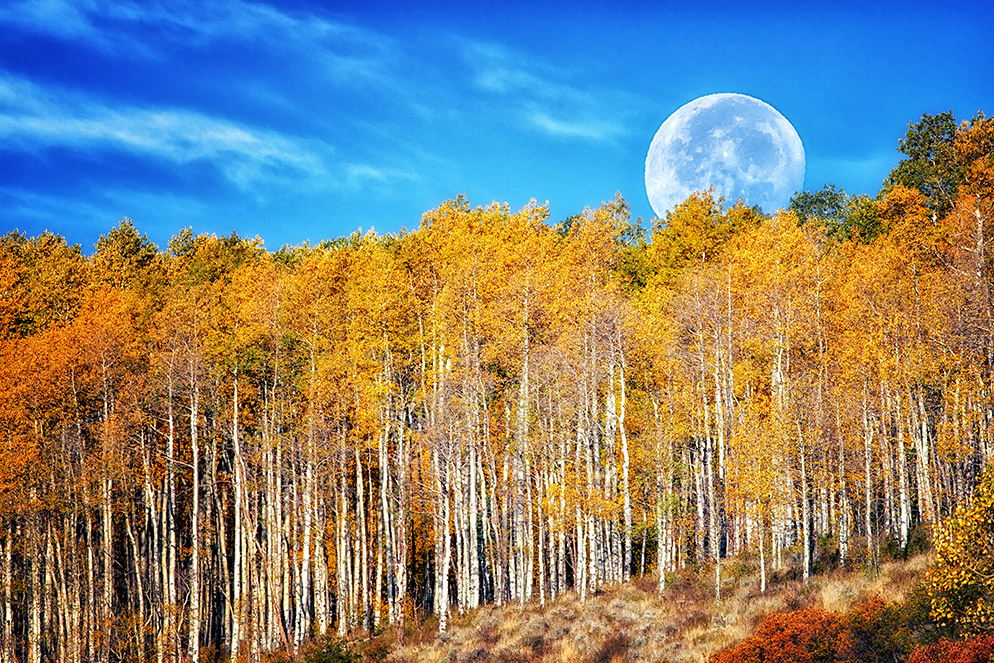
In Colorado, taken after sunrise. Good light, good sky...and an extra added attraction. D850, AF-S NIKKOR 200-500mm f/5.6E ED VR, 1/320 second, f/14, ISO 200, manual exposure, Matrix metering.
In some cases, there's a lot to work with, as in the Colorado sunrise moon photo, which was taken about a half hour to an hour after sunrise, which was perfect because the sun was prominent enough in the scene to give great light, but not high enough in the sky to wash out the view of the moon.
But there was still something that wasn't working, something that Mandy didn't discover until she viewed the image at home on her monitor. "The look of the moon didn't match how it felt when I took it," she says, "so I enlarged it a bit in Photoshop, probably by 30 percent. It's the same moon, in the same spot, just bigger, and when I posted the picture I told everyone what I'd done and why."
Addition by Subtraction
Sometimes, though, it's not what you add but what you take away that solves a problem and makes a photo better.
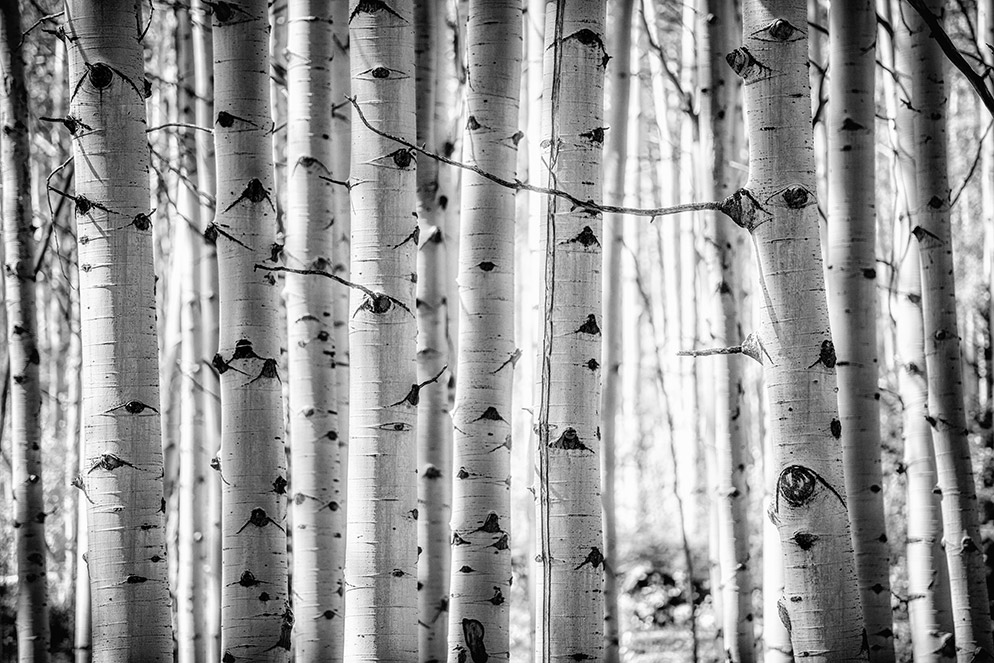
"I took this in late morning light after looking around for an area that had the contrast I wanted." D850, AF-S NIKKOR 70-200mm f/2.8G ED VR II, 1/1250 second, f/2.8, ISO 200, manual exposure, Matrix metering.
When Mandy wasn't getting the light she wanted for an image of Colorado aspen trees, she decided she'd use a graphic option: go to black and white and fill the frame with shape and pattern. "A lot of people do this with aspen trees," she says. "You can do it any time of day, and it almost always works." The "almost always" caveat is included because what you need most of all is a group of trees without distracting crisscrossing branches—or at least a minimum of them. "Which is sometimes hard to find," Mandy adds, pointing out that persistence is also a workshop lesson.
Second Thoughts
Once in a while the immediacy of a situation convinces you that you need to make a certain kind of picture; then other thoughts arrive. An image taken in Denali National Park and Preserve in Alaska is one of those.
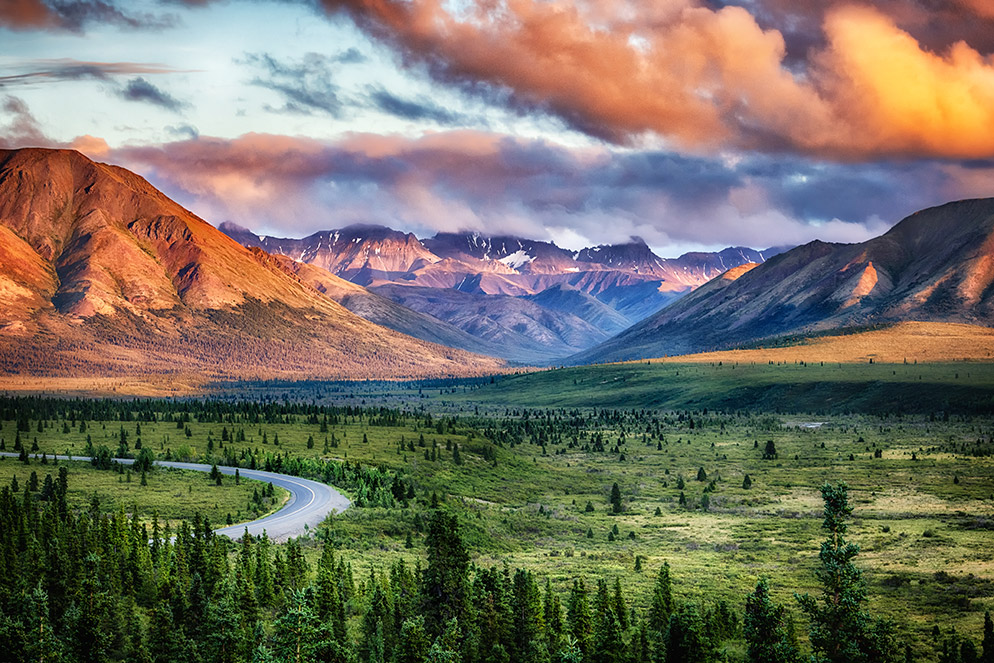
"We were driving down the road and suddenly it was, Oh, look at those clouds—that's beautiful, pull over! Most of my pictures are planned, and most of the time I've made an effort to get to a location, but this photo is an example of seeing something and immediately knowing you've got to stop and shoot it."
Just after sunrise in Denali. D850, AF-S NIKKOR 70-200mm f/2.8G ED VR II, 1/500 second, f/9, ISO 800, manual exposure, Matrix metering.
Mandy's first images of this area of the park captured what had grabbed her attention: the clouds and the sky. "That was my initial idea, and that's what I did. With the 70-200mm lens I zoomed in all the way—there was no road, no foreground in the frame. Then it was, Okay, now what else can I do?"
Her answer was to include in the picture what led her to the spot: the road. "I thought it might be cool to take a wide shot so you could see the road and the foreground. And of course when I got home and looked at all the pictures on the computer, that was the shot I liked the best. It does kind of tell the story—I'm in Denali, and it's not all nature—there's a road, and that road led me to the picture.
"Sometimes you're surprised at what you end up with."
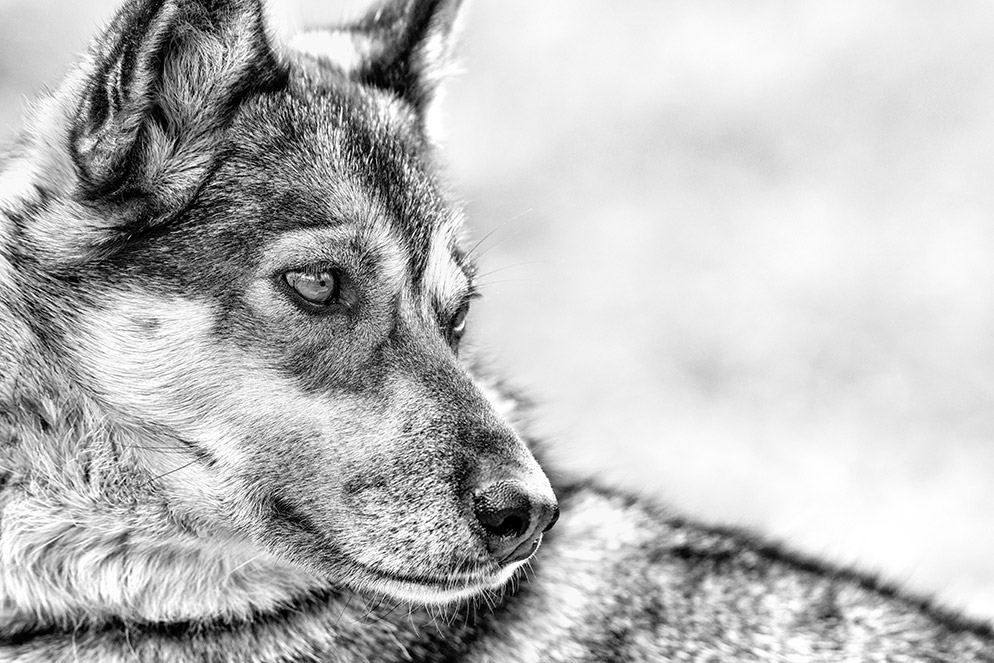
With the 200-500mm NIKKOR at 240mm, and Mandy 20 feet from the husky, she got the dramatic close-up she was looking for. D850, AF-S NIKKOR 200-500mm f/5.6E ED VR, 1/800 second, f/5.6, ISO 800, aperture-priority exposure, Matrix metering.
In Denali, later the same day, Mandy made photos of huskies who were in training for the Denali dog sled teams. What she wanted were clean shots of individual dogs without any training paraphernalia in the frame. "There I was, very close to the dogs—like 20 feet away," she says, "and I've got the 200-500mm lens on the camera because I want just their faces, not any of the training environment. To me it's the eyes that make the picture."
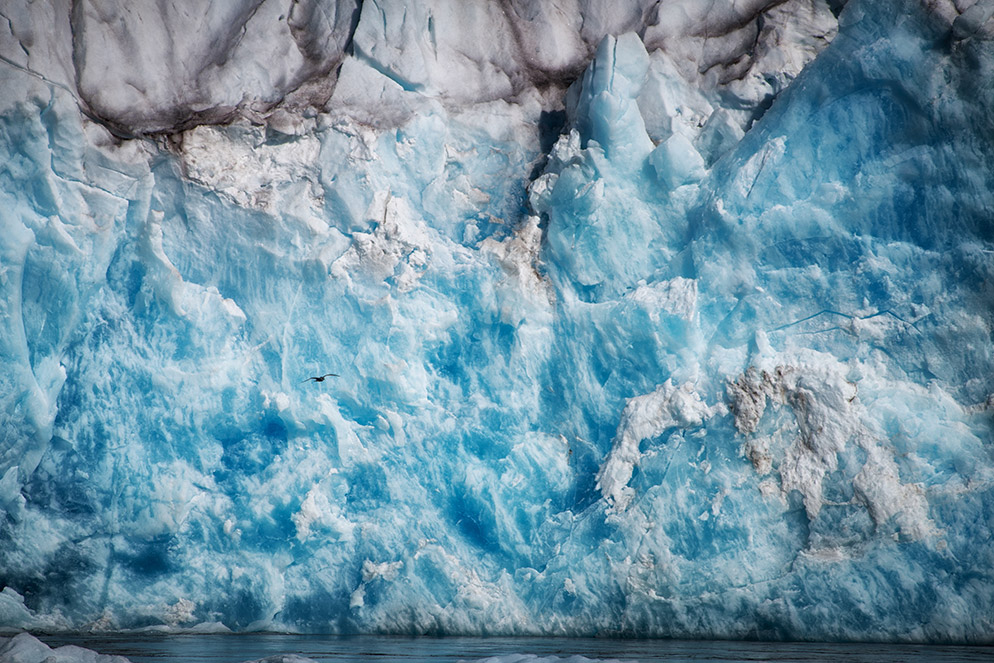
The 200-500mm telephoto was also Mandy's unconventional choice for a photo taken on a glacier cruise in Alaska.
"I knew my main subject was going to be the glacier, but I also knew there's was going to be wildlife around, and though I don't usually do wildlife, I didn't want to miss the chance."
But changing lenses on the wind-blown deck of the ship wasn't something she wanted to do. "I decided to take the 200-500mm and see what I could do with it. I could have gone with a wide-angle, but I didn't want to miss a sea otter because I didn't have the telephoto on the camera. So it was shoot a glacier with a telephoto."
Mandy made telephoto images of the glacier by selecting and isolating sections. "I like this one best because if you look closely you'll see there's a bird in the picture. There's texture, tones and a sense of how huge the glacier is." D850, AF-S NIKKOR 200-500mm f/5.6E ED VR, 1/640 second, f/11, ISO 100, aperture-priority exposure, Matrix metering.
Against the Odds
And then there are times when nothing's working.
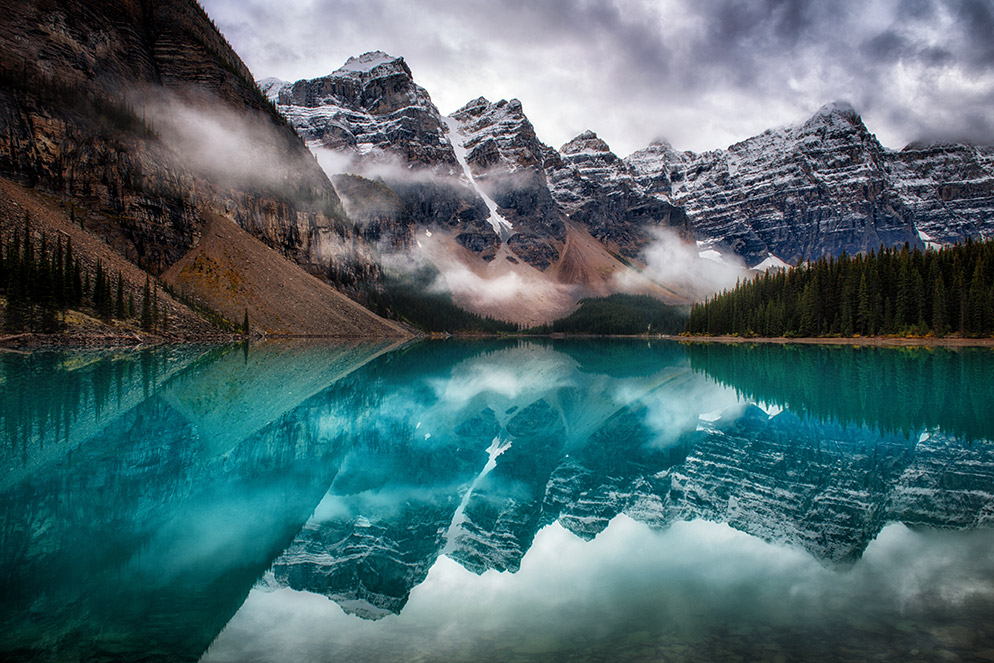
Driving from Alaska to Idaho on a tight schedule, there was no time to shoot in two ideal Canadian locations—Banff and Jasper national parks. Which was unacceptable. "We had to pull over in Banff at Moraine Lake," Mandy says, "even though it was an overcast, cruddy day." On a day like that, with little time to spend, you have to work with what you've got, make smart choices about how to compose the images and hope for a little luck.
"Even when you have an overcast day, a lot of times you can pull out texture in the clouds," Mandy says. "I took about 20 shots, and in each the clouds are different because they were blowing through so quickly. I was very grateful for the few that I could get texture from."
She framed the image so the reflection takes up almost half the picture and gives emphasis to the repetition of the triangular shapes. "I tell people the rule of thirds is definitely a thing, but whenever I do a pristine reflection like this one, I love to put the horizon in the middle because it's a mirror."
"I put the horizon exactly where I thought it should be, and the fact that there were all these triangle shapes when I looked at the picture at home...well, that's why [the composition] was so pleasing to my eye, even though at the moment I took the shot I wasn't aware of triangles. Subconsciously our brain looks for patterns—it's kind of like inspiration first, realize later." D850, AF-S NIKKOR 24-70mm f/2.8G ED, 1.6 seconds, f/22, ISO 64, manual exposure, Matrix metering.
Along the Way
Mandy often sets out with a destination—even a particular picture—in mind. But as she tells her workshop students, don't let the goal be the only thing you're thinking about.
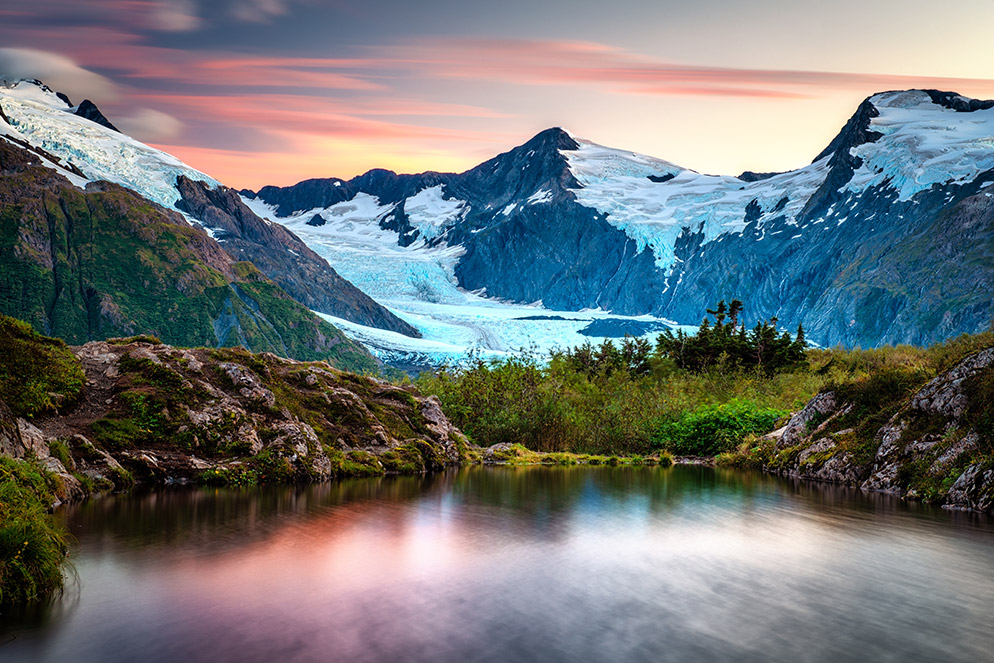
"The aim of the hike was to photograph the glacier beyond the little pond, but on any hike I’m always looking for things that are photogenic. Here I was about halfway along, and the pond is little more than a puddle, but I was like, This is the view!"
"On my way to photograph the glacier, I stopped at this point to shoot. The idea of this photograph is that there's a glacier in my picture rather than this is a picture of a glacier." D850, AF-S NIKKOR 24-70mm f/2.8G ED, 30 seconds, f/22, ISO 64, manual exposure, Matrix metering.
Shoot for the Difference
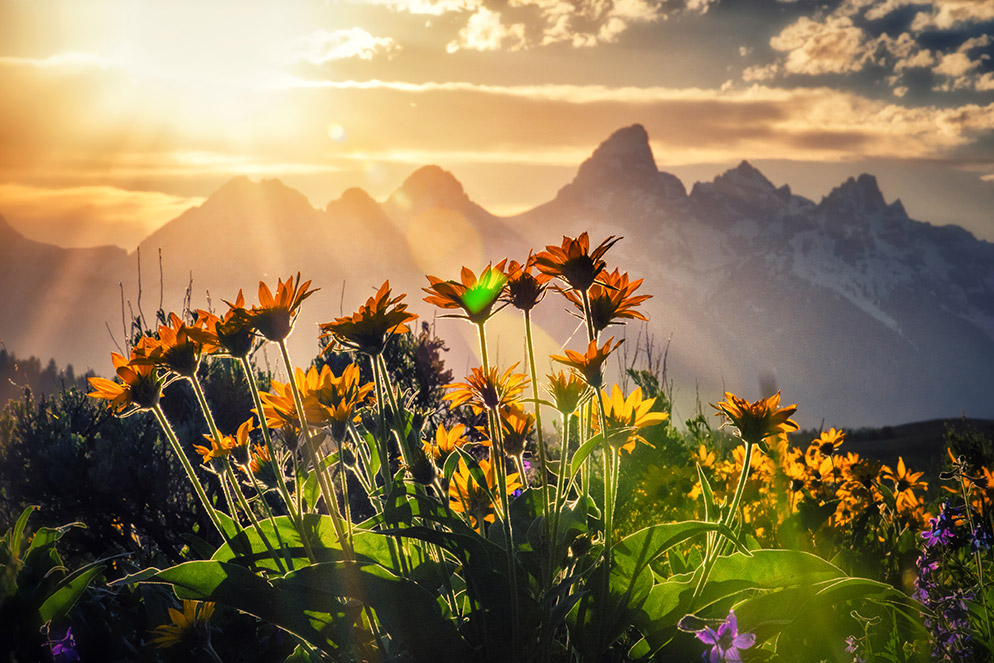
"I have thousands of pictures from Grand Teton National Park," Mandy says, 'and I love them and they're beautiful—but they all feature the mountains and maybe there are flowers in the foreground. The thing is, you go to a place because it's beautiful and there are always pictures to be made, but at some point you think, What else can I do? How else can I show this place? This photo, taken just before sunset, is one answer to that.
"These flowers are everywhere in the Tetons in the spring, and I have them in the foreground of a lot of my photos, but here I really wanted to feature the flowers, so instead of taking a picture of the mountains with the flowers, I took a picture of the flowers with the mountains."
"The subject is the flowers, but the Tetons have such a unique shape to their range, if you're familiar with it, you look at this picture and you know it's the Tetons." D850, AF-S VR Micro-NIKKOR 105mm f/2.8G IF-ED, 1/320 second, f/36, ISO 400, manual exposure, Matrix metering.
Tips and Hints
Beyond the Obvious. Shoot with lenses other than the ones you usually would use, as Mandy did with the 200-500mm telephoto zoom in situations where the 24-70mm would be the likely choice; or using the 105mm Micro-NIKKOR for the Teton flowers shot. "It stretches imagination, creativity...and often, your legs."
On the Spot. If the light's not right, think about coming back when it is, "but if I'm here right now, I'll be looking for something to shoot no matter what the light's like."
Look for Patterns. "Nature likes them; you'll find them."
Keep an Open Mind. Be open to stopping and shooting when something comes your way. Your destination is your goal, but "don't be too single-minded."
Take Your Time. As Mandy emphasized in a previous story we featured at Learn & Explore: slow down. A key point: "[Think} about what you're shooting, and why you've chosen to shoot it. [Take] the time to capture what you feel is the essence of a place and the experience of being there rather than [just] the quick shot that merely documents the location."

