Bright Idea: Adding Star Power
How to create the starburst effect in your images
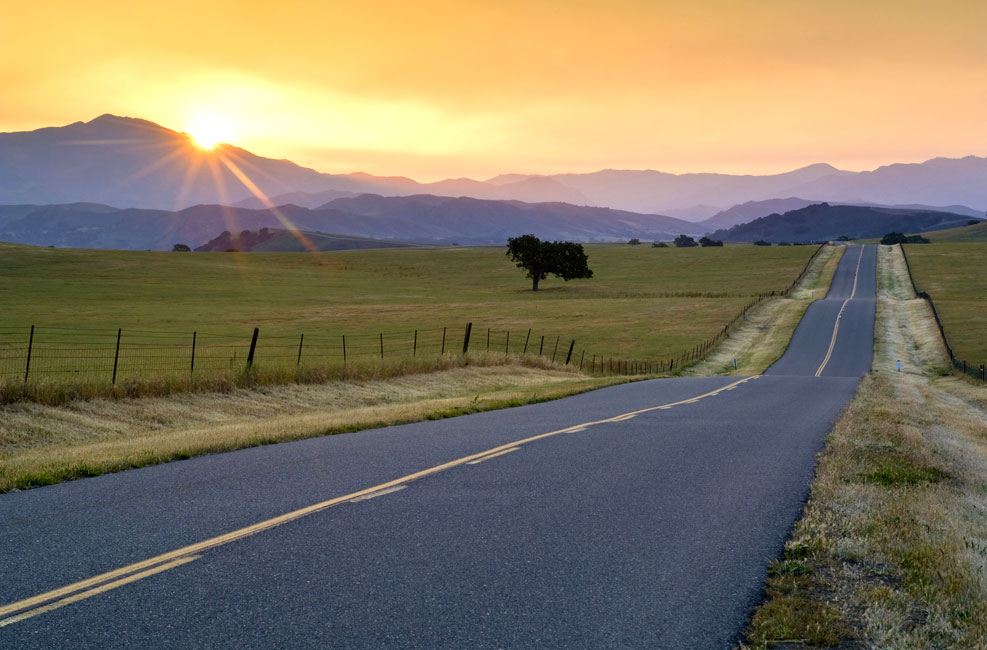
We'd guess that more than a few photographers first achieved the starburst effect in a photo without really trying simply because the scene they were photographing featured a small, bright point of light and they'd chosen a small aperture for the exposure.
If you'd like to deliberately achieve the result, it's a pretty easy-does-it procedure. Just about any light source will do—streetlights, headlights, bridge lights, holiday lights; reflected light will work, too. The most common and probably most popular source is the sun.
The effect results from diffraction, the bending of light waves around the aperture blades of your lens, so it's important that the light source be significantly brighter than the ambient light in the scene.
How small an aperture should you set? That'll depend on the light source and the lens, but we've found that many photographers have their own standard starting point for starburst photography. For Gary Crabbe, who took the photos you see here, f/11 is that point.
Gary often uses a wide-angle lens for the effect (his AF-S Zoom-NIKKOR 17-35mm f/2.8D IF-ED or AF-S NIKKOR 24-70mm f/2.8G ED at its wider focal lengths, for example). Telephoto lenses can work for distant subjects. The key is to remember to keep the light source rather small in your viewfinder, and that can call for a bit of good timing or imaginative maneuvering when the sun is your source. "The sun is so bright it pushes a lot of light into the lens, and that makes it easier to create a starburst effect," Gary says, "but if the sun is too large in the image, the effect won't work." He suggests that if there's more than half a disk of sun in the photo, the result is likely to be more blob than burst.
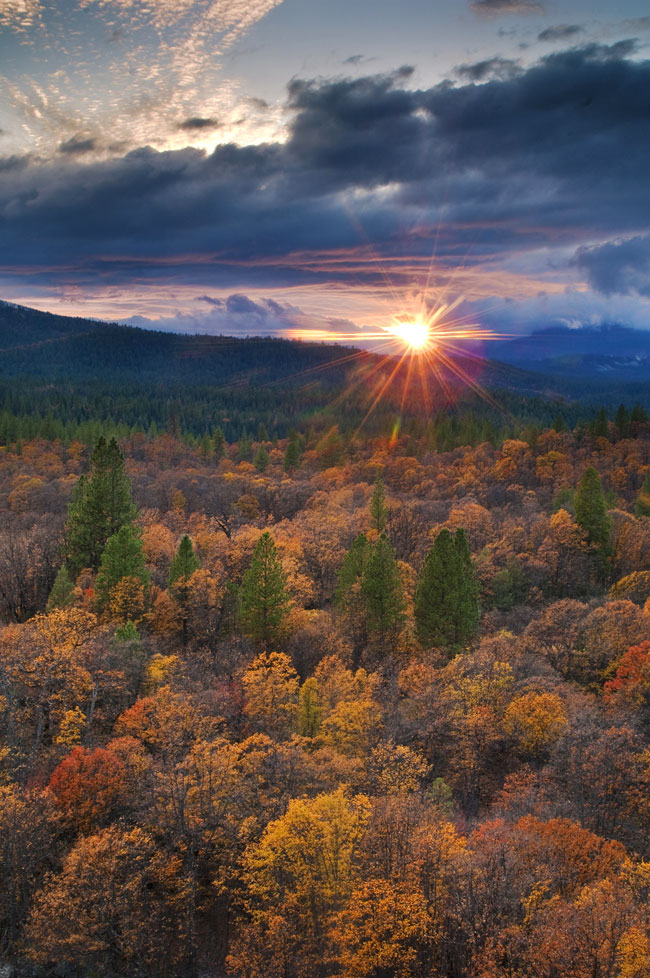
Which means it's advisable to time sunrise and sunset shots for those moments before or after the sun is full in the sky. "With a sunrise or sunset, I've pretty much got my composition because I know where it's going to happen," Gary says, "so getting the picture is all about waiting for the sun to move itself into the right spot and then getting just the right amount of sun coming into that spot." Whether the sun is coming up over the horizon or dropping below it, what he wants is usually between half and a quarter of a solar disk in the scene. For a sunrise shot he's watching for just the first moments of sunlight and he'll shoot until half a disk is visible; for the setting sun he'll start at half disk size and keep shooting as the sunlight fades. Often it's a matter of seconds between just the right amount of sun and too much.
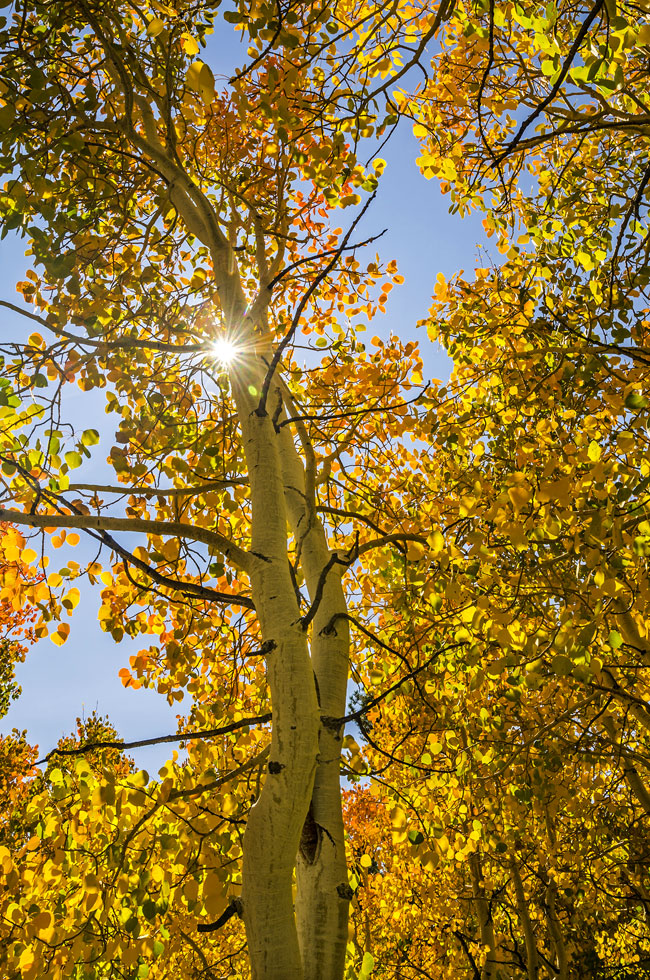
For images after sunrise and before sunset, Gary relies on his movements to control the position of the sun, its size and intensity. "Using very small teetering or rocking motions, I try to get the sun to just peek out from behind something, and what works best are v-shaped obstructions that will cut the size of the sun, intensifying the effect of its light."
So there are two factors to consider: your general position relative to the sun and how you can refine that position to, in effect, position the sun.
Since you'll be shooting a backlit situation—that is, shooting directly into the light source—exposure is going to be an issue. Or is it? "I know you'd think that the meter is going to be fooled by the one bright spot in the scene," Gary says, "and in fact center-weighted metering probably will be, but I shoot starbursts with Matrix metering, and I don't have any problem; it does a superb job." Still, Gary often relies on exposure compensation to bracket his exposures to make sure he's maintaining detail in the scene. "I tend to underexpose a little bit for color and saturation," he adds.
Finally, a tripod is strongly recommended—Gary used one for all the photos here—as the small f/stops and low-light conditions will often require long exposure times.
We should—and so we will—mention that you can get a starburst in your photos using a special lens filter or a software filter. But c'mon, what fun is that?
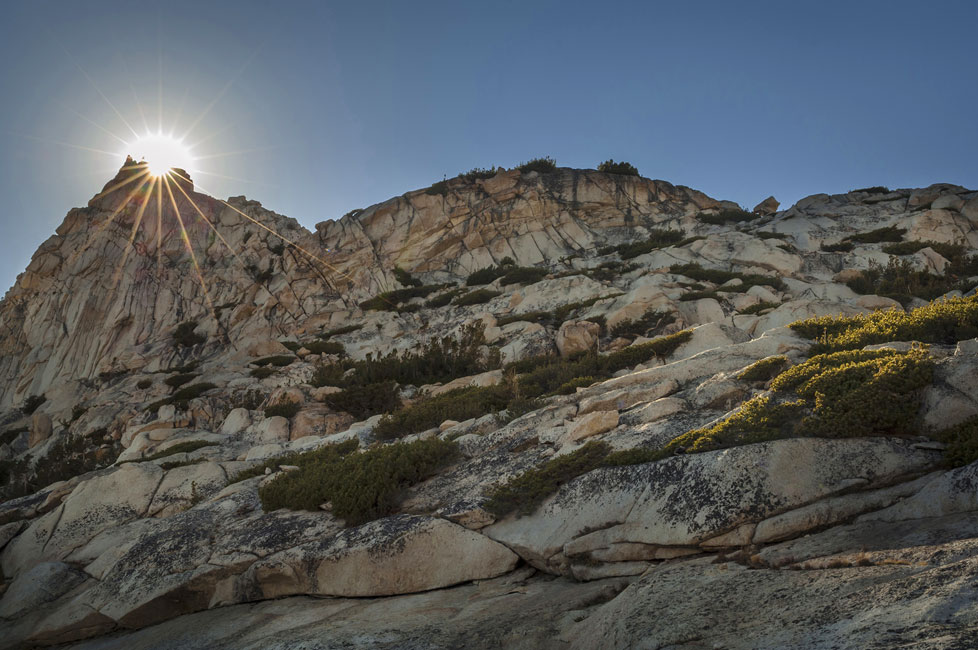
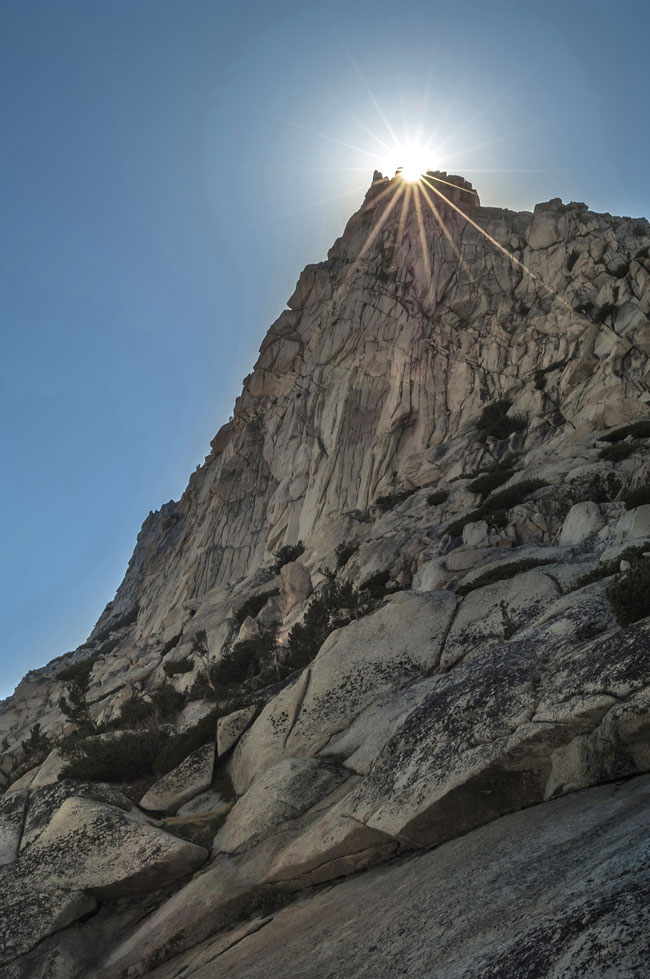
Sunset sunburst behind a rocky spire near Vogelsang Pass, Cathedral Range, Yosemite National Park, CA; photo taken at 1/80 second, f/13, manual exposure, ISO 100.
Sunset sunburst behind a rocky spire near Vogelsang Pass, Cathedral Range, Yosemite National Park, CA; photo taken at 1/200 second, f/13, manual exposure, ISO 100.
The horizontal and vertical photos were taken three minutes apart. "These are all about moving the camera position relative to the subject. When you're on a hill and the sun is either rising or setting, you can run up or down to experience multiple sunrises or sunsets. I positioned the camera and waited for the sun to set in the right location needed to produce the sunburst. Then I grabbed the camera and ran uphill, reset the camera and took the shot again. To repeat a sunrise, I'd run down the hill."
Starburst Tips $
-
The necessities: Any Nikon camera that offers manual control of exposure; a small, bright light source in the scene; a small aperture (start at f/8 and work up; the smaller the f/stop, the sharper the look of the starburst); a tripod.
-
Long(er) shutter speeds, because exposing for the bright light source is one part of the process; capturing the details of the rest of the scene is the other.
-
If the sun's your light source, control it by timing your shot and choosing (or changing) your position.
-
Bracket your exposures.
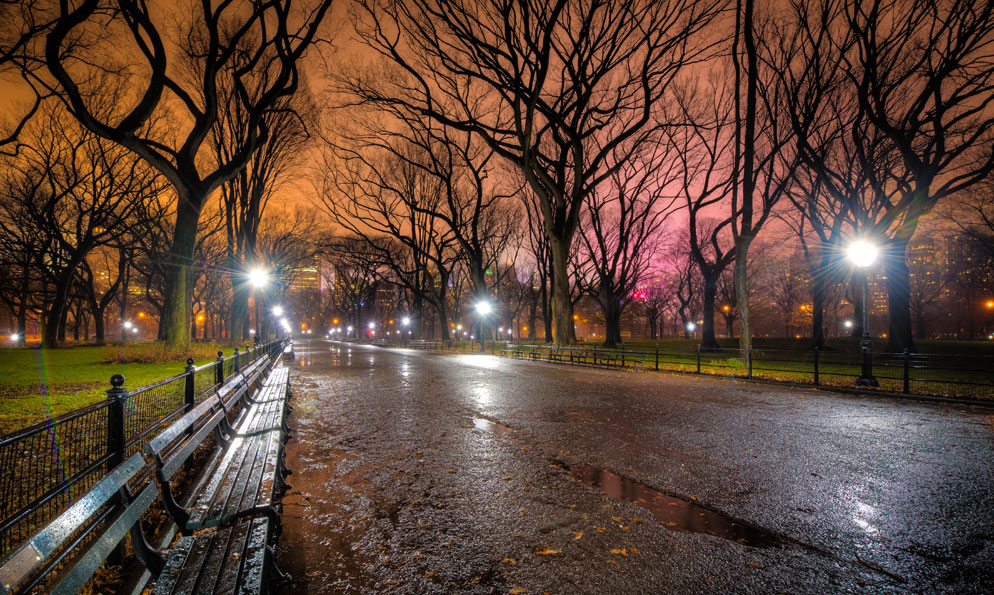
D800 and AF-S NIKKOR 14-24mm f/2.8G ED lens, 2.5 seconds shutter speed, f/10, ISO 1250.
Star Noir
A dark night in a city that knows how to keep its secrets. But one man is still trying to find ideal places to shoot night images. He's Edin Chavez, and the starburst effect is his intention—but so is getting the reflections and heightened textures of Central Park in the rain.The cold, windblown rain falling right after sunset that December day drove tourists from the benches and the roadway to give Edin a picture-perfect scene for his D800 and AF-S NIKKOR 14-24mm f/2.8G ED lens. "But with the wind, no really long exposures were possible," he says. "I set 2.5 seconds and had to bump up my ISO to 1250 to shoot at f/10 for the starburst and for the depth of field to make the leading lines work to [the] best advantage."
Edin shoots a good number of starbursts, so he was confident of his settings. "I knew that between f/8 and f/16 I'd get a pretty decent light burst and a decent depth of field for the whole cold, wet feel of the park." Manual exposure and Matrix metering completed the setup. "I did a three-bracket series using exposure compensation," he adds, "but for this photo, which was the best one I got, there was no exposure comp. I just checked the LCD."
Edin's general advice for both cityscape and countryside starburst images: "Experiment until you're comfortable enough to know what you're doing and what you're likely to get, and then confirm it on the back of the camera. Generally, the smaller the aperture, the better the result. On a nice day, maybe f/32, but not on that day in the park."

