Take Control of Color using Picture Controls
Want more control of color in your photos? Actually, you've already got it. It's in your camera. Nikon Z series Mirrorless, DSLR, COOLPIX and Nikon 1 digital cameras offer the option of customizing color to suit your taste and style.
It wasn't always so. When we shot film, we'd have to load a certain type of film to get a particular look to our color. We heard terms like "natural color," "vivid color," even "European color." Today all those color choices, and many more, are built right in, and we can easily make our selections via the camera's Picture Controls menu. We can also name and save our custom color settings as new menu items so we can quickly call them up for a particular scene or situation. How cool is that?
Color—most of the time brilliant, occasionally subtle—is a signature of Diana Robinson's photography. One look and you know she's tuned into color's graphic, attention-getting power. She's also tuned in to tuning up color.
"Back when I was shooting film, I tended toward very strong, even over-saturated colors," Diana says. When she got her first Nikon digital camera, she used Capture NX software to boost the contrast and saturation in post-processing. "I'd do it for every image, consistently. Then I thought, let me try Picture Controls. And that changed everything for me."
Customize your image captures with Picture Controls
Depending on the Nikon digital camera you own, Picture Controls will offer, among other choices, standard, neutral and vivid settings, and each of those settings can be adjusted for contrast, saturation and sharpening. "Setting Picture Controls to Vivid and boosting saturation to plus three got me where I wanted to be," Diana says. "For some people, that might be too much color, but I like that saturated look."
Post-process images for global or localized adjustments
Even with that much control over the image as it's captured in the Nikon Electronic File (NEF) format (which is Nikon's version of the RAW file), Diana will often use Capture NX2 for post-processing adjustments. She might make global changes—that is, changes to the entire image—for color and tone, and then use the software's Control Points to make adjustments to specific areas.
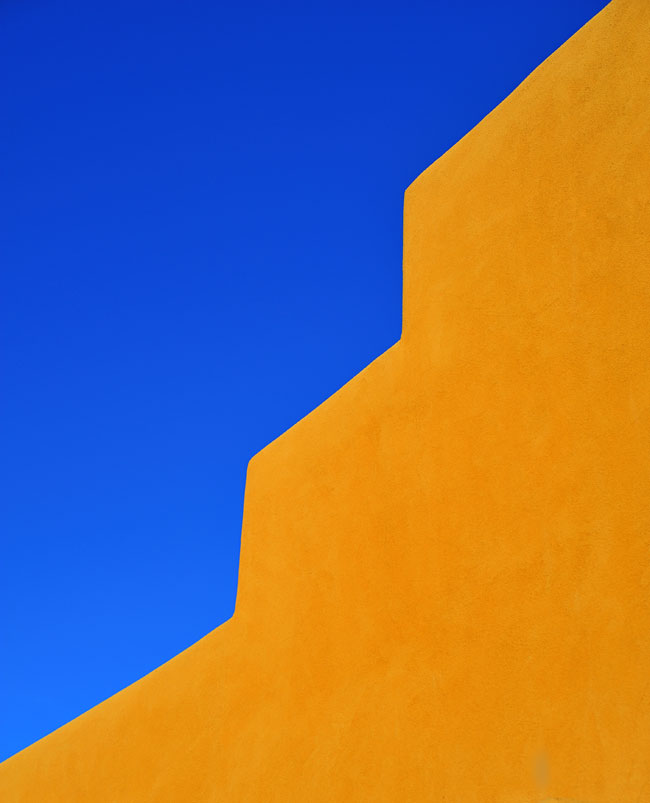
"One of the main reasons I started using Capture NX2 was for the Control Points," she says. The main attraction of Control Points? Simply the amount of control it offers and its ease of use. For the first photo accompanying this story, Diana used Control Points to increase the saturation in the sky area. "The sky was pretty blue to start with," she says, "but I wanted a very strong, stark contrast between the sky and the adobe wall."
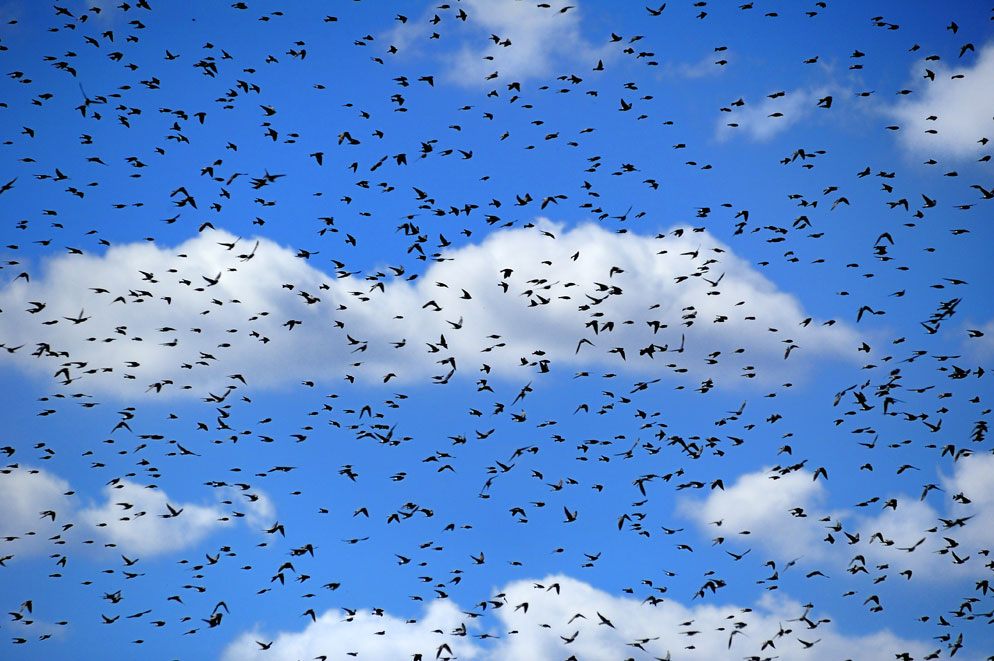
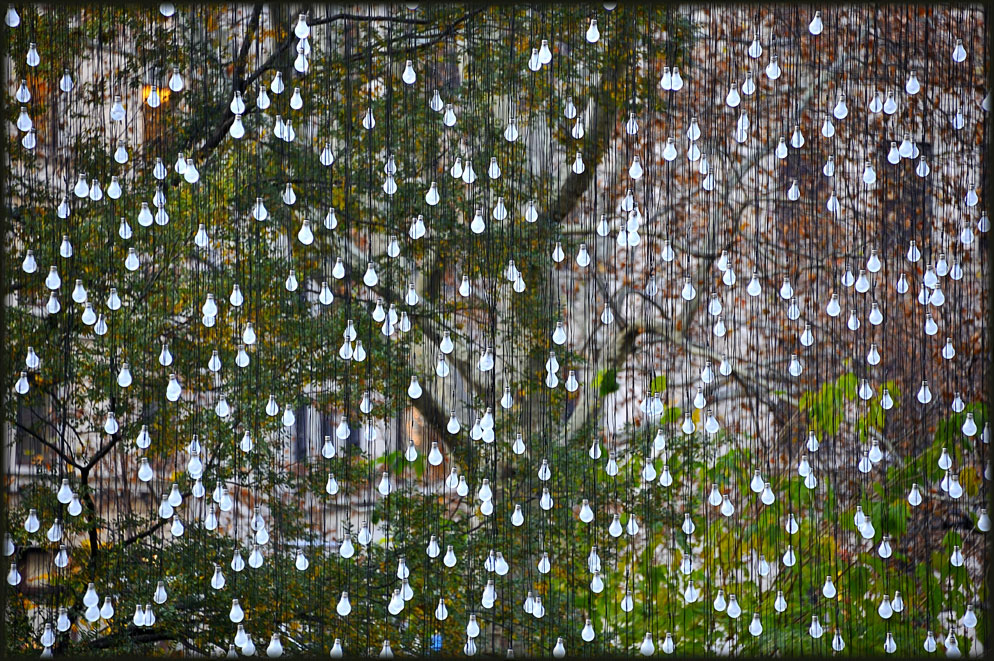
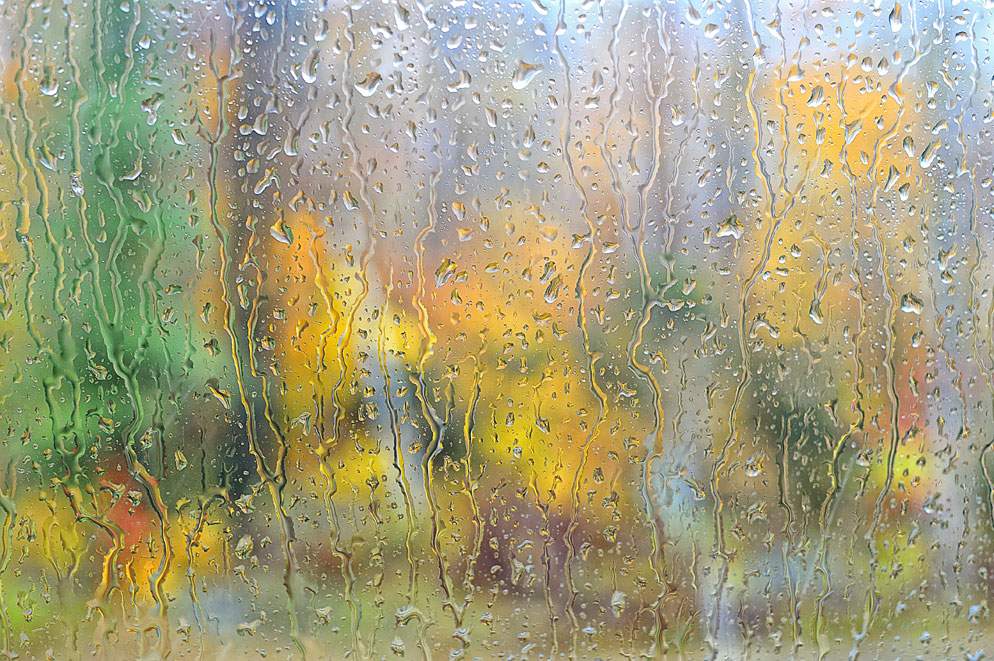
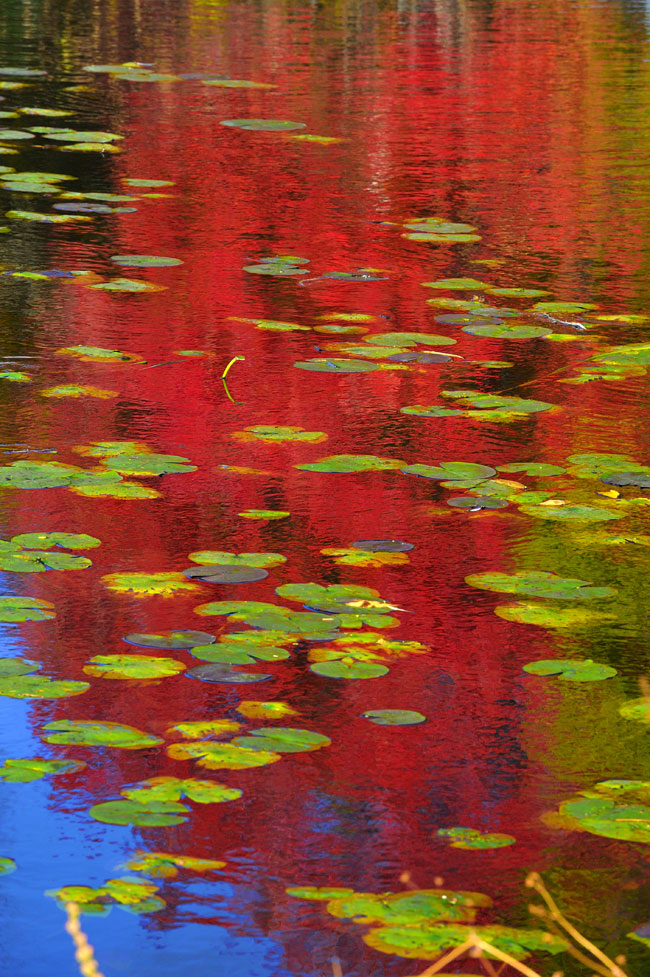
Most often, though, her saturation-boosting Vivid setting of plus three does exactly what she wants, and no post-processing is needed. For example, you're seeing the egret in the fourth photo just as it came out of the camera. Same for the background colors to the art installation depicted in the eighth photo and the distinct colors seen through the rain-dappled windshield in the ninth image.
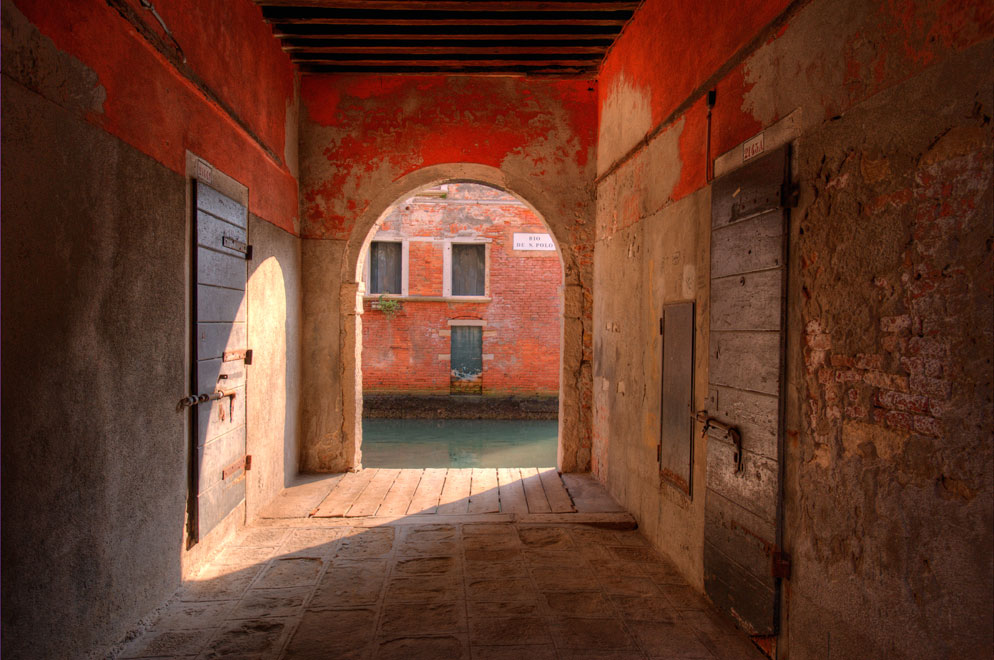
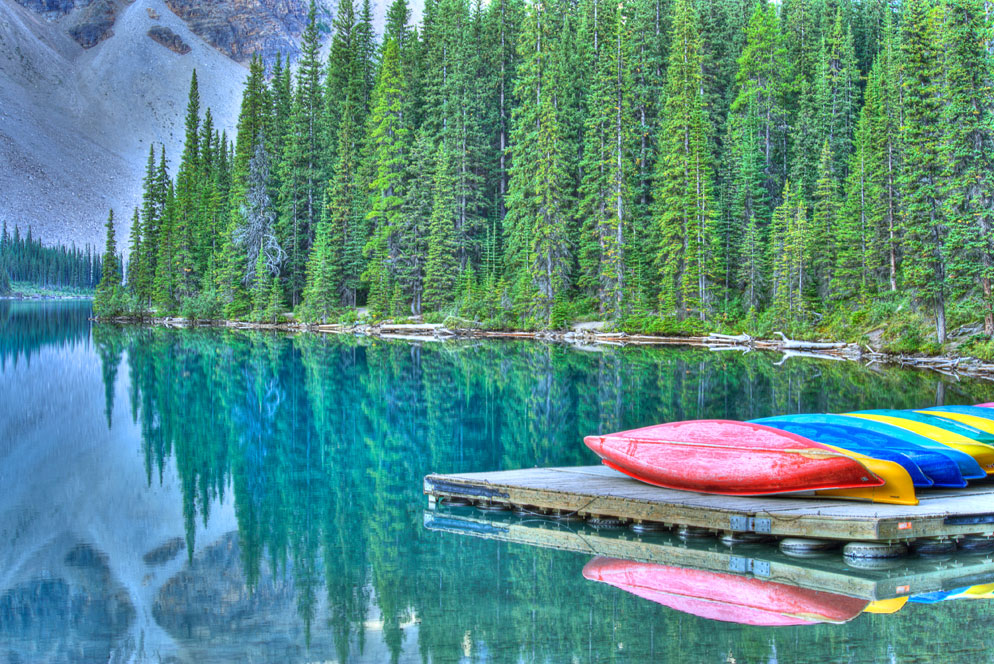
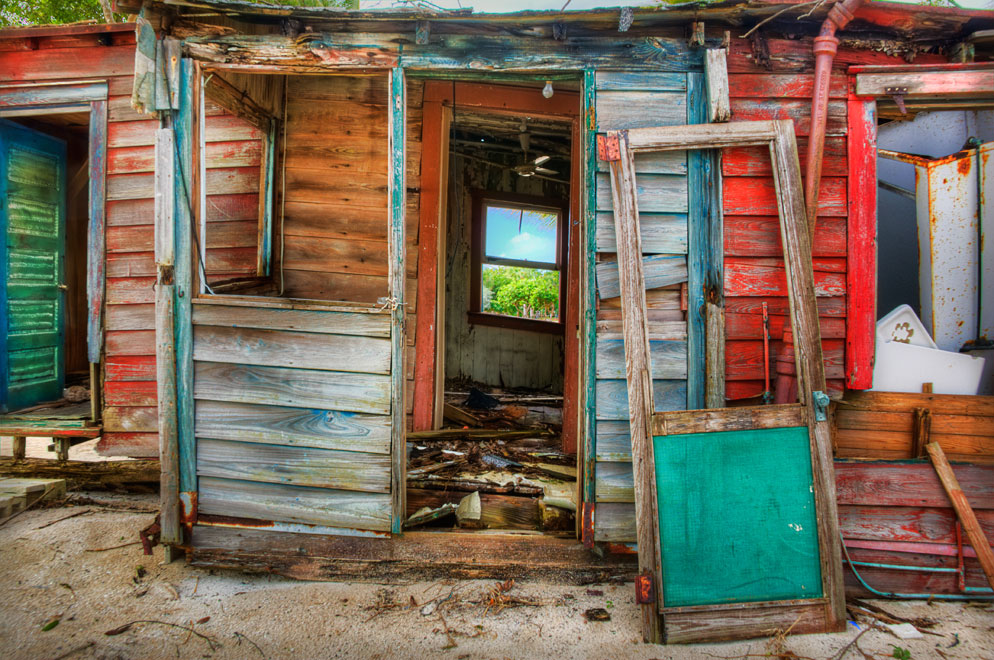
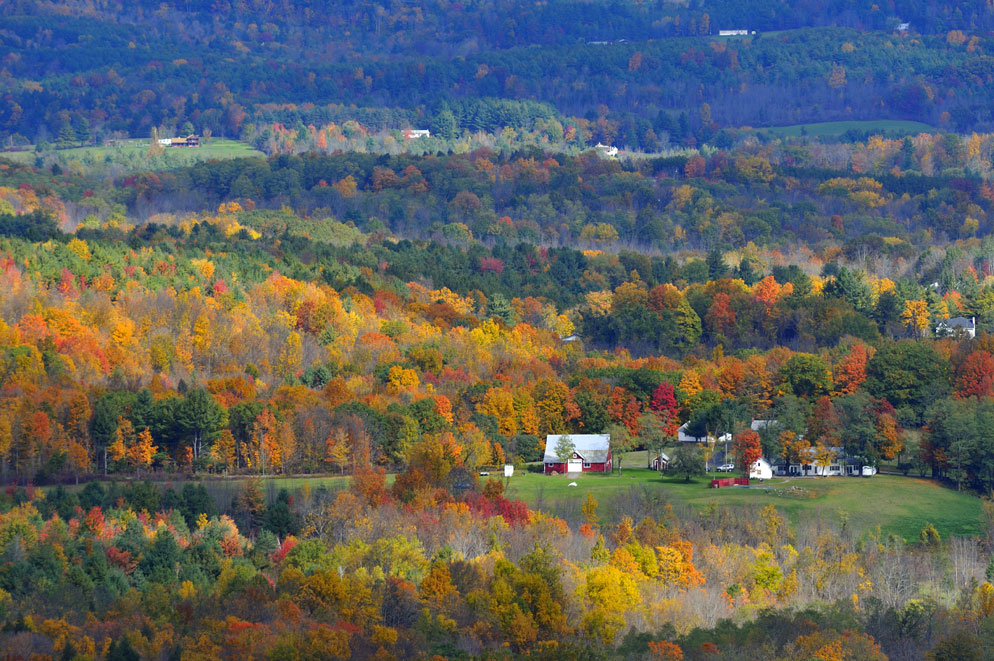
Three of the photos here—the third, fifth and sixth—are the result of HDR (High Dynamic Range) photography, a technique in which a series of images are taken (usually three, five or seven) and processed in HDR-specific software to produce an image that captures the wide range of tones in a high contrast scene—or, as in these photos, an image that emphasizes color, texture and contrast.
Additional color control comes from the fact that Diana shoots everything as NEFs. Because the NEF contains all the information the image has to offer, if she decides that her plus three or plus four saturation setting was not right for the scene, she can choose a different setting, after the fact, for the file in Capture NX2. "Sometimes I find that my saturation settings can be too strong for skin tones," she says, "so I'll reset them for that particular image."
Having all these color control choices means that Diana is able to capture not only more graphic images, but more images period. "In the past, if the sky was white or washed out, I'd often avoid the shot," she says. "Now I take it. I'm a believer in getting it in the camera, but because I have the RAW file and Control Points to work with in post-processing, I've saved myself on a lot of skies."
The decision to use an in-camera Picture Control or choose a Capture NX2 adjustment is, of course, subjective. "Some people will use those options more, less or not at all," Diana says, "and I think the decision comes down to how you felt when you saw the scene and what you want to communicate about the subject."
And that's the ultimate benefit of color control—conveying a sense of being there and communicating your reaction, even your delight at what you saw.
All possible, all built in, all very cool.
Check out the article Picture Controls Step-by-Step to read detailed explanations of Nikon's Picture Controls and how to use them.
5 Keys to Color Control $
-
First, check the manual for your camera's specific color settings and menu configurations. Making quick adjustments to settings in the camera can really come in handy when a photo op presents itself.
-
Spend some time around the house, indoors and out, trying different settings and combinations of settings. Experiment and explore to discover what works best for you.
-
Add your often used custom settings to your camera's menu.
-
Shoot in NEF format whenever possible. It contains all the image information captured by the camera's sensor, is unprocessed, and it allows the most control over the look and quality of the finished image. (Also, you can set most Nikon digital cameras to record NEF + JPG, which will give you the best of both worlds—NEFs if you want them, JPGs if the exposure is spot on.)
-
Remember that when you work on a NEF file in Capture NX2, you’re performing non-destructive editing, so most of the data is kept intact.

