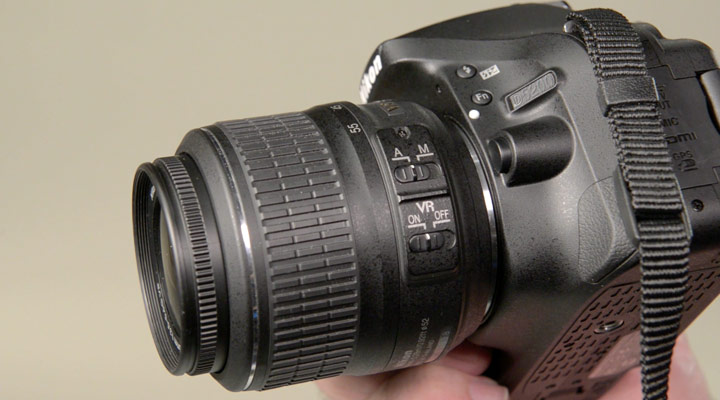
HDSLR Video Tutorial: Getting Started with Your D-Movie Camera
HD-SLR Video Tips: Getting Started - Tips for shooting video with your HDSLR camera. (2:00 min.)
Shooting video with your Nikon HDSLR camera is easy, once you set a few basic settings.
-
Set your camera to PROGRAM, allowing the camera to set the exposure.
-
Go into the MOVIE SETTINGS and choose the quality/frames per second. Most videos are shot at 1920x1080/30p. This is Full HD, recording at 30 frames per second. If you want to give your movie a more cinematic or filmic look, choose 24p for 24 frames per second. HD is 1280x720. The higher the image quality, the larger the file.
-
Set the ISO to AUTO to allow your D-movie camera to make changes to the ISO as necessary.
-
Set the Focus Mode. Depending upon the subject you are shooting, you may want to set a specific Focus Mode. For general video shooting, AF-S will suffice. AF-S is good to use for subjects that are not moving, AF-F is ideal for moving subjects. The other choice is MF or Manual Focus, which you may want to try as you get more experience shooting video with your HD-SLR.
-
Set the AF Area Mode. Choices are: Face Priority, in which the camera will focus on faces; Wide, Normal and Subject Tracking, which is good for moving subjects. Normal should work for most subjects.
-
Turn on Live View.
-
Press the Record button and you’re shooting video.


