Using a DSLR To Elevate the “Family Video”
Summer Fun - Photographer/Videographer Andrew Barkules elevates the "family video", using a DSLR camera.
Family Fun and Filmmaking with the Nikon D810
Ah the family video. It’s almost as highly regarded as the family portrait sitting.
Well, it need not be any longer. Photographer/videographer Andrew Barkules has found a way to put a smile on the family and the person behind the lens. With a brother and his children coming over for a July BBQ, this aspiring creator reasoned the visit would be a great time to fashion his first family video. Tapping a Nikon D810, plus a bit of serendipitous scripting, Barkules allowed the moments to unfold–working much the way he works when photographing a wedding.
“I knew that I wanted to film something that captured the moment, looked natural and gave that warm summer feeling,” shares Barkules. For Summer Fun, this DOP was undaunted by motion. He appreciates the necessity to monitor camera operation, and has an understanding of what a change will do when it comes to frame rate, shutter speed, ISO and f-stop. “I did not let lack of video experience get in the way. In fact, I think the fun and learning aspects begin as soon as the person behind the lens starts making creative determinations for any camera setting or lens selection—just as a photographer experiments with dialing-in for stills.”
In one afternoon this Chicago area photographer-turned-videographer fashioned an engaging family video. Here’s the inside track for some Summer Fun.
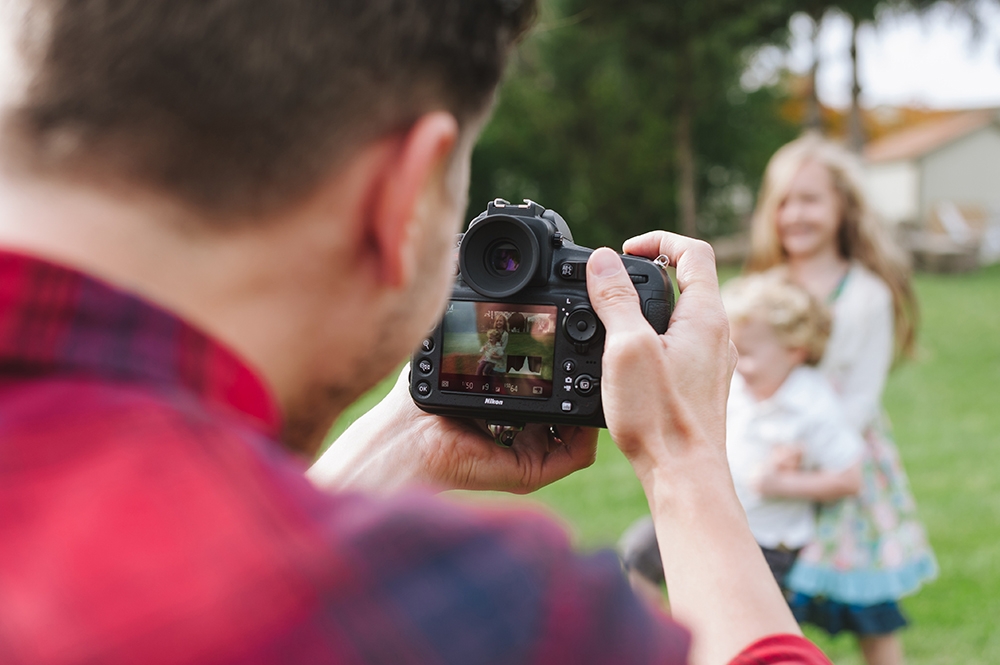
Andrew Barkules Shooting “Summer Fun”
Techniques for the Technical
“For motion work, the first thing I think about is what frame rate should I use? Most of the Summer Fun video was recorded at 60p 1080p,” says Barkules. “What this means is it takes 60 still images to make up one second of video footage.” This is a more dense stream than shooting at a 24p or 25p rate. “As a director, I can do more with footage that’s been created in 60p; one thing is to build a smoother motion render when clips are retimed. In my final cut I opted to run a slower playback rate. I wished to show a slow motion look–roughly half speed.”
That slower pace decision was made because he wanted the kids to look as if they are running in their dreams. Barkules notes, “There is a tradeoff though when it comes to shooting footage at a higher rate. First, understand that 60p capture is limited to a 10-minute shoot block, as opposed to a 20-minute duration you get with a lower capture rate. Second, the 60p will take up more space on your memory card.”
Shutter speed will also affect the look of video capture. Barkules recommends choosing a shutter speed that’s double the frame rate–at a minimum. “This keeps action looking even and natural. I set a shutter speed of 1/125 (taking my 60fps x 2) for the slow motion clips. “
Furthering, he comments on work at the new ISO 64 level, “I experimented to see what the ISO 64 could do. It effectively makes the camera less sensitive to light. As a photographer, I can capture with added range to my depth-of-field, plus still take advantage of low noise and a high dynamic range. As a newer videographer, I look forward to achieving the highest quality footage this camera can provide. The D810 has no optical low pass filter, so working down in ISO level really shows off sharpness and detail.”
But why would anyone want a camera that doesn’t soak up light? Simply put, ISO 64 allows the lens and camera to work at a wide aperture, which then yields a truly soft and shallow look to footage. “All of the NIKKOR primes I used, the 35mm, 50mm and 85mm with f/1.4, allowed me to achieve amazing subject isolation, gorgeous background blurring and very shallow depth of field,” he smiles, then tosses in an additional accolade for the Nikon D810 36.3MP sensor. “That sensor ratchets results to a new level.”
Summer Fun was filmed outdoors between the hours of 6pm and 8pm. “Shooting at this time gives wonderful coloration, as well as softer and more flattering illumination during the golden hour,” he comments. “But to ensure consistent capture with the sun sinking lower and lower, I did stop to check exposure more often,” he smiles. “Under normal conditions if you planned on using the settings listed above while shooting outdoors, you’d have to place a neutral density filter over the lens. But with the ISO 64 I did not require the filter.”
Other camera features that came in handy were the Zebra Highlight display (puts a diagonal striped pattern over blown-out highlights when looking at subject matter in the LCD), and the live Histogram that displays during capture. “Both greatly aided in helping me correct overall exposure,” he shares. “With Zebra Highlight, I could adjust the amount of light entering the camera until I saw striping on highlights over the face. Once I saw striping I knew I needed to dial back to improve overall balance. I made fewer mistakes, and I could ensure that clips were recording at the right exposure.”
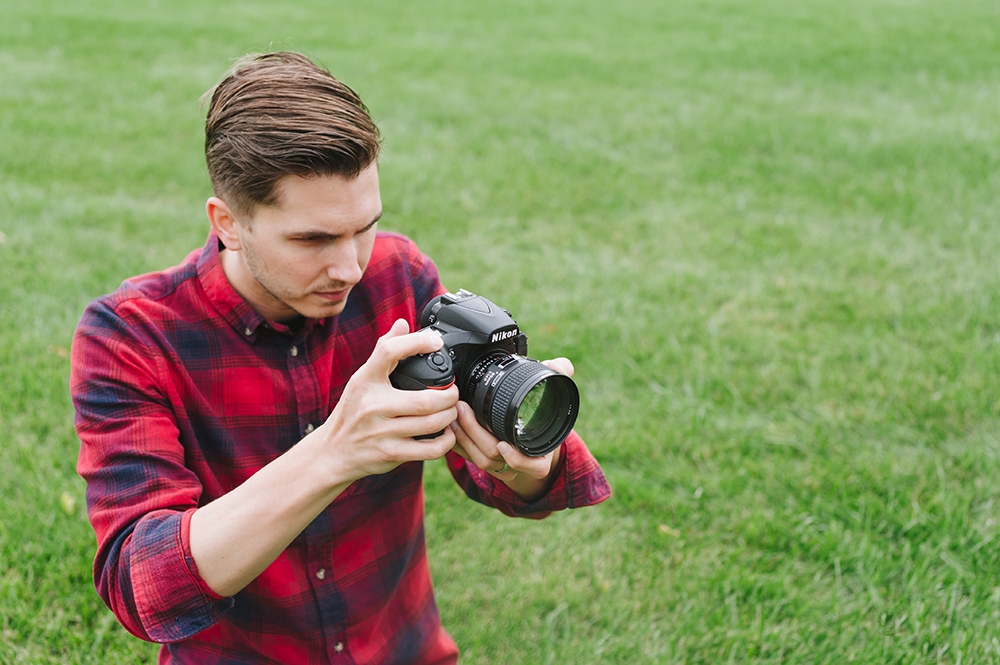
Andrew Barkules using his Nikon D810 to shoot "Summer Fun"
Focus Like a Photographer
A major objective to meet, whether working as a photographer or a videographer, is great focus. “I was handholding the camera for each shot with no support from a video rig or tripod. I liked that because it gave me intimate control over every button, dial and function,” he says. “Because I come from a photography background, I just held the camera the way I would to shoot a still. My left hand found itself resting on the focus ring, cradling the lens from underneath, while my right hand controlled the Record button and exposure command dials.” Although the Nikon D810 can shoot video with full autofocus (AF), I decided to work using manual (M) focus. Doing so added that extra level of control–especially because my subjects were moving rapidly.”
Working in manual mode when acquiring video footage means a creator must truly know how to operate his or her lenses. “Familiarize yourself with the direction of the focus ring,” he stresses. “What does a clockwise turn do? A counter-clockwise turn do? Once you have reached a comfortable level with your gear, consistently acquiring sharp focus, and being able to track your subject (especially when it moves closer or farther from the camera), will be much easier.”
For times when less erratic subject movement was in front of the camera, such as the shots where the bird feeder is being put up on the hanger, Barkules tapped the Zoom button on the back of the camera. When looking at the LCD, he could magnify the frame and determine where focus should land. “Because I was shooting at wide apertures, sometimes f/1.4, the zoom aid became essential for previewing these paper-thin depth of field scenarios. That close-up glance at subject told me if I had nailed focus or not.” Barkules used these same steps to conjure up a focus scenario he’s always loved. “Take a look at the opening shot–when focus is where the key subject will eventually be. To achieve this, set your focus to a spot, then have your subject move to that spot. What results is a simple, yet pleasing, transition that gives your video an extra something.”
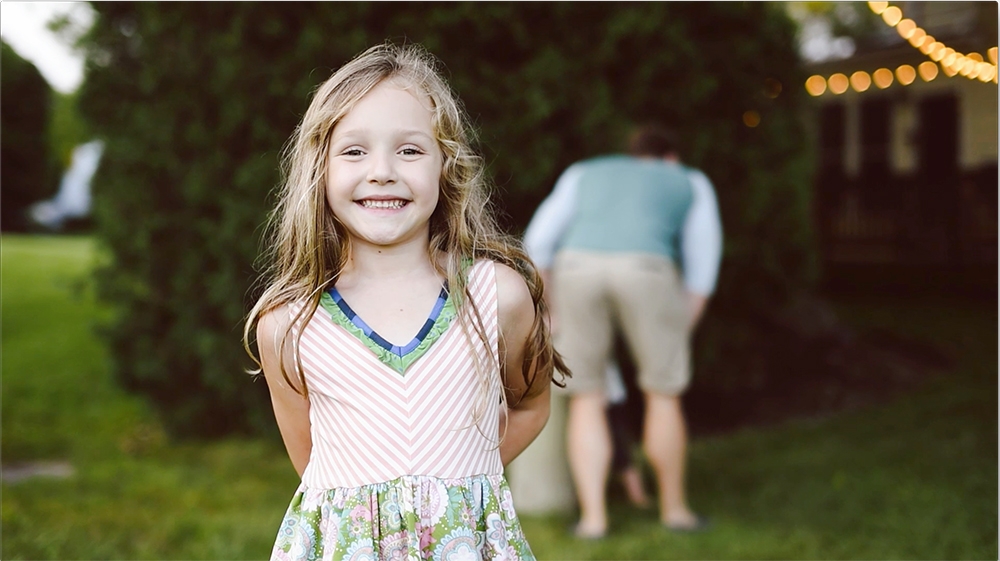
Sofia, one of the stars of “Summer Fun”, by Andrew Barkules, smiles for the camera.
Subjects Matter
Family videos almost always have a few children in starring roles. “So when working with kids, I find it best to bring myself down to their level. Think like they do, shoot at their eyesight, and most of all have fun! In the midst of grins and giggles keep your clairvoyance in motion so you’re ready to capture whatever a youngster may do next.”
“For the first shot, where I had the children coming down the hill, I asked them to do what they do best: run. We did a handful of trials. I was getting tired just watching them on the LCD, but children have boundless energy and they really did love just running back and forth.” The director reveals that it was also helpful giving his little actor and actress something to run towards. With a chuckle, “My father was behind me, ready to scoop up my nephew and give him a spin. Turns out I had no idea he was planning to do that. Both of them enjoyed the spin so much that I decided to turn around and film. Spontaneity. That moment ended up being one of my favorite shots.”
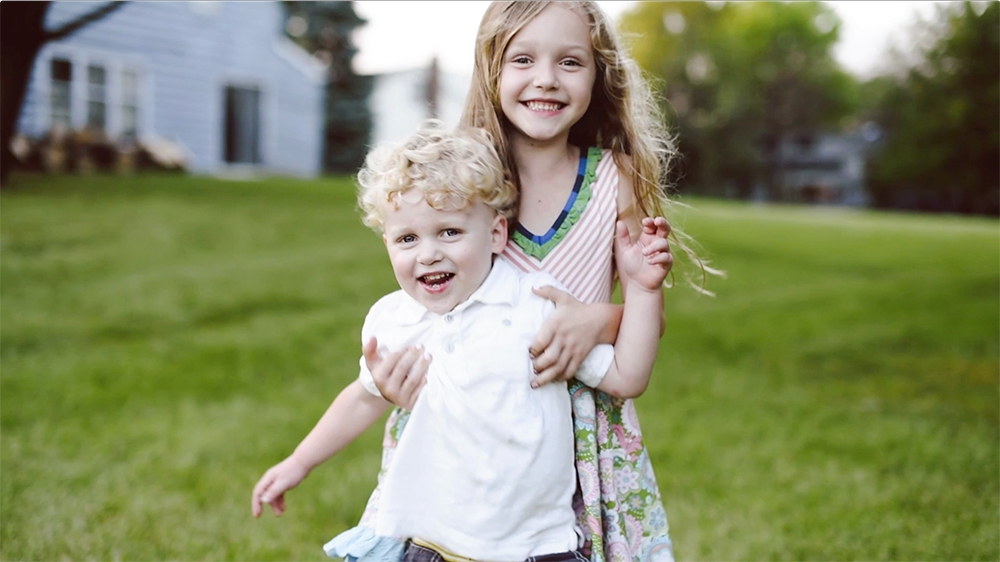
Barkules decided to profile his key subjects, so a portrait shot of each child was essential. “Sofia had her back to me, so I asked her to spin around and give me a big smile to introduce herself.” Also, giving the children games to play created loads of great and fun candid moments. A second close-up has Sofia bringing her brother over to the camera. She then gives him a big hug from behind to show how much she loves him.
Sofia hugs Caleb in the video “Summer Fun” by Andrew Barkules.
All in the Family: Videos and Nikon Gear
“Such camera versatility, and a wide array of capabilities in a single DSLR, has been a defining moment for me,” revels Barkules. “What thrilled me so much was learning that videography is not that much different than photography. It was inspiring to take on something that felt so similar to what I do when shooting stills, yet brings an entirely new emotion. The Nikon D810 makes motion capture really simple; it’s as easy as switching to Video mode, pressing the Live View button and then hitting the red Record button next to the shutter release button on top.”
Capturing footage that will become a cherished family video can be done in a single afternoon. Special lights and gear are not needed,” he affirms. “When making your short film, just remember that you are saving the love and interaction of the family, the memories and the moments. You can quickly and easily capture your family video using a Nikon DSLR. The learning curve is not steep. I love using this camera for client stills photography, but it’s great to know I now have powerful videography features in my back pocket for when the moment arises.”
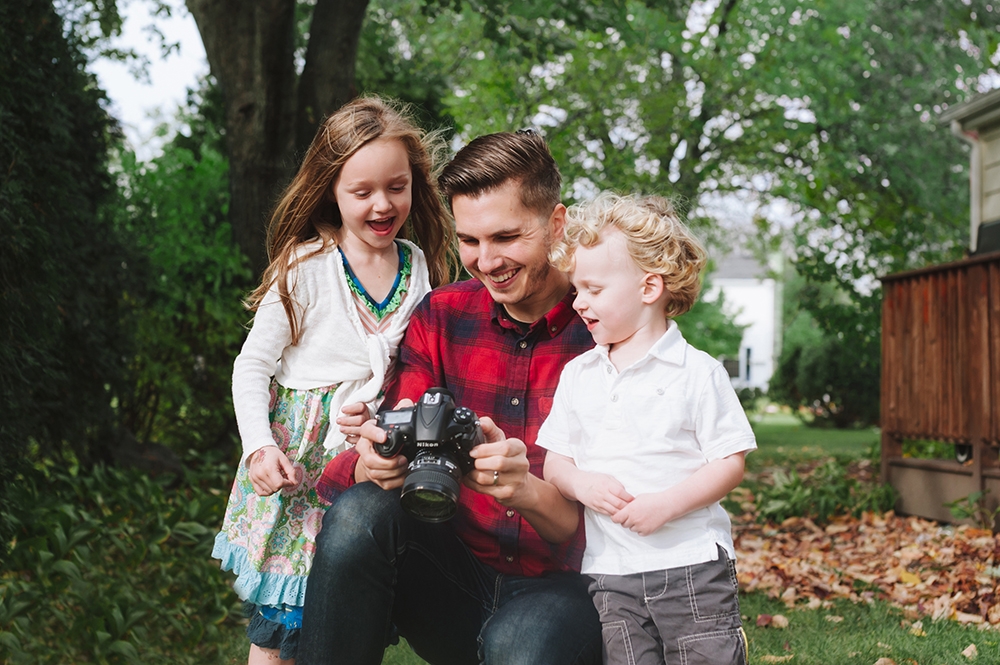
Working with children means changing the way you approach a shoot—show them how they look on camera as the shoot progresses to keep them excited and engaged.
Tips & Tricks:
-
When working with children, show them what you’ve been shooting on the LCD. Kids love to see what they look like on the camera. This builds a relationship between subject and director.
-
Consider your focal length. For individual shots of people, using a longer lens (85mm and higher) tends to be more flattering. Use wider lenses when you need to provide context to the scene.
-
Try shooting your subjects from different angles. This gives you more footage to work with, as well as the opportunity to make smooth edits when jumping from one angle to the next.
-
Keep rolling and don’t be afraid to sneak in shots. I was able to get natural reactions because I took a very casual approach to shooting. I tried to keep the camera at chest height so I could make eye contact and connect with my subjects.
-
If you plan on adding music to your video, try timing your edits to the beat. It gives your movie a sense of balance, and helps the viewer connect with your video emotionally.

