Super Telephoto Lenses for Landscapes
All landscapes aren’t photographed equally. With that being said, most landscape photographers immediately pull out their wide-angle lens when they come across a beautiful landscape scene. I’m not saying that’s the wrong lens, I’m just saying, change the habit, think outside the box…or in this case, the wide. There are so many intricate, story-telling scenes hidden within a landscape, and when you just shoot wide, many of these remarkable scenes go overlooked. In this article, I’m going to give you ten tips on how you can best utilize your telephoto lens while shooting landscapes.
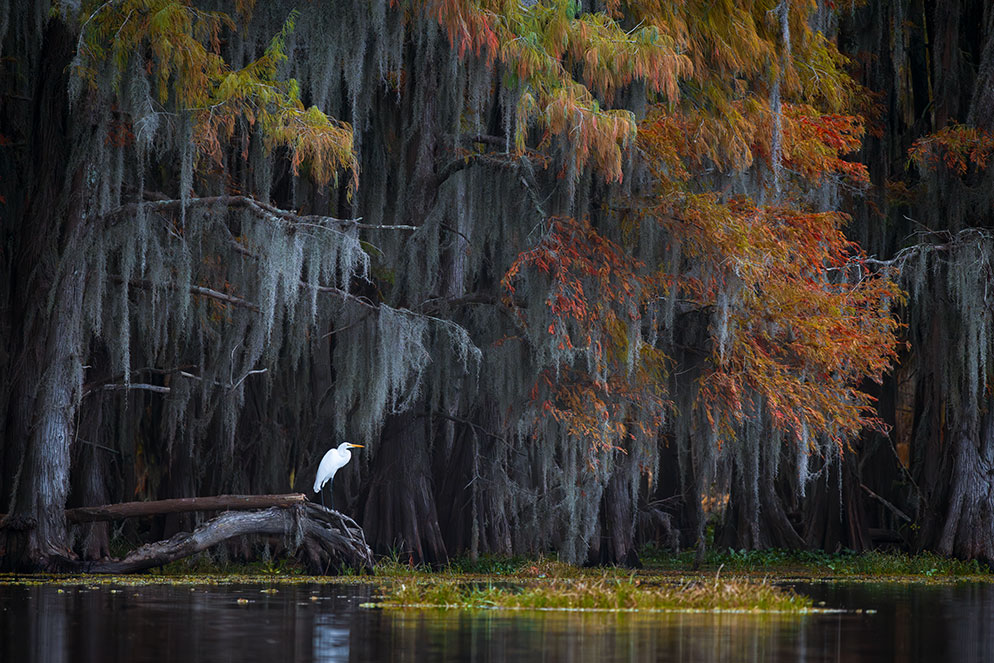
An egret sits on a floating tree stump in the swamps of east Texas. Z 8, NIKKOR Z 100-400mm f/4.5-5.6 VR S lens.
Tip 1: First off, let’s talk about composition. You may or may not know this, but as hawk-eyed as you may believe you are, your eyes don’t see at 200mm, 300mm or even 400mm. The first step to a successful telephoto landscape image is scanning the scene while looking through your lens. Sure, you can take a minute prior to assess the conditions regarding the light, drama and areas of interest, but trust me, you won’t find that perfect composition without putting your camera up to your eye. I like to first find an area of interest, then look through my telephoto lens and scan the area in a grid-like fashion, switching between horizontal and vertical compositions along the way. You’ll be surprised at what you can come up with once you start seeing the scene in a bit more refined manner.
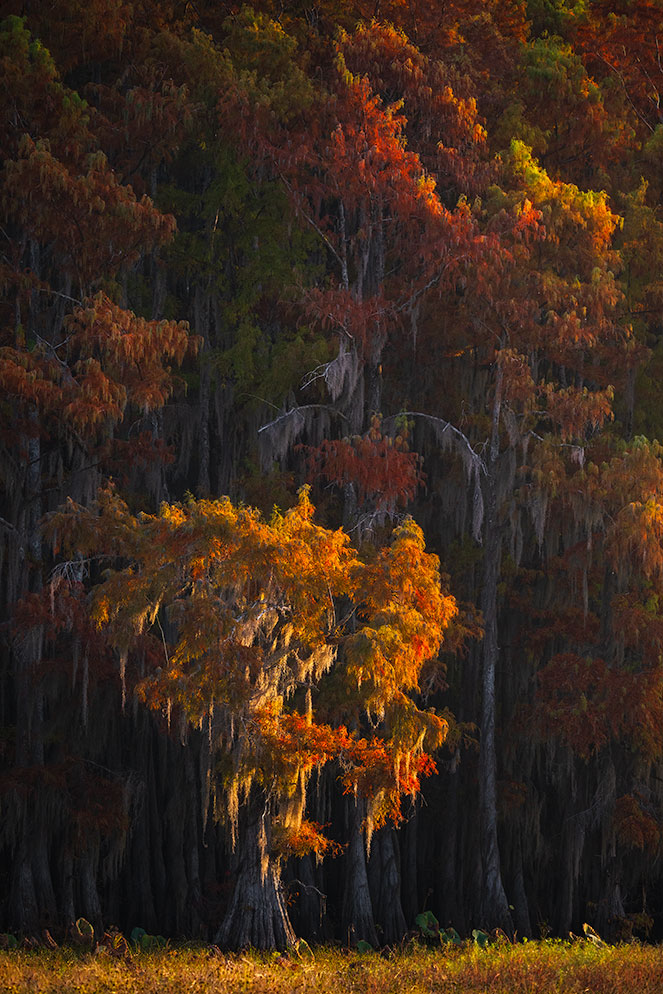
Cypress trees vividly glow in their fall colors during early morning light in a bayou of Louisiana. Z 8, NIKKOR Z 100-400mm f/4.5-5.6 VR S lens.
Tip 2: Once you find that perfect scene, I highly recommend utilizing a tripod to get your shot. There’s definitely room for error while shooting long lenses. The smallest bit of camera shake, even at higher shutter speeds, can result in a less-than-satisfactorily sharp image. When setting up your camera on your tripod, if your lens has a lens foot on it, take that as a not-so-subtle hint that at one point in the lens design stage, some engineer went, “hey, that’s a lot of weight and torque on the lens mount and maybe this lens should be mounted directly on a tripod.” So, if your lens has a lens foot, mount a tripod plate to it and mount the lens directly to the tripod to prevent any damage to the lens for a sturdier setup.
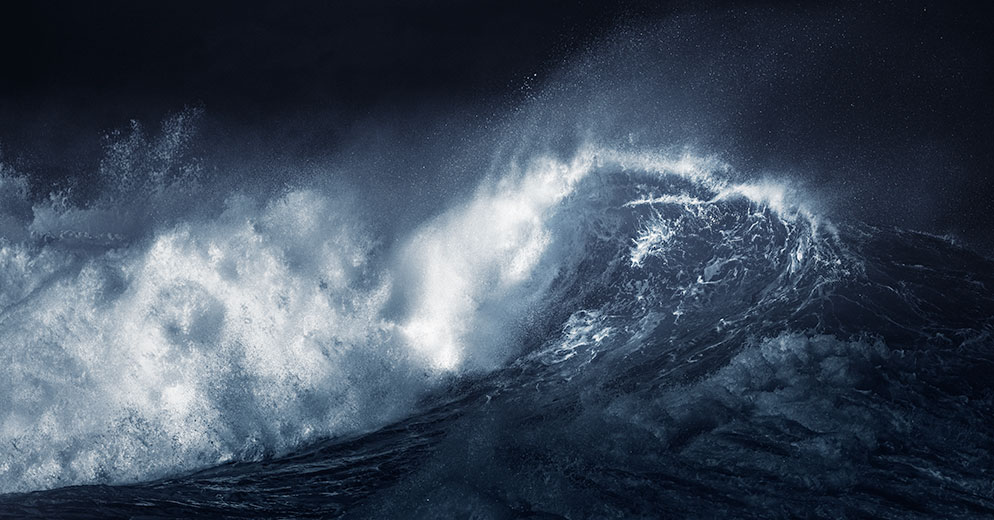
A large wave curling and moving across the Pacific Ocean. Z 8, NIKKOR Z 100-400mm f/4.5-5.6 VR S lens.
Tip 3: Once you’re on a tripod, you will want to make sure that your Vibration Reduction image stabilization is “Off.” The tripod is stable, so you don’t want to introduce shake by utilizing any sort of image stabilization when you’re already stable. I also recommend using some sort of cable or remote release to trigger your shutter. If you press the shutter button, the camera may shake before becoming stable again, so you may actually run into issues with camera shake when physically triggering the shutter that’s on a tripod. Another work around is setting a two second delay to give your camera sometime to stabilize after pressing the shutter. You can even use the SnapBridge app to trigger the shutter in remote shooting mode.
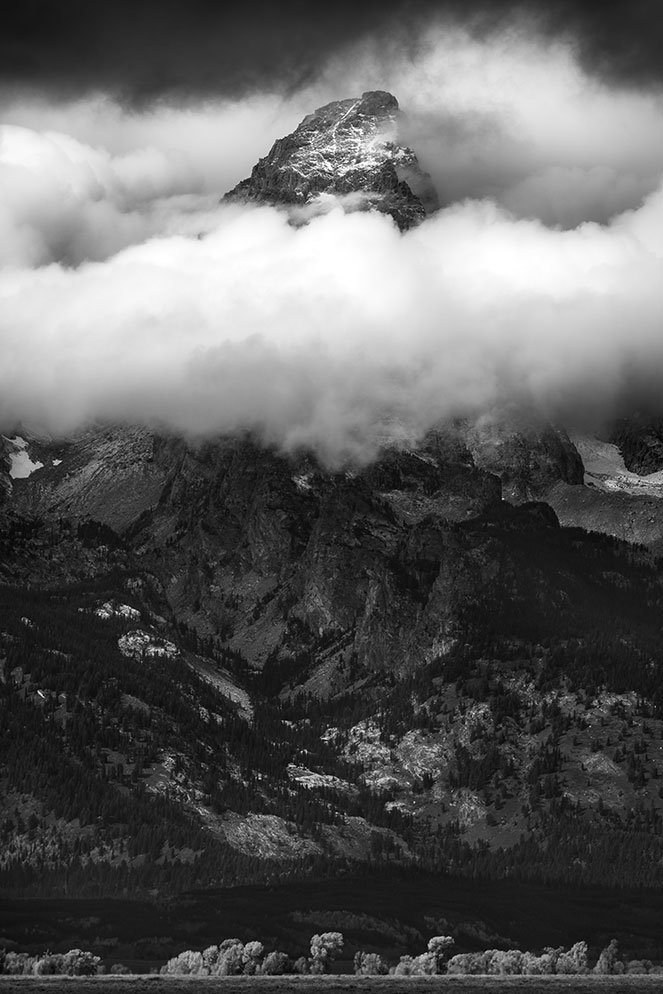
Grand Teton in Wyoming protruding above the clouds during a stormy fall day. Z 8, NIKKOR Z 100-400mm f/4.5-5.6 VR S lens.
Tip 4: Just because you’re using a telephoto lens doesn’t mean that your filters go out the window. Neutral density and circular polarizing filters can 100% still be used (and should be) while shooting with long lenses, so make sure to give them some love.
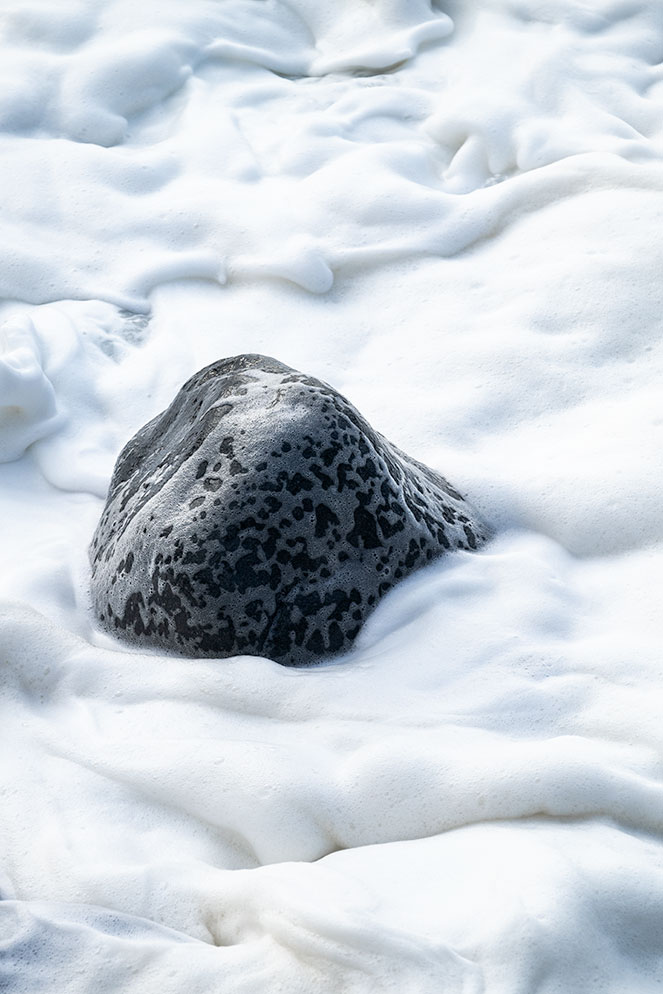
A lone rock amongst the silky sea foam in Iceland. Z 8, NIKKOR Z 100-400mm f/4.5-5.6 VR S lens.
Tip 5: Keep in mind that atmospheric distortion exists. This can either be from extreme heat or colder temperatures radiating off of a surface. This is extremely prevalent when shooting in the hours between sunrise and sunset in extremely warm or cold environments. The more distance you compress through your lens, the more likely you’ll experience this phenomenon, especially if you’re shooting directly across a landscape as opposed to up at it. Unfortunately, there’s no way to avoid this except shooting early and late in the day.
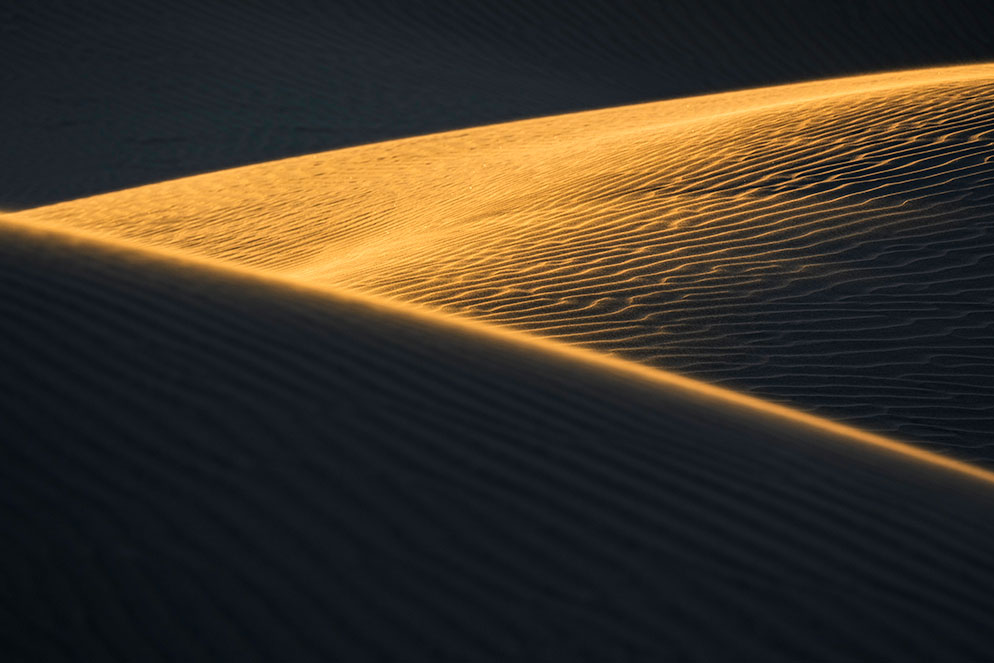
Early morning light skims across the top of two golden sand dunes in Death Valley. Z 7II, NIKKOR Z 100-400mm f/4.5-5.6 VR S lens.
Tip 6: When shooting in windy conditions, your long lens will act as a sail and catch a lot of that wind. That can result in shaky images or your composition being a bit off. If you find yourself shooting on a windy day, take note of which way the wind is blowing from and once you’re ready to shoot, stand as close to your lens as possible and try to block the wind. I’ll often try to set up my shots by using a car, building or even a tree to help shelter from the wind.
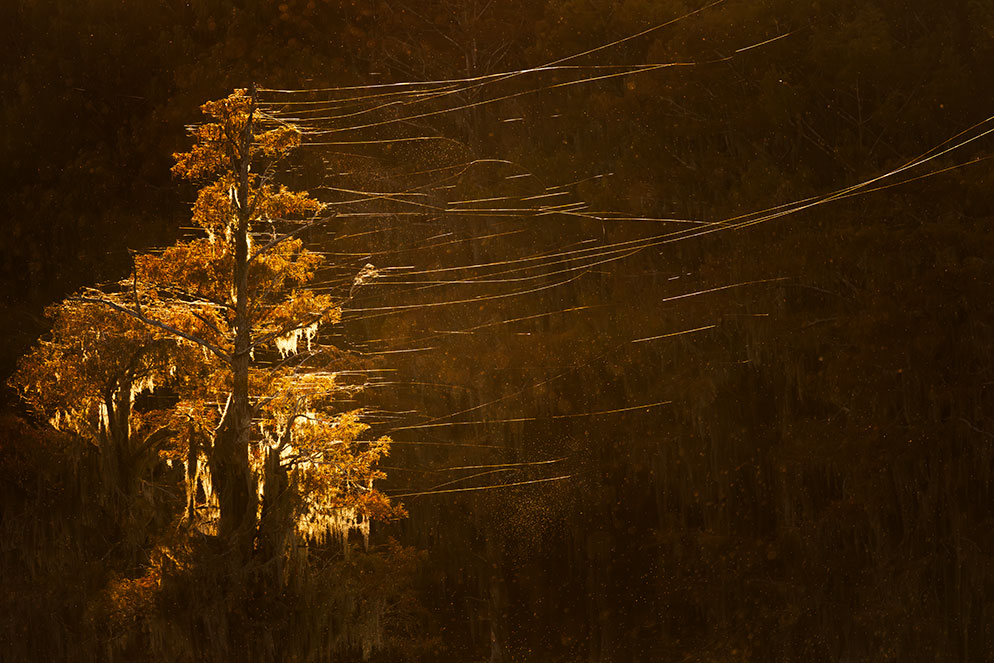
Spider webs stretch from a cypress tree as they blow in the wind on the swamps of east Texas. Z 8, NIKKOR Z 100-400mm f/4.5-5.6 VR S lens.
Tip 7: When possible, try shooting at a shutter speed twice the focal length of the lens you're using to obtain sharper images. For example, if I’m using a 400mm lens, I try to not drop down below 1/800s unless I’m going for a very specific slow shutter speed shot. Always take multiple images and double check your image sharpness before moving onto the next composition.
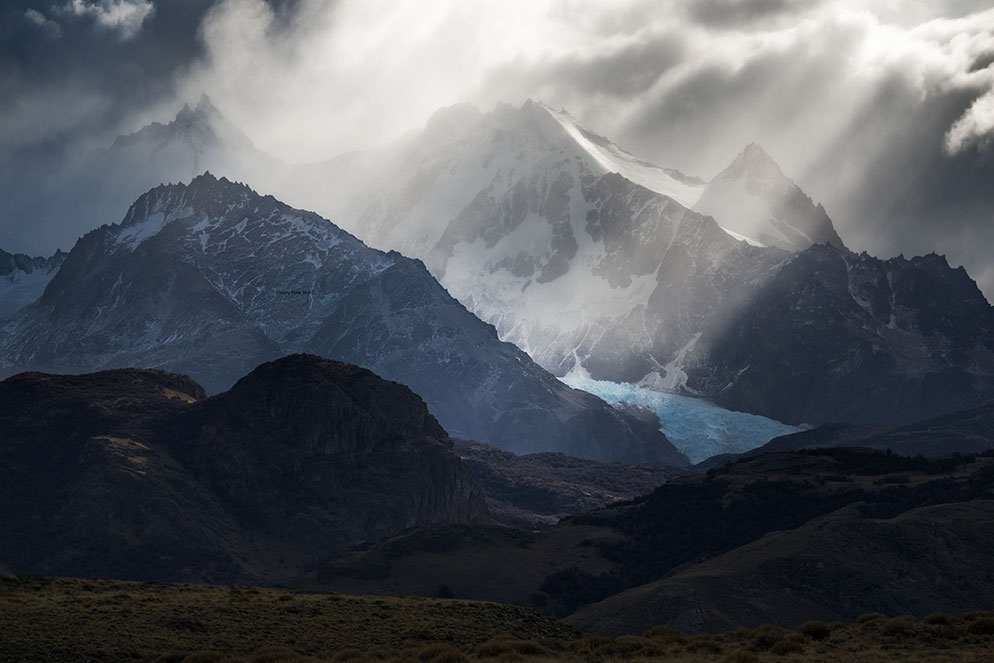
The mountainous Patagonia landscape of Argentina illuminated by crepuscular rays as storms move throughout the region. Z 8, NIKKOR Z 100-400mm f/4.5-5.6 VR S lens.
Tip 8: Some of my favorite telephoto landscape shots have come from finding areas of dramatic plays of light or color, interesting shapes or unique details. For example, this image below is from a stunning volcanic area in Arizona. Most of the landscape is either black from old lava, or forest, but in this small area, the trees contrast wonderfully against the red gravel. A wide-angle wouldn’t capture this scene as it would be a small section of a very wide frame that could easily be overlooked.
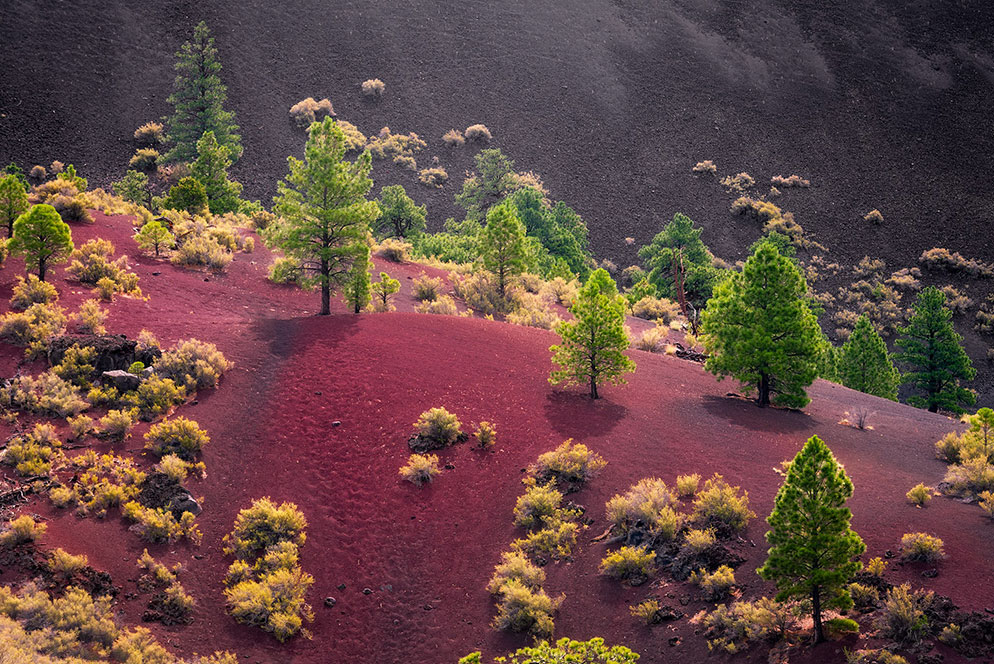
The volcanic landscape of northern Arizona sprinkled with new life and vegetation. Nikon D850, AF-S NIKKOR 70-200mm f/2.8E FL ED VR lens.
Tip 9: One of my favorite scenes to create while using a long lens is to compress two segments of a landscape to bring them in as one. This technique is achieved by creating a distance between myself and the subjects, but then zooming in a few hundred millimeters on the furthest subject, and this will create a compression between the layers. An example of this is the image below, a beautiful tree covered in fall foliage amongst the rocky terrain of the Alabama Hills. The scene looks as if the tree is very close to the rocks in the foreground, but it is indeed a couple of hundred feet away.
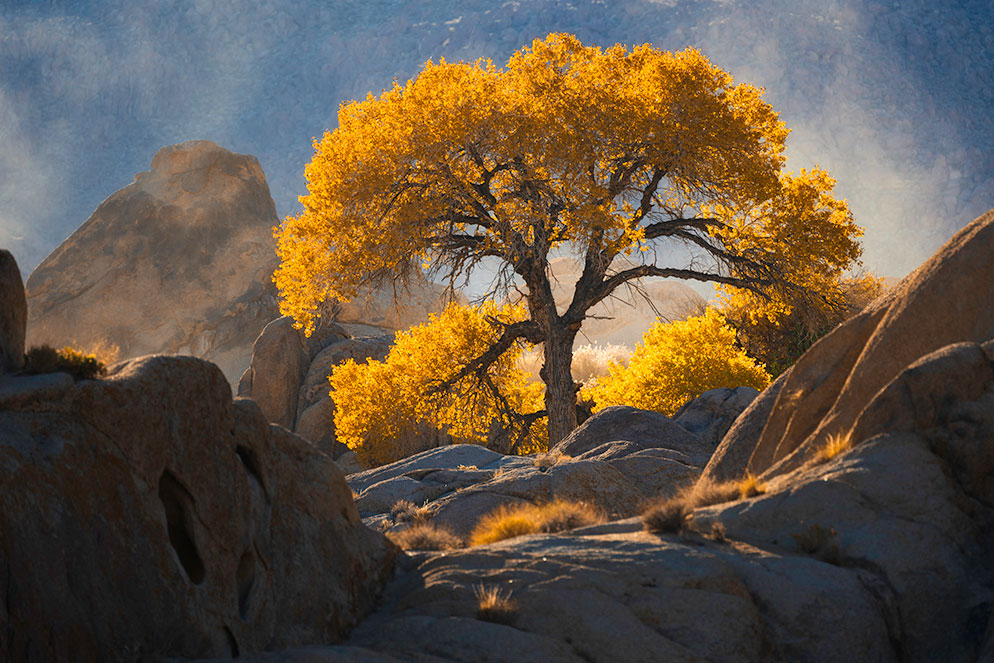
A cottonwood tree, decorated in vibrant fall colors, sits backlit by the sun at the foot of Mount Whitney in California. Z 7II, NIKKOR Z 100-400mm f/4.5-5.6 VR S lens.
Tip 10: Use a long lens, get low on your landscape and then focus on a distant subject. This is a great way to create depth amongst a scene but make sure to use a lower aperture here to help convey the shallow depth of field. Utilizing a soft-to-sharp transition within your frame is a great way to help lead your audience's eye out to your subject.
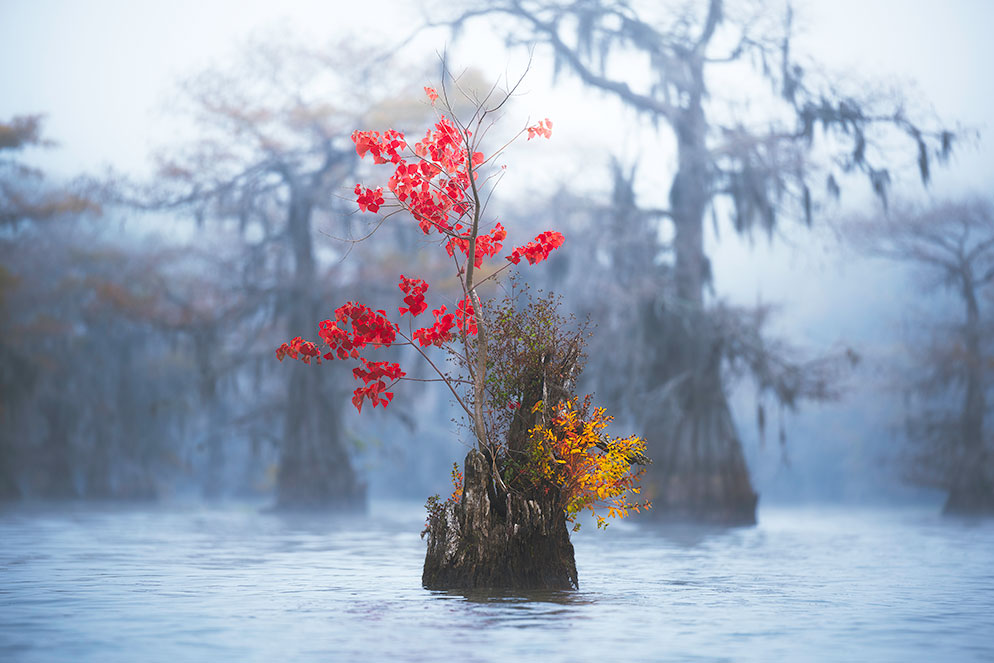
A lone tree stump with a splash of fall colors growing out of it in the swamps of east Texas. Nikon Z 7II, NIKKOR Z 70-200mm f/2.8 VR S lens.
Okay, that’s it for now. I hope these tips help you think outside the wide-angle next time you come across a beautiful landscape!

Mike Mezeul II is a photographer and photojournalist addicted to storytelling and adventure. He's photographed landscapes, professional sports, natural disasters, concerts, air-to-air aerial photography and more.
More articles by this contributor


