Romancing the Southwest: Photographing in Monument Valley
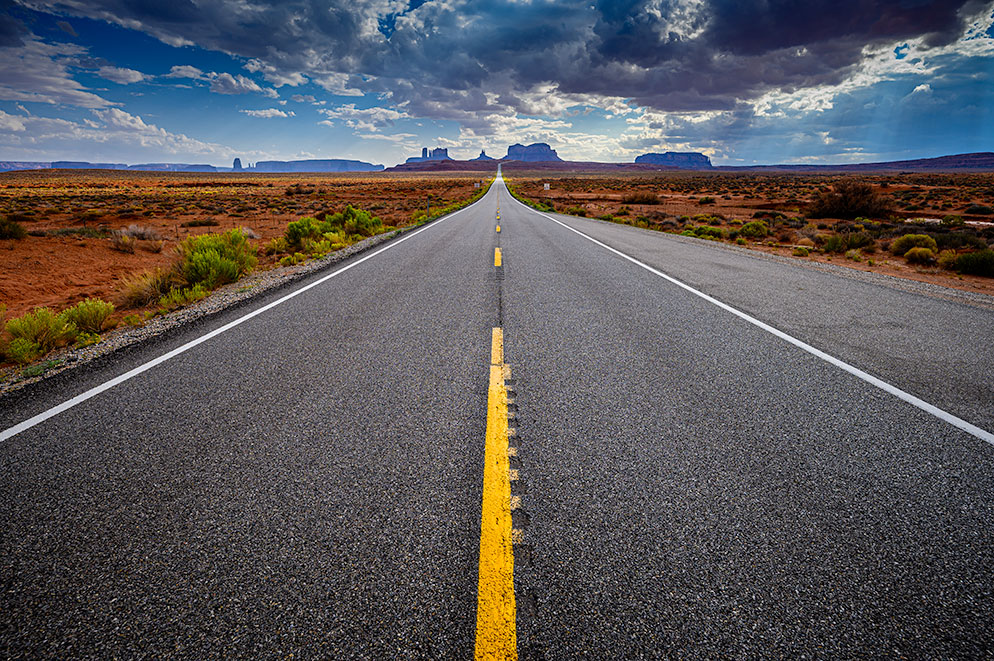
The image of the American West—the land of cowboys and tumbleweeds, gorgeous sunsets, and vast rugged landscapes—was established and bolstered by classic movies with stars like John Wayne and storytellers like John Ford. Many photographers travel to these magical lands looking to bring home some of the West in their images. One locale most ventured to is Monument Valley. This Tribal Park can seem visually overwhelming and photographically challenging. Capturing the Old West feeling of that vast landscape is simpler than you think, by applying some ideas and photographic advice. Let’s get you home on the range in Monument Valley, romancing the Southwest!
Being Prepared
The loneliness of the West that you see in films still abounds, making the photography that much sweeter. It also requires us to come prepared—mentally, physically, and photographically—so that we can have fun and come back with images. The mental prep comes from watching as many of the films that were shot in Monument Valley over the decades as possible. Films shot by the legendary John Ford will provide you with the sweeping landscapes you’ll be seeing and ideas of how you might want to bring back those memories.
Physically, the one critical matter is water. There is water at Monument Valley, but it is essential you stay well hydrated! No matter the time of year, staying hydrated in this dry environment permits you to make the most of it. There is no bad time to be in Monument Valley, but photographically, I prefer being there in August when the afternoon skies fill with thunderheads and dance about the valley in great drama. Often near sunset the clouds let loose, filling the skies with lightning. Monument Valley is accessible year-round so in the winter, bring warm clothing, in the summer wear light clothing and lots of sunblock. Other times of year, bring whatever you require to be comfortable.
Photographically, coming prepared is determined in part by your lodging. I recommend The View, which is literally on the rim of Monument Valley. Many of the shots you see here were taken from the balcony of my room. How does this affect the gear you might bring? I love setting up a camera with a NIKKOR Z 24-70mm f/2.8 S lens on the balcony to capture time-lapse footage during the day while I’m out shooting. This focal length is the perfect lens for much of the landscape photography. The NIKKOR Z 24-120mm f/4 S lens is an outstanding choice to take into The Valley.
Balcony Shooting
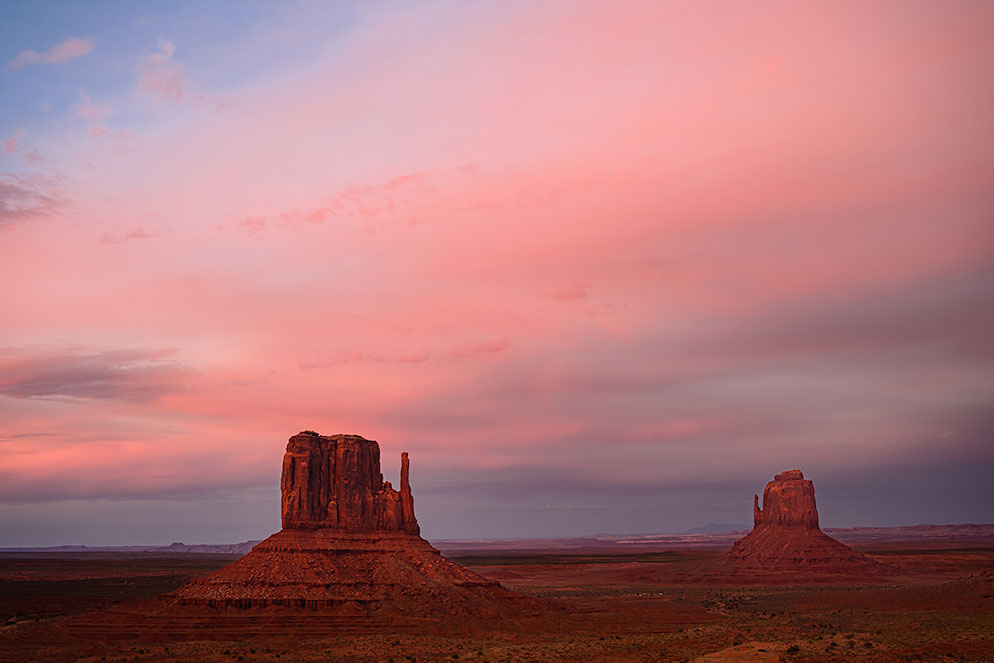
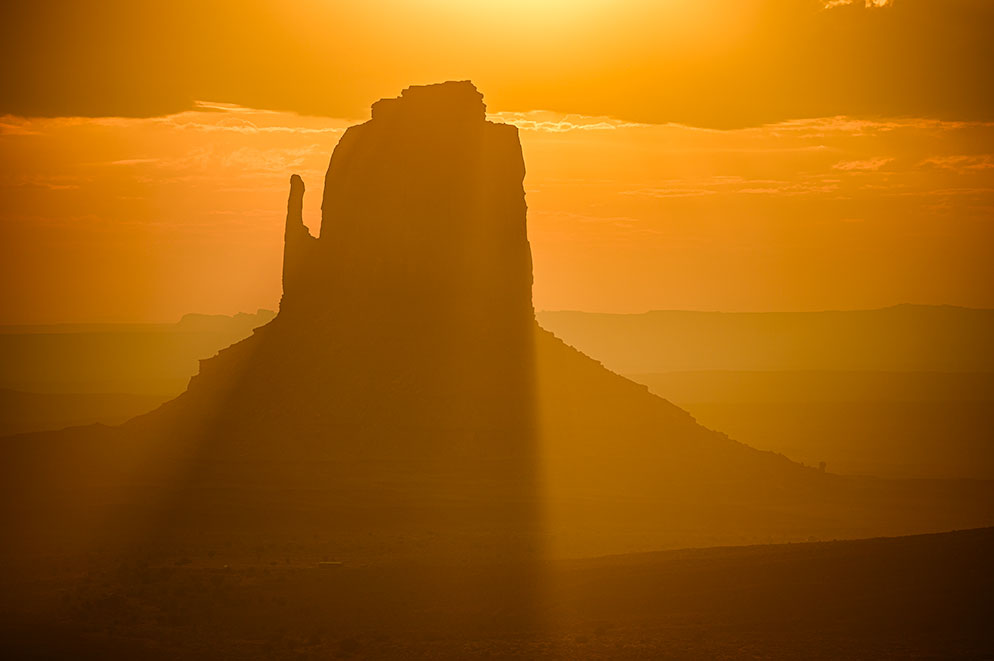
There are some brilliant strategies for bringing back the allure of Monument Valley in our photographs. The rooms at The View all have balconies that look out onto West Mitten, East Mitten, and Merrick Butte. In fact, you’re eye-level with them. When it comes to sunrise, you’d be hard pressed to find better or more convenient place to shoot!
Balcony Shooting is literally a round-the-clock proposition! This comes in many forms—time-lapse, starry nights, sunrise, storms and sunsets are just a few examples of what make shooting from your room so rewarding.
Time-Lapse in the Valley
Let’s start with the time-lapse, something that many folks don’t even think about doing at Monument Valley. Monument Valley is a timeless locale where time-lapse is a natural to shoot. The balconies look to the east, the rising sun and the moon. Typically, the clouds go west to east, so in your time-lapse you see them moving away from you, which is very cool. If there are thunderstorms, they tend to go right to left as you look out from your balcony, providing a great sense of motion.
The weather is what brings drama to time-lapse videos of Monument Valley. However, weather can also create some issues as the wind can bring dust and the thunderstorms rain. The weather is the first consideration you need to ponder, in deciding where to set up your tripod. You want your rig to have as much protection from the elements as you can provide while giving you the flexibility to shoot around it (so bringing two camera bodies is a good idea). At the same time, I highly recommend powering your camera with AC power rather than batteries. (see your camera’s user’s manual to find out which AC power accessories you’ll need to use). I also bring a six-foot extension cord with me. This will give you the freedom to leave the camera capturing time-lapse footage on your balcony while you explore other spots in The Valley.
My time-lapse video settings are as follows:
I’ll set up a Z 9 to capture time-lapse with a NIKKOR Z 24-70mm f/2.8 S lens set to Aperture Priority, Auto WB, Exp Comp -.07, f/2.8. I focus the lens using AF on The Mittens and then set the lens focus switch to M.
Interval: 00:00’10”
Shooting time: 14:25’00” (being recorded to a ProGrade 1.3TB card)
Exposure smoothing > ON
Choose image area > FX
Video file type H.265/8-bit
Frame size/frame rate 2160-30P
Interval priority > OFF
Focus before each shot > OFF
Destination > 2
Daylight ISO is set to 100/Nighttime ISO is set to 1600 with a constant aperture throughout
Time-lapse movies are so much fun to watch and share, and Nikon cameras make them easy to do because the camera can create the final video file for you.
I leave my time-lapse camera running practically 24/7. I’ll turn the camera off briefly before I leave my room, then turn it right back on. Doing this saves the time-lapse file that was just created. I’ll do the same when I return to my room at the end of the day. I also turn it off once the sun has set to switch the ISO for nighttime; and do the reverse before the sun rises. If an electrical storm is coming, I’ll switch the Z 9 to battery power to prevent power surges from affecting the camera’s constant shooting.
It's a simple task to drop the time-lapse movies into any program to make one giant 24 hour show or break them down into special moments.
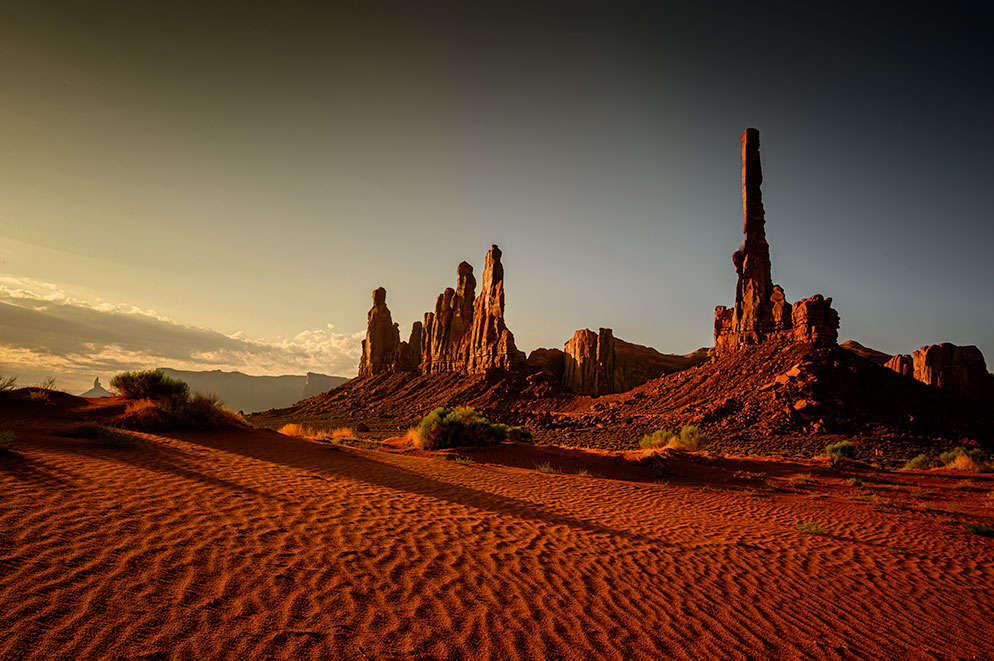
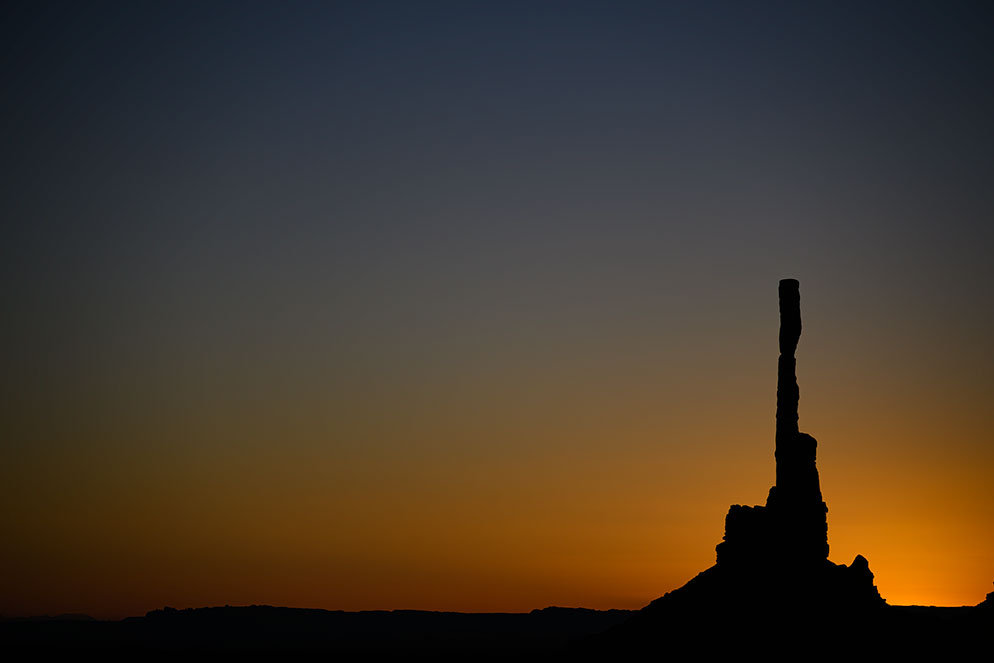
Prior to sunrise on crystal clear mornings, the desert sky is the perfect prism, displaying all the colors of the rainbow. Totem in perfect silhouette is the star set on the stage of the ages.
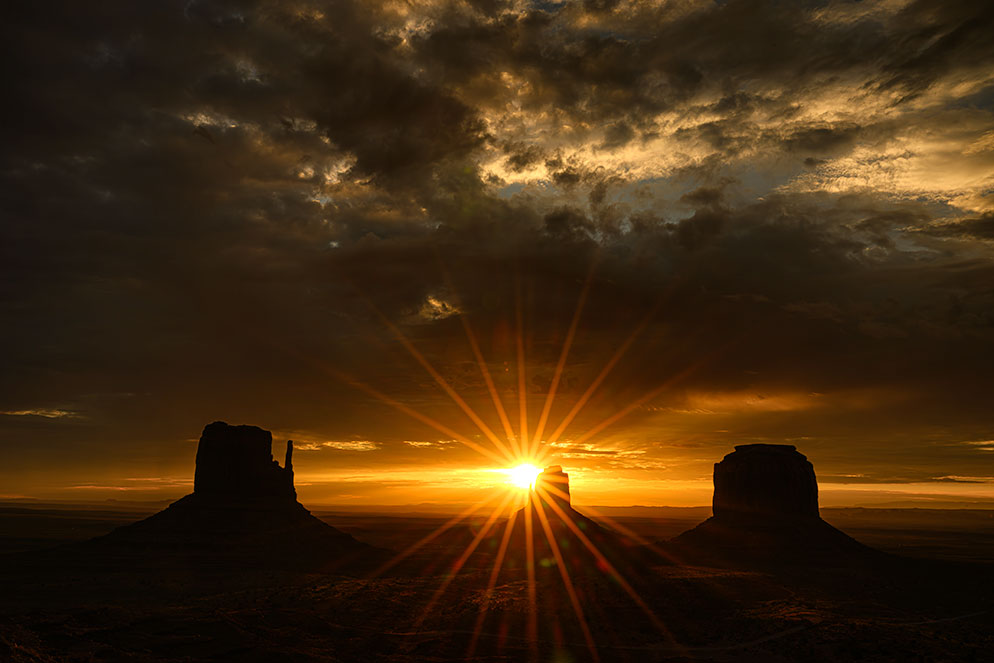
Sunrise is when you’ll be most actively shooting from the balcony, generally. This is when I’d be clicking away with a Z 8 and either a NIKKOR Z 24-120mm f/4 S or NIKKOR Z 100-400mm f/4.5-5.6 S lens. The WB is often set to 10k, Exp Comp -.03 and the rest, well, that’s left to the imagination and passion.
There have never been any two sunrises that are the same, or for that matter, sunsets either. If there is a bald sky, sunrise can be brief, and you might want to close down the aperture all the way for a starburst. Then there are the clouds that dance about the heavens, creating a landscape photographer’s wonderland. Truly some of the best photography at Monument Valley is Balcony Shooting, but wait we’ve just begun!
The Balcony at Night
After an amazing day of shooting, you might think it’s a good time to curl up with your day’s images and relive the memories all over again. You’d be wrong, because there’s more great shooting to be had. There’s a sky of stars overhead that you won’t believe!
Photographing starry nights can take on many faces at Monument Valley. Just pointing your camera up isn’t enough because you are after all in Monument Valley, so it must be in the photo. The very recognizable Mittens will be in the foreground. You can either plan your visit so there’s no moon or what I prefer is to go when there is a moon because the moon will light The Mittens with the stars overhead. Since you won’t have to travel further than your balcony, you can experiment to your heart’s content. My starting exposure would be Aperture Priority, ISO 1600, f/2.8, -.07 AWB and go from there.
Black & White Brings Back the Romance
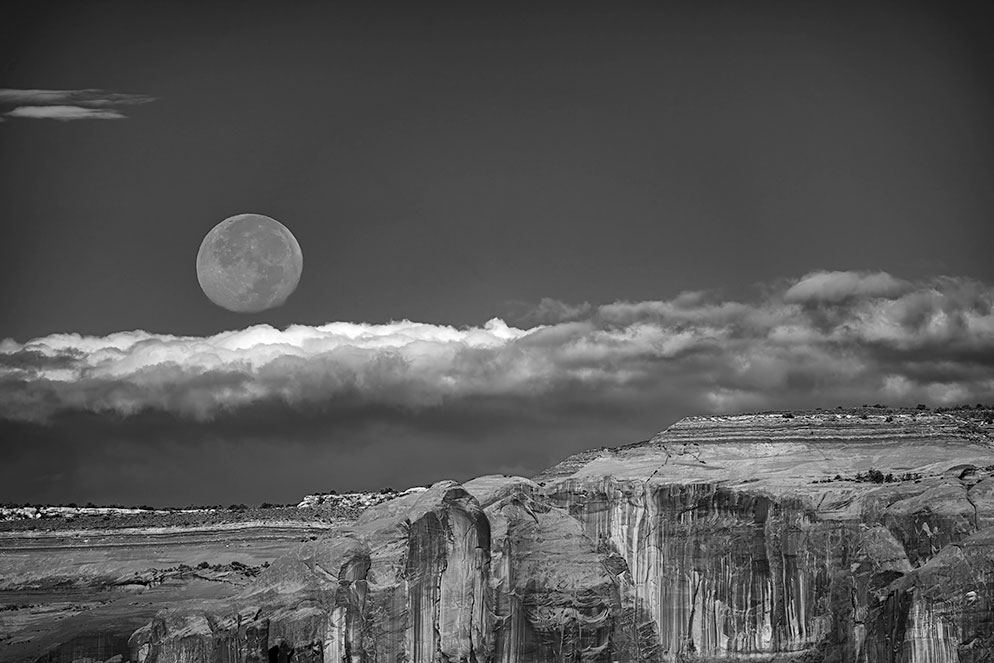
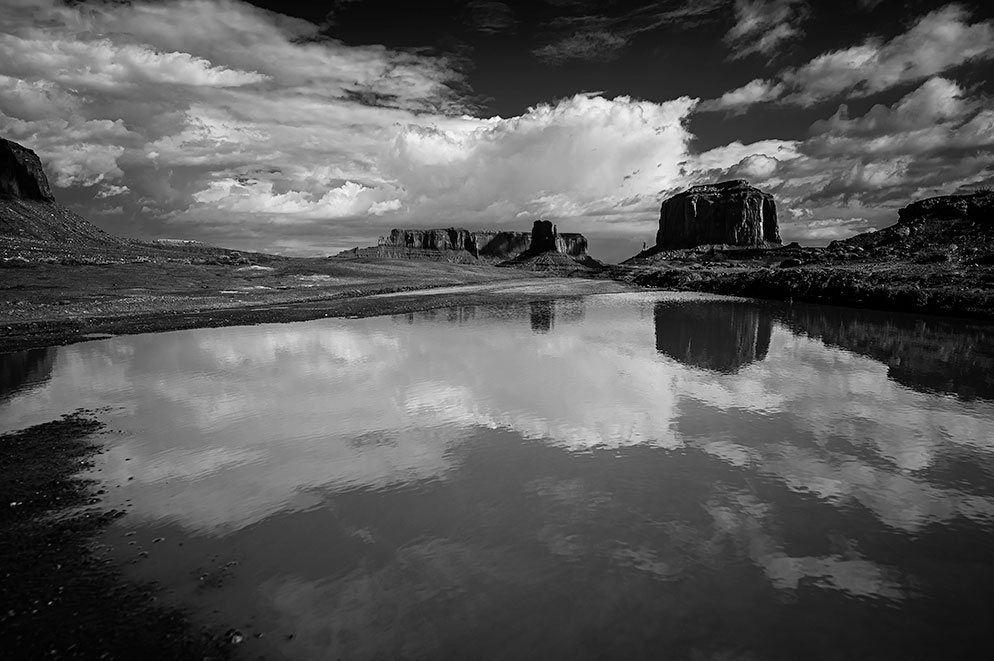
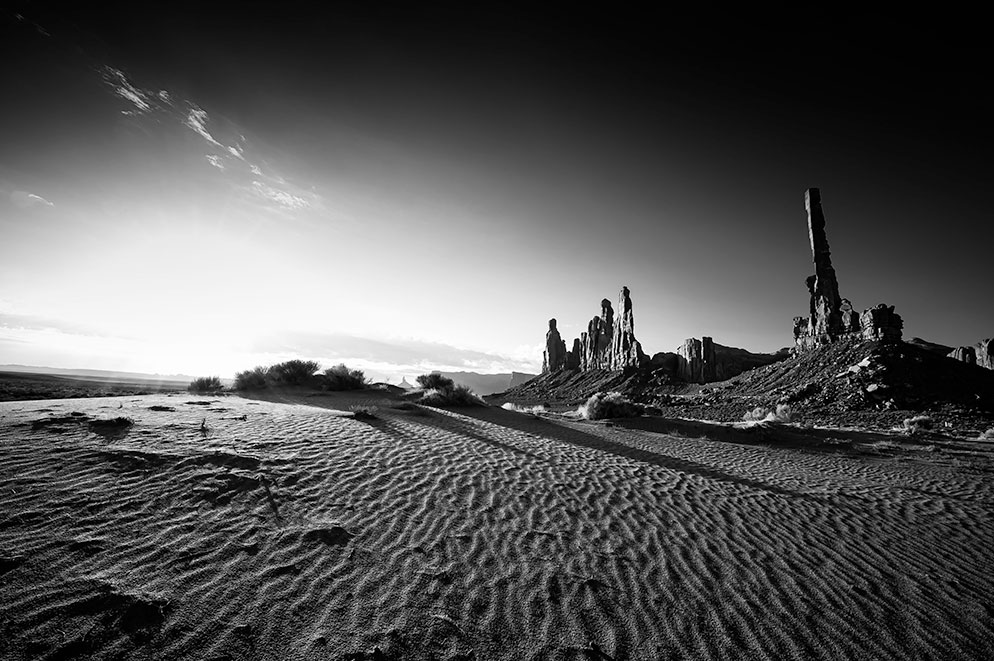
As the light plays across the mesas, mittens and formations, highlights and shadows tell a timeless story. Sharing that story in our photographs while reaching out and touching the heartstrings of our viewers is elegantly done in B&W. All the shades of red, orange, and yellow translates to shades of black, white, and gray. The Z 8 makes capturing B&W in-camera such a joy, bringing fun to this romantic medium and removing much of the struggle. It all begins with the Picture Controls. The Z 8 offers three different B&W Picture Control settings I use.
My settings: (all default unless noted below).
Monochrome
Sharpening +5
Mid-range sharpening +5
Clarity +4
Contrast +2
Filter effects R
Flat Monochrome
Sharpening +5
Mid-range sharpening +5
Clarity +4
Contrast +2
Filter effects R
Deep Tone Monochrome
Sharpening +5
Mid-range sharpening +5
Clarity +4
Contrast +2
Filter effects R
This gets you started. You might think that you don’t see in B&W, which makes “previsualization” a challenge, but with mirrorless cameras, you can see the Picture Control you set in the viewfinder.
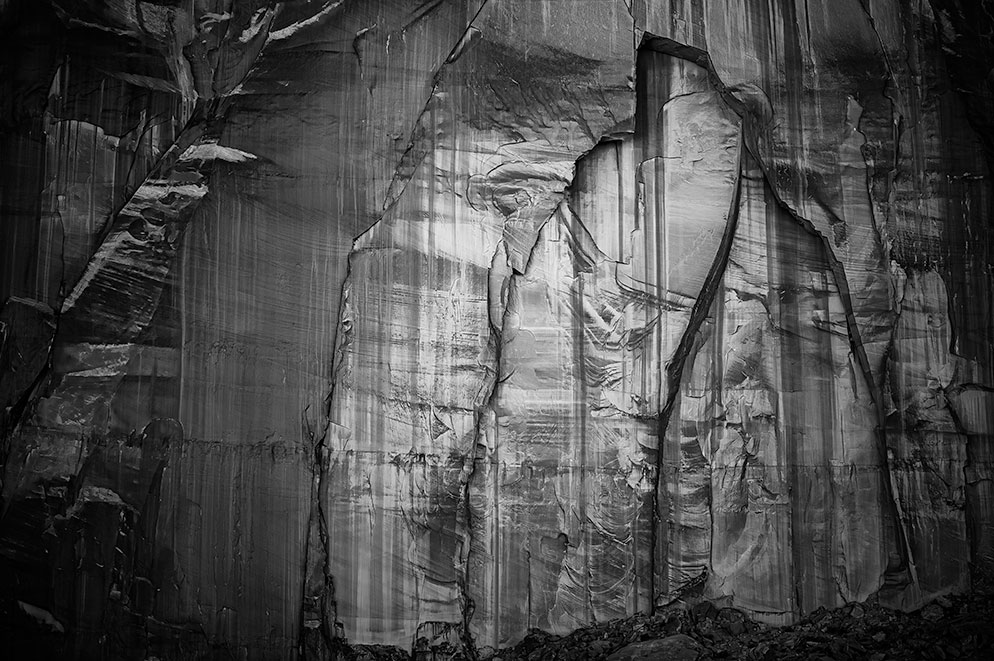
Let’s say you’re looking at the cliff face west of the Three Sisters formation while the moon is rising and you feel it would be a great B&W photo, but you just aren’t sure. Once you’ve selected a Monochrome / B&W setting, you can further tweak it by using a Polarizing filter.
The “Two-Loop” Experience
In Monument Valley there are two important Loops to know about. The public is allowed to drive the “inner loop” on their own, while you can only visit the “outer loop” with a guide. The inner loop doesn’t change whereas the outer loop changes continually. Guides will take you to their favorite locations along with any requested stops you have. There are a couple of elements that are constant no matter which loop you find yourself traveling.
The long shadows of Totem, the multitude of miniature sand dune shadows, all scream out to be shared in B&W! An effective way to express the romance of the West is simply, go to Monochrome.
On the inner loop, your own vehicle may be able to act as a barrier against the dust to some extent and may be able to wait for dust to settle before getting out with your camera. On the outer loop, however, you ride in guide trucks, on benches out in the open, so there’s no escaping the dust. A white towel can be your best friend. Another choice is to put a rain cover over your camera bag to keep the possibility of getting dust on your gear to a minimum.
The basic kit to bring would be the trilogy of f/2.8 lenses: the NIKKOR Z 14-24mm f/2.8 S, NIKKOR Z 24-70mm f/2.8 S, and NIKKOR Z 70-200mm f/2.8 S. I’ll also add in a Fisheye lens.
When there are bald skies (no clouds), the polarizer is an important addition to remove the blue-sky reflection from the red rock. After that, it’s time to take it all in and hit the loops!
One Visit Isn’t Enough
Monument Valley’s timeless landscape can fill plenty of time just for you to take in the sights and explore in addition to creating photographs. You’re now primed for your photographic journey to Monument Valley. With an idea of what gear to bring and having my exposures as a starting point, you’ll be prepared to make Monument Valley a priority on your photographic bucket list. Continue the visual storytelling of the southwest—you’ll find it rewarding with memories of your visit to share.
See more of Moose Peterson's work at his website: moosepeterson.com/blog.

