Outside Shots: Go Long
Revealing the invisible
The cumulative effects of events happening all around us in the outdoor world are invisible to us. The ebb and flow of water and the streaming of clouds are perhaps the most common examples. They take place over time, and the way to capture them in often surprising images is to first become familiar with some basic techniques of long-exposure photography, and then collect some essential gear.
I define the long exposures needed for these images as lasting over one minute, and for exposures that long the first essential is a tripod. Next comes neutral density (ND) filters—uniformly dark filters which, when placed onto a lens, hold back light. For very long exposures the one thing you don’t want, after camera movement, is too much light reaching the sensor. I use 5 ND and 10 ND Singh-Ray Mor-Slo filters, which hold back five and ten stops of light, respectively. I can also stack them—that is, use them together on my lens—for 15 stops of neutral density. Holding back that much light means a very long exposure—one minute, two minutes and more—which is exactly what I want.
On a very bright day I know from experience that my 5 ND filter won’t do the job, so the 10 ND is my starting point. And the look I want—lots of cloud movement, for example—gives me the clue to exposure time. With the trial and error that’s almost always involved comes sharper judgments and quicker decisions.
I start with my camera on a solid tripod and my MC-30 cable release attached so I can lock the shutter open for the length of the exposure. (I once forgot my cable release and tried to hold the shutter release down with my finger. It didn’t work and it never will. Cable release required!) Then I take a single, properly exposed image, note the shutter speed and enter that speed in the LongTime Exposure Calculator app on my iPhone, along with the amount of neutral density I’m going to use. With exposure time and ND factor entered, the app automatically calculates and displays the exposure time.
Next I add the chosen ND filter or filter stack to the lens, lock and press the cable release and set my iPhone’s clock timer to count down the exposure length. When the timer sounds, I close the shutter. I check the result on the LCD, then either make adjustments or move on to the next scene.
Most of the time I have noise reduction turned off for these images, as my multi-minute exposures are generally shot in bright light. If you decide to use noise reduction, remember that it can double the write time of the image to the memory card.
Here are some short notes on the long-exposure photos you see here.
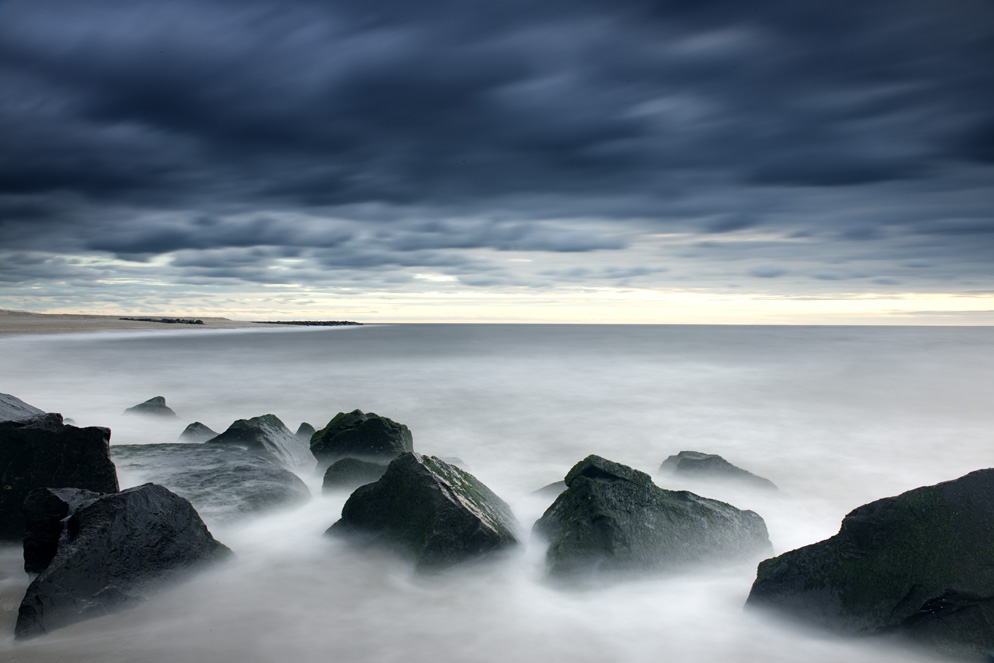
Sunset Beach. I’d estimated a two-minute exposure with my 5 ND filter for the late afternoon light. The rocks were properly exposed, but the clouds were blown out, so I shot a second frame and hand held in front of the lens a Singh-Ray three-stop “hard step” ND filter for the entire exposure to darken the clouds. In postproduction I used Nik Software’s Viveza 2 to darken and add structure to the rocks.
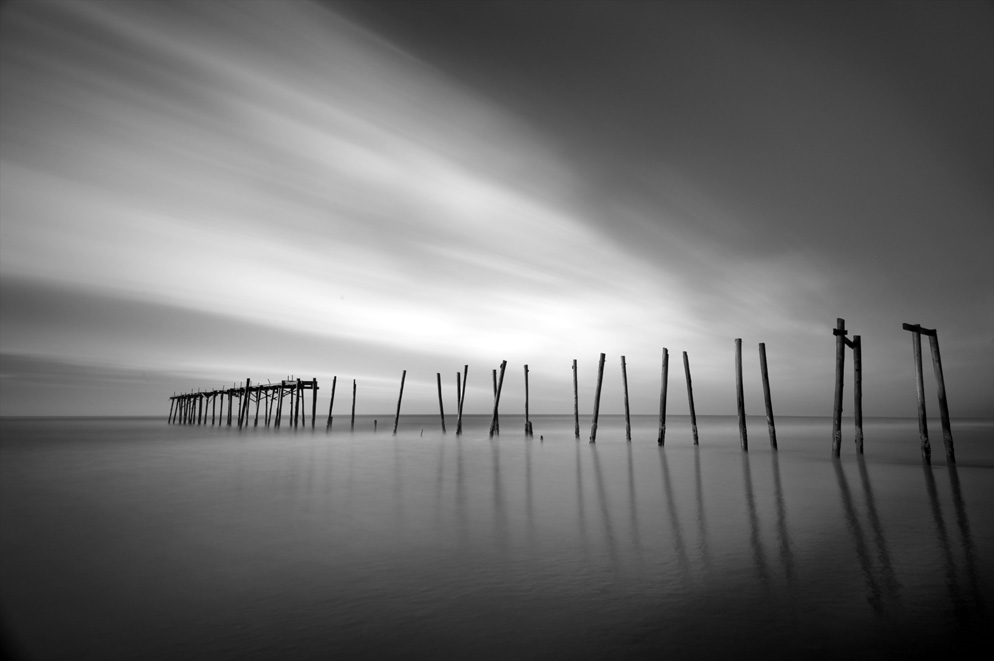
59th Street Pier. The soft cloud bank slowly moving across the sky creates a stark contrast to the structure, and the moving ocean takes on a smooth, mirror-like look in this four-minute exposure. I used a 10 ND filter because of the late morning’s very bright sky. In post I used Nik Software’s Silver Efex Pro 2 to convert the image to black-and-white.
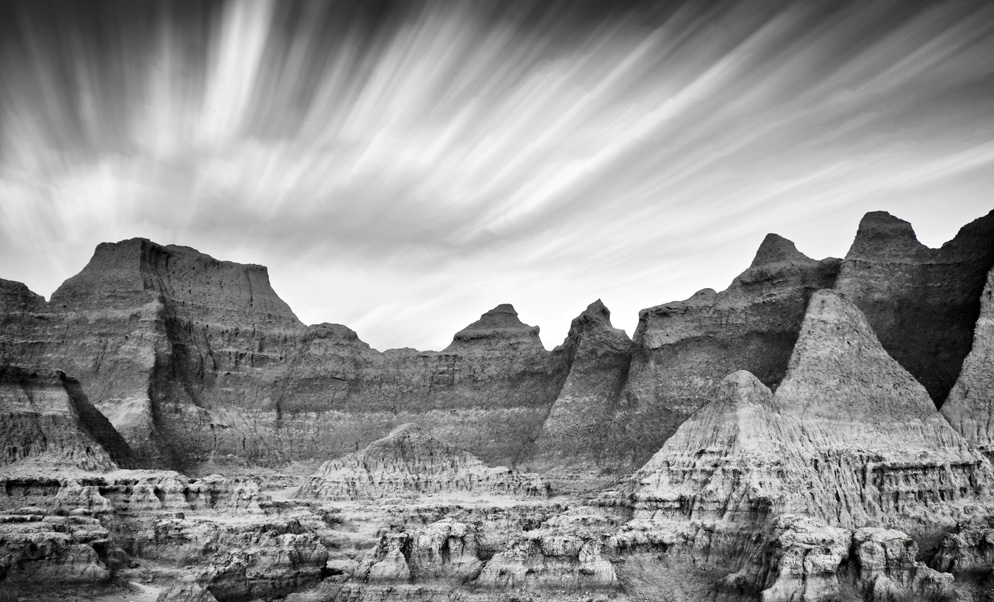
Badlands. The moving cloud bank was apparent, and using the 10 ND and an eight-minute exposure allowed the clouds to create surreal streaks as they moved out of the frame. This is another post conversion to black-and-white.
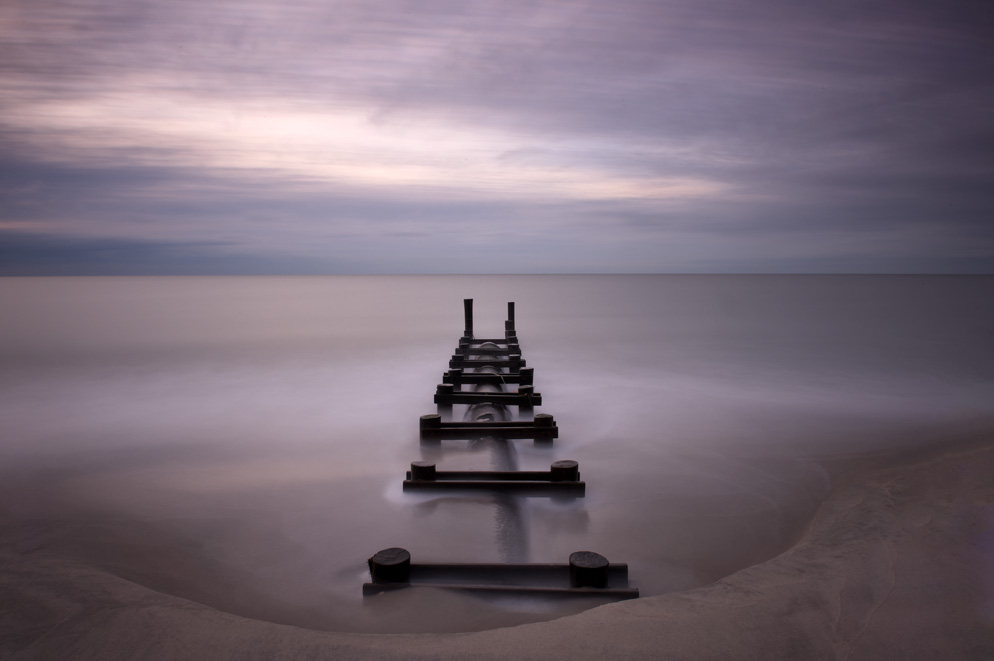
Poverty Beach. A four-minute exposure using the 10 ND and the three-stop “hard step” filter gave the image the surreal look I was after. The morning was overcast and the inherent slight warm cast of the 10 ND created the warm tone.
If you’d like to capture the intriguing effect of time, I suggest starting with a 10 ND filter and adding the 5 ND to your camera bag if you find yourself needing more exposure minutes.
Speaking of adding, an added attraction here is that prime time for extreme long exposures begins in late morning, so here, at last, is an outdoor photography technique that permits a little extra sleep.


