Multiple Exposures: Creative In-Camera Techniques
It’s hard not to like a camera that just keeps getting better and better. Like many Nikon cameras, the Z series mirrorless bodies offer a plethora of new innovative features. Your photography is apt to get more fun and more creative.
One shooting mode has dramatically improved, and it wouldn’t be possible without the Z system electronic viewfinder; multiple exposure photography. Multiple exposure has been around since the film days, but required precise calculations to get the correct exposure. Nikon digital SLR cameras began offering in-camera multiple exposures, and the camera seamlessly blended the images together. But there was one challenge with DSLR multiple exposure; you never knew exactly how your images would line up and overlay on top of each other. Enter the Nikon Z system.
Using the electronic viewfinder, the Nikon Z cameras will show the first image so you can accurately overlay over your second shot. The first image is displayed at a reduced opacity so you can see through it when composing your second shot. And if you take more than two images, the camera will continue to show you the other images that will be blended during multiple exposure.
How can you use multiple exposure in your photography? Think double exposure portraits, action sequences, soft flower macros and mystical landscapes just to name a few of the creative choices made possible using multiple exposure.
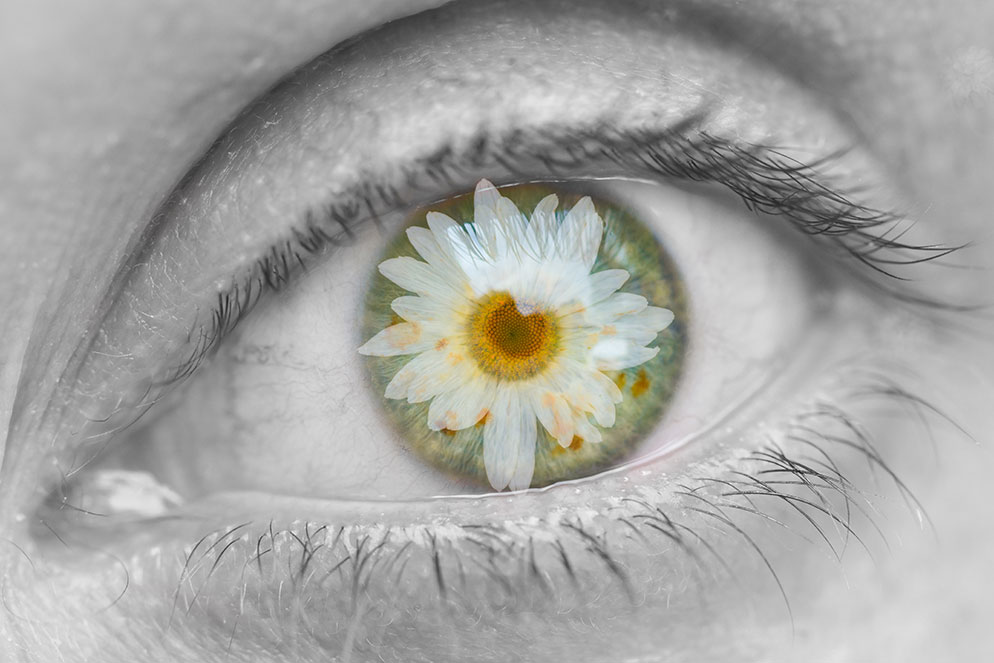
Multiple exposures can be as creative as your imagination allows. Here, the photographer mixed a multiple exposure of a person's eye with that of a flower. At first the flower seemed too overpowering so the photographer made an overlay to adjust the strength of the flower. Everything but the desaturation of the shot outside the pupil was done in camera.
Setting up your camera
First, in the shooting menu, select multiple exposure. You can choose either Single Photo for one shot, or Series to shoot multiple sequences in a row. Next decide how many images you're going to take with your multiple exposure. You can choose up to 10, but I would start with two to keep things simple. The next setting is Overlay Mode, which instructs the camera how to blend the images together. I normally use Average, but you can choose Lighten to only blend light pixels or Darken to blend dark pixels. Try all three modes with the same image to see what works best.
Next in the menu is Keep All Exposures. Choosing this option keeps all the original images blended in the multiple exposure, which allows you to use them as stand-alone images later. Finally, make sure to choose Overlay Shooting. This setting turns on image overlay so you can see your reduced opacity images in the viewfinder while shooting a sequence.
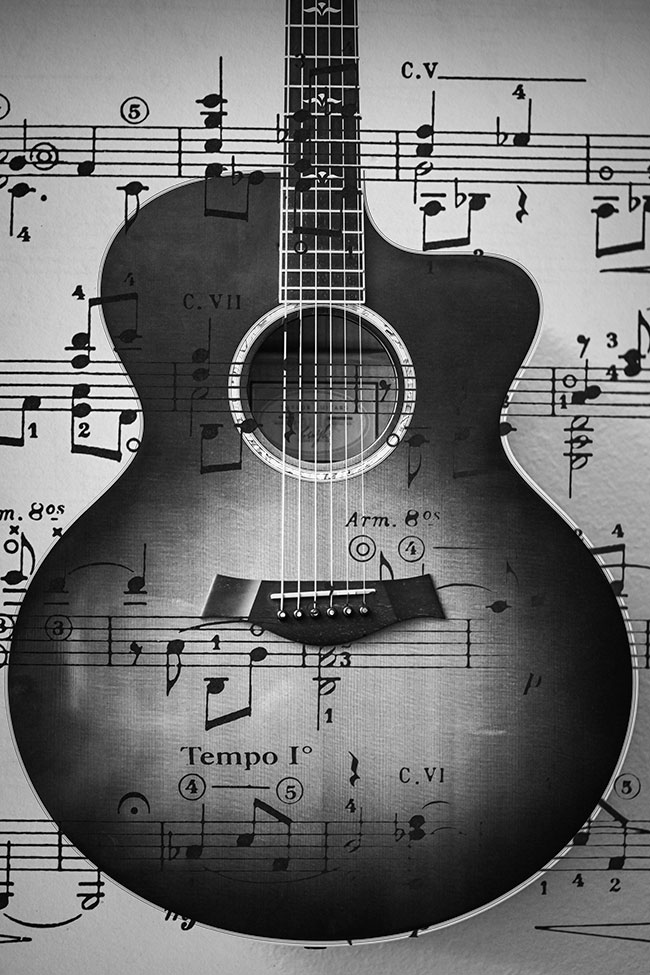
Combine two images that relate to one another like a sheet of music and an instrument. Vary the crop in camera to see which you like best.
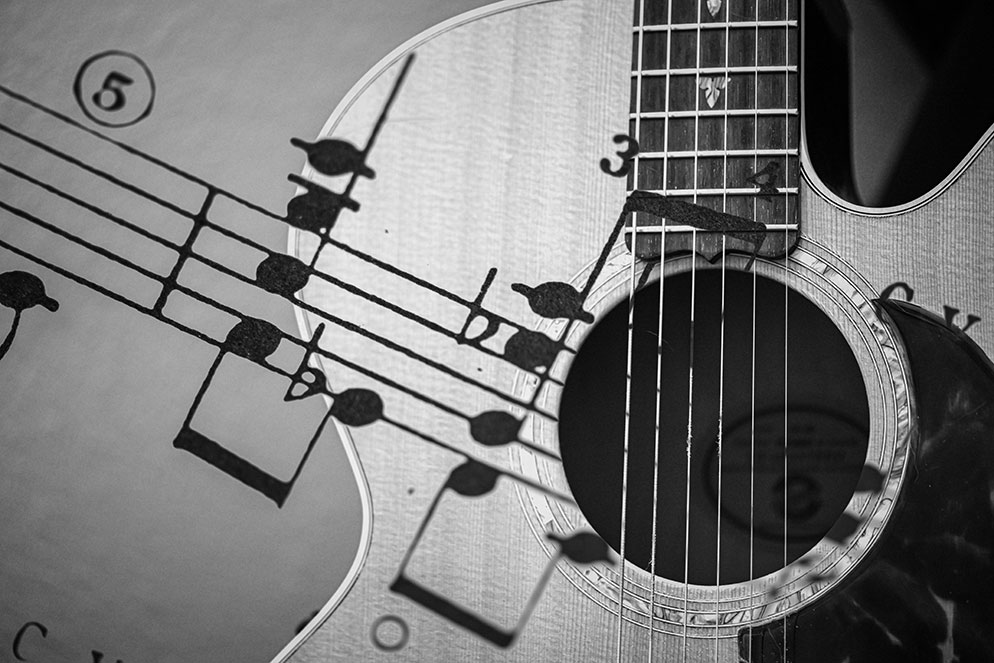
Another combination of guitar and sheet music. Remember you don't have to photograph the entire instrument to get your meaning across to the viewer.
Multiple Exposure Techniques
Double exposures. Double exposures are the simplest way to use multiple exposures. The creative options are limitless. Try combining two images that relate to one another. Imagine a sheet of music and an instrument. One of my favorite double exposure techniques are to create portraits. Take one frame of your subject, and another frame of an object that relates to your subject.
A great combination is photographing an American flag and blending it with your portrait. Cowboys, military personnel, firemen and many other subjects look great blended with an American flag. How about a railroad conductor blended with the front of a train engine? Or a football player blended with a close up of his number jersey?
Don’t forget about the double exposure selfie. Imagine photographing a large waterfall and taking your selfie as the second frame. The final result is you magically emerging from the waterfall.
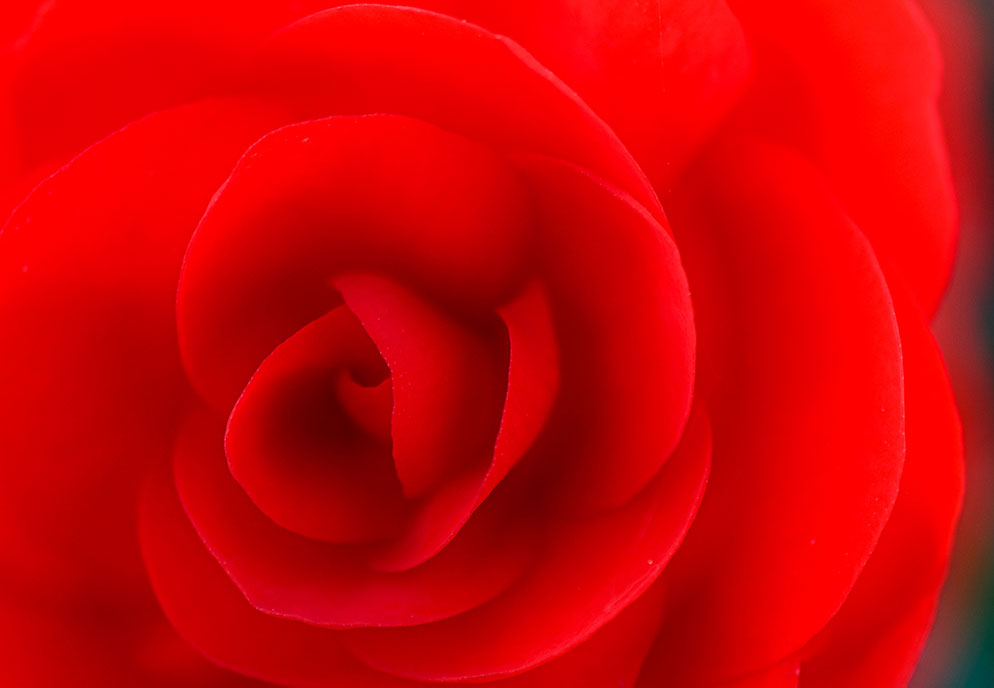
Blending two images together, you can create the look of a soft, silky flower. Blend mode set to average, focus on the flower for the first capture. For the second capture, manually turn the lens barrel so it's out of focus. Once blended, the flower will be sharp and its edges soft.
Soft focus flowers. A great way to start using multiple exposure is photographing flowers. Using multiple exposure gives you a terrific way to create soft, silky flower images blending two images. Using a tripod keeps the flower stationary during both images which will give you better results. Set the blend mode to Average, focus on the flower and take the first shot. For the second shot, manually focus and make the flower blurry. When the sharp and blurry images are blended together, you'll have a sharp flower with soft ethereal edges. Experiment with different levels of blurriness on the second shot to create different effects. I find using an aperture around f/5.6 works well.
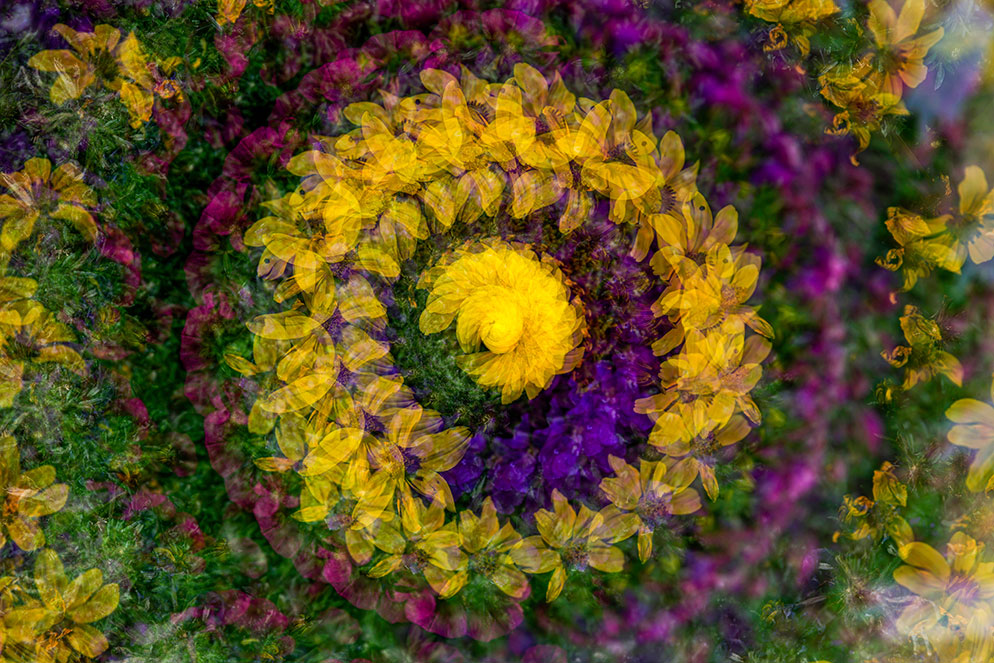
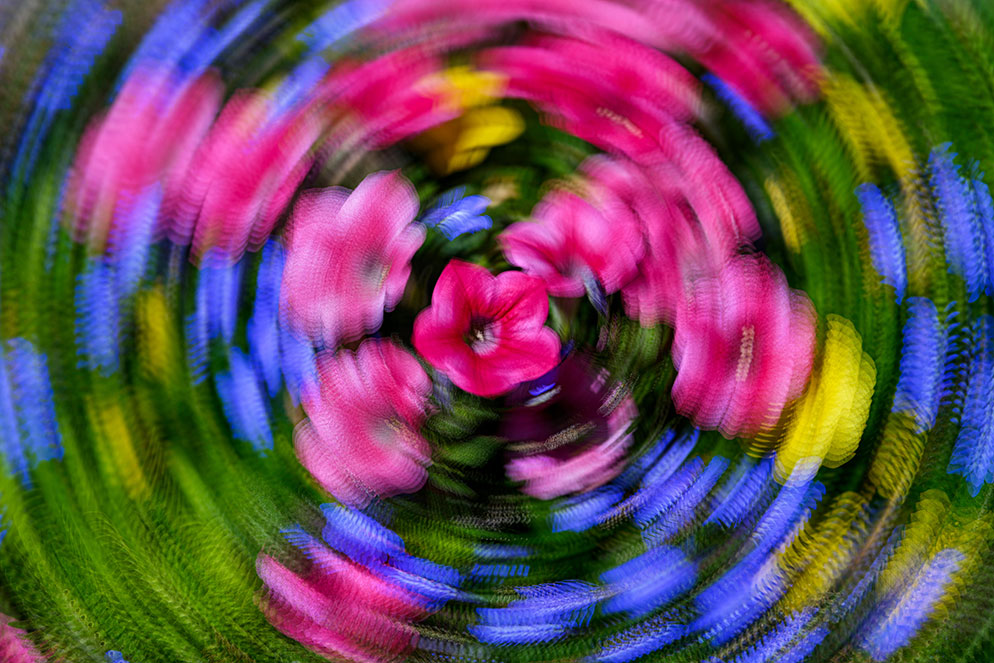
Kaleidoscope flowers. While you’re photographing flowers, take your multiple exposure to the next level using this technique. For this image, you want to set your number of images to 4 or more. Find a nice group of flowers and focus on a central plant. Next, start taking your images. But each time you take a shot, slightly rotate the camera. Do your best to keep the center point the same for each image. When you're done, the camera blends all the images together, creating a kaleidoscope effect. Vary the amount of twist between frames. I often like small movements between images.
Try this technique with other subjects like landscape or urban scenes, you won’t want to stop.
Turn simple flowers into a kaleidoscope of color. You'll want to shoot at least 4 frames. Focus on a central plant and as you take each shot, rotate the camera slightly. When you're done, the camera blends the images together for a kaleidoscope effect. Ten frames were used for this image.
Another example of turning flowers into a kaleidoscope of color. The final image will vary depending upon the number of frames you capture and the amount you turn the camera between exposures. Ten frames were used for this image.
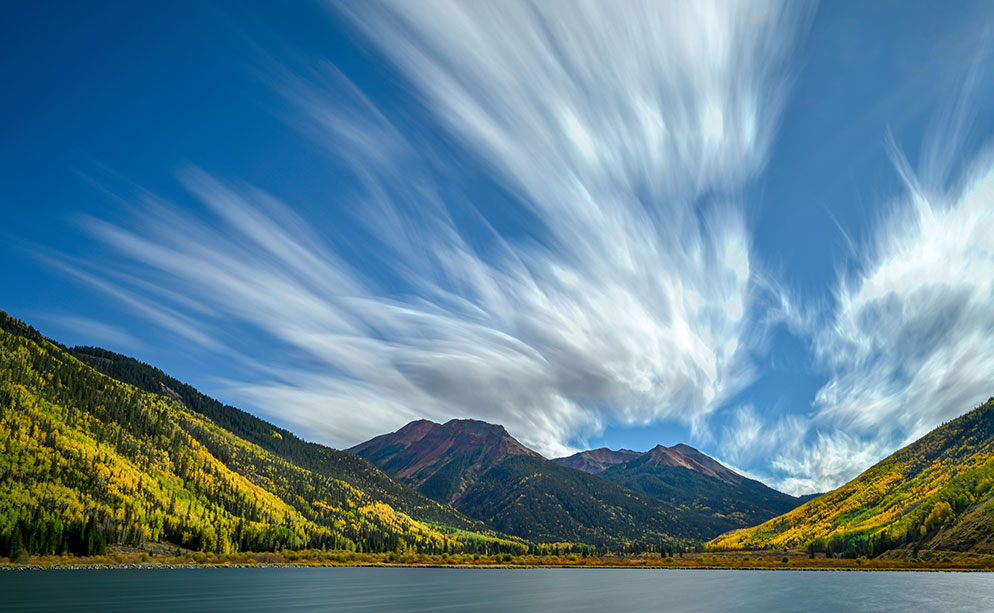
Creating Motion. The multiple exposure technique I use the most is creating motion. Blending images with moving subjects creates motion in the image. One easy technique is photographing clouds using multiple exposure. Try a three frame or higher sequence to create blur in the clouds. The images look like long exposure single frame shots using a Neutral Density (ND) filter, except they’re multiple exposures. Experiment with longer time between frames to allow the clouds to move more between shots.
Another way to use this technique is photographing busy urban scenes. Try photographing people walking across a busy intersection or sidewalk. The people will ghost over each other during the multiple exposure producing what looks like an even busier scene.
Landscape photographers love their ND filters but what if you go out shooting and forget yours? You're in luck because of the multiple exposure feature! Try a three frame sequence to create blur in the clouds. Experiment with the time between frames and number of frames you shoot. This image was created using a sequence of three frames.
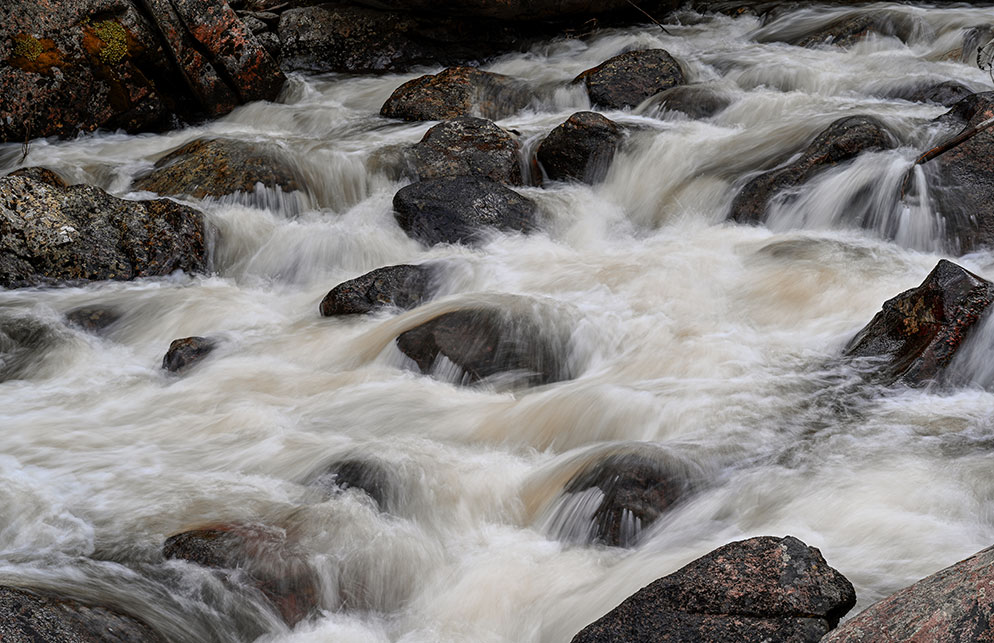
You can even use multiple exposures to feign the look you’d get photographing water with a slow shutter speed. Say you’re out in the field and forgot your ND filters but want the water to look soft and silky. Use multiple exposures to blur the water.
Fake the look you get photographing water with a slow shutter speed. Forgot you're ND filters, no problem. You can use multiple exposures to blur the water. This example is a three frame sequence at a slow shutter speed for each exposure.
Action Sequence. Using multiple exposure to photograph sports can be really rewarding. Multiple exposures allow you to record every movement an athlete makes during a sequence. Each frame will be slightly ghosted over the next, so you can record every position through a sequence. If your subject is moving fast, then you will have to use a fast shutter speed to capture enough frames. Action sequences work best when photographing from a tripod. The blended images will merge more cleanly and the action will be obvious. I really like to photograph rock climbers using an action sequence. Their moments are very precise and slow, which creates a great multiple exposure sequence.
In-camera Overlay
There is another in-camera technique that is similar to double exposures, but allows you much more time between frames. In-camera image overlay lets you choose any two images taken with the same camera that are saved on your media card to be combined in-camera. You could combine images that were taken weeks apart. And another difference is the images don’t have to be in sequence. You can choose any images on the media card.
To get started, go to the Retouch menu. Next toggle down and choose Image Overlay. Now choose Image 1, and scroll through the images on your flash card to find the first shot. Then choose Image 2, and select Overlay. The two images will be combined in camera, and saved as a jpeg on your media card.
All the techniques mentioned above can be used with Image Overlay. But you can take this a step further. You can combine images taken weeks apart. Imagine combining a full moon with beautiful landscape. Or blending a studio portrait with an interesting storefront you see later that day. The combinations are limitless.
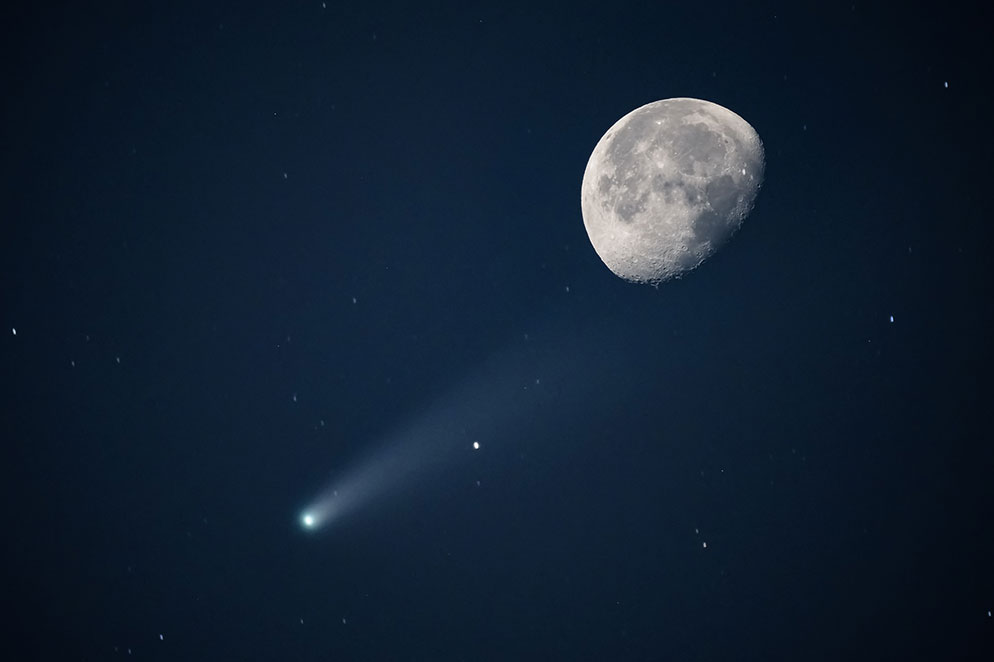
The fly by of Comet Neowise spurred an otherworldly image that would not have been possible without some in-camera trickery. The photographer used image overlay for the image, however multiple exposure could have been used too.
DSLR multiple exposure
Many Nikon digital SLR cameras also have multiple exposure capability. The main difference is you won’t see the lower opacity image when you're combing shots. But it works the same. I use my D850 and multiple exposure all the time. Last fall I was photographing colorful aspens in western Colorado. There were some interesting clouds in the sky, so I decided to use multiple exposure to ‘stretch’ out the clouds. I used a three frame multiple exposure, and the shot came out great.
Camera technology is advancing quickly, and more creative options are possible than ever before. Multiple exposure offers an exciting new way to create images. Give it a try on your next shoot, you might just get hooked.

