How to Photograph Lightning
Storm chasers are professionals—photographers and videographers—with years of experience, who go out and find the weather that we usually run indoors from. Along with the bellowing thunder, torrential downpours, tornadoes and hurricanes—the skies are often filled with vibrant colors and brilliant lightning bolts just asking to be photographed. We asked photographer Jim Reed to share some of his tips for photographing lightning.
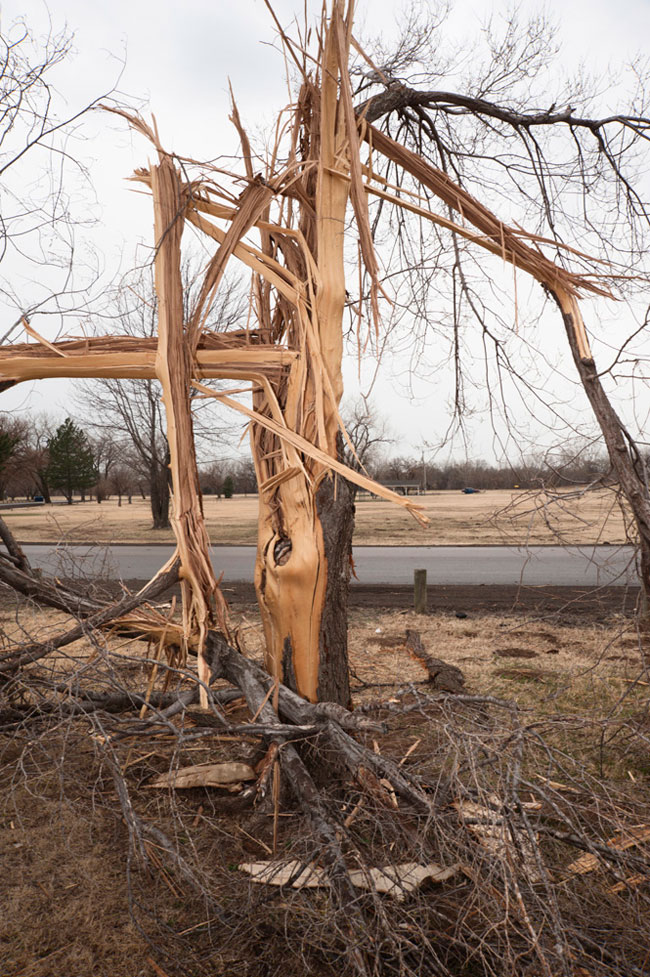
Before I answer any question, I want to make one thing clear to your visitors: Lightning can be one of the most dangerous natural phenomena to photograph. Personally, I've had several close calls. One simple rule you should always keep in mind: if you can hear thunder, you're vulnerable to being struck by lightning. You can lower your risk by remaining in a hard-topped vehicle and shooting with a window mount. You can also reduce the risk by setting up your tripod-mounted camera outside, and use a remote trigger from the interior of your home. Before you try photographing lightning, you should review National Weather Service lightning safety tips at: https://www.weather.gov/os/lightning/.
—Jim Reed
Q: What are the most important aspects of photographing lightning?
A: When photographing lightning, I usually have three objectives: to capture the bolt as sharp as possible; while choosing a composition that helps to isolate the lightning; and also be creative. Shoot at different times of the day. Shoot during different temperatures. Try working with color, like a red sunset or the blue of twilight.
A lightning image captured with patience and skill, including proper exposure, is likely to have a stronger personality. People will look at your photo and say, ‘wow, where did you take that?’ There are so many ways to be artful and creative when it comes to photographing lightning. What lens are you using? Do you zoom in and create an image that looks like a single lightning bolt is only a few miles away, or do you use a wide-angle lens with the goal of capturing several zigzagging bolts? The clients I work with expect me to deliver the highest quality possible.
Q: What are your favorite lenses?
A: I use several different lenses. My favorite is the AF-S NIKKOR 24-70mm f/2.8G ED, but sometimes I use a long-focal length lens, such as the AF-S NIKKOR 70-200mm f/2.8G ED VR II to zoom in and create what I like to call, 'a pilot's point-of-view' of the lightning. My other favorite is the AF-S NIKKOR 14-24mm f/2.8G ED.
Q: Is there education available about photographing lightning?
A: One of the quickest ways to learn about shooting lightning is to get on the Internet and Google the subject. There are many photographer and storm chaser websites offering tips and specific examples. Occasionally I write about the subject for magazines and newspapers. I give several tips to shooting lightning in the book, Night & Low-Light Photography by author Jill Waterman (Amphoto Books, 2008).
Q: What are the different types of lightning?
A: In my experience, there are four very distinct ways of classifying lightning relevant to photography: type; intensity (or temperature); pattern (or shape); and color.
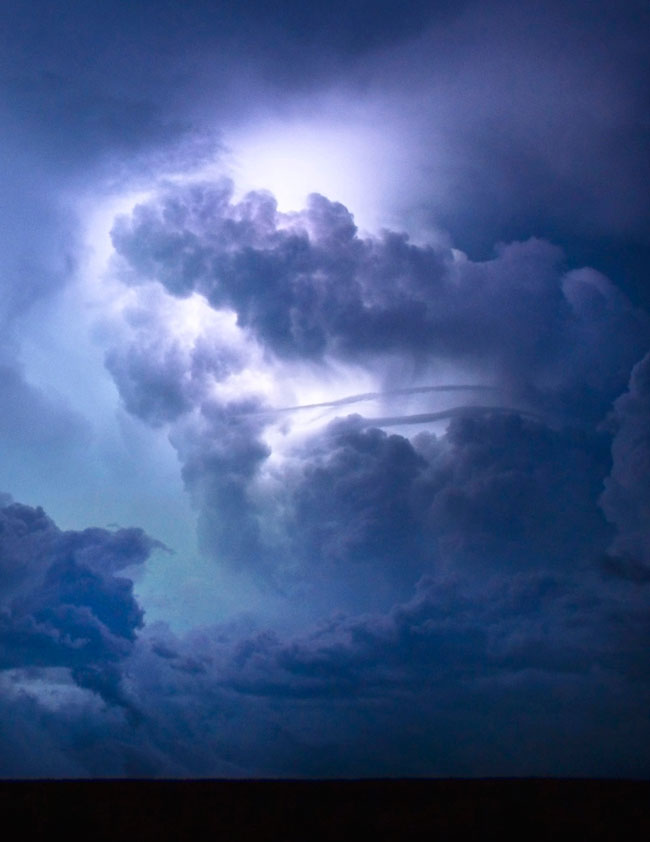
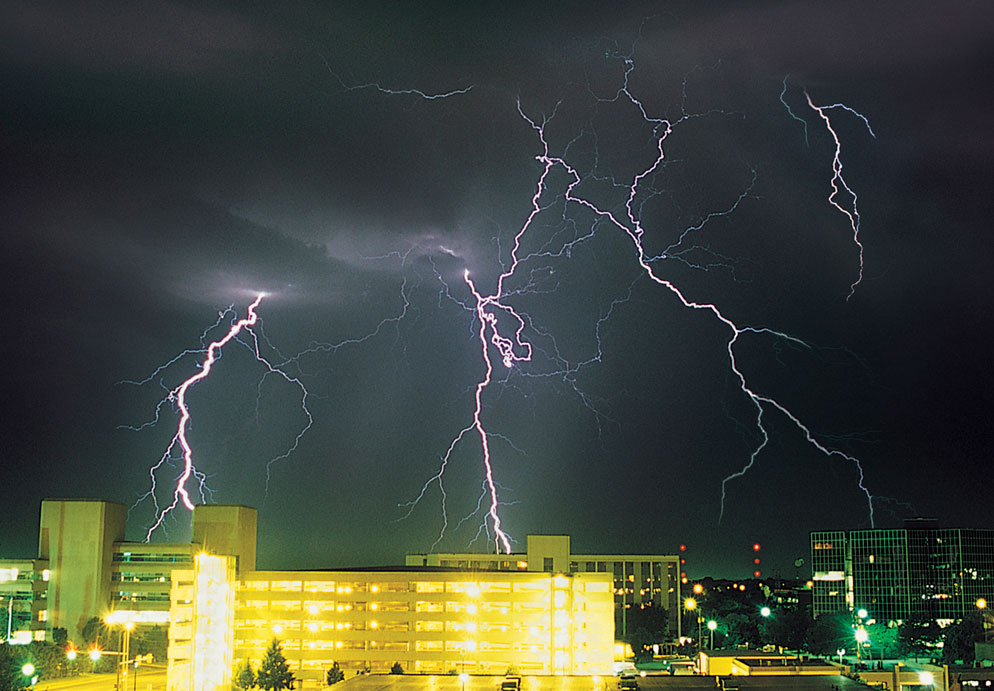
TYPE: Cloud-to-ground, cloud-to-cloud (sometimes called 'crawlers'), and intra-cloud are the three types of lightning I witness and shoot most frequently.
INTENSITY (OR TEMPERATURE): The intensity of a lightning bolt is especially important to photography. Just how bright I anticipate a bolt to be helps me to set a proper exposure, from ISO to shutter speed. As a storm approaches, I actually study it for a few minutes before ever snapping a frame. How often is the lightning striking? Is the forth or fifth bolt usually the brightest? Do I want to set my exposure for the brighter strike or the dimmer? It’s very difficult to do both. Remember, no lightning bolt is the same, so be prepared to adjust your settings as you go.
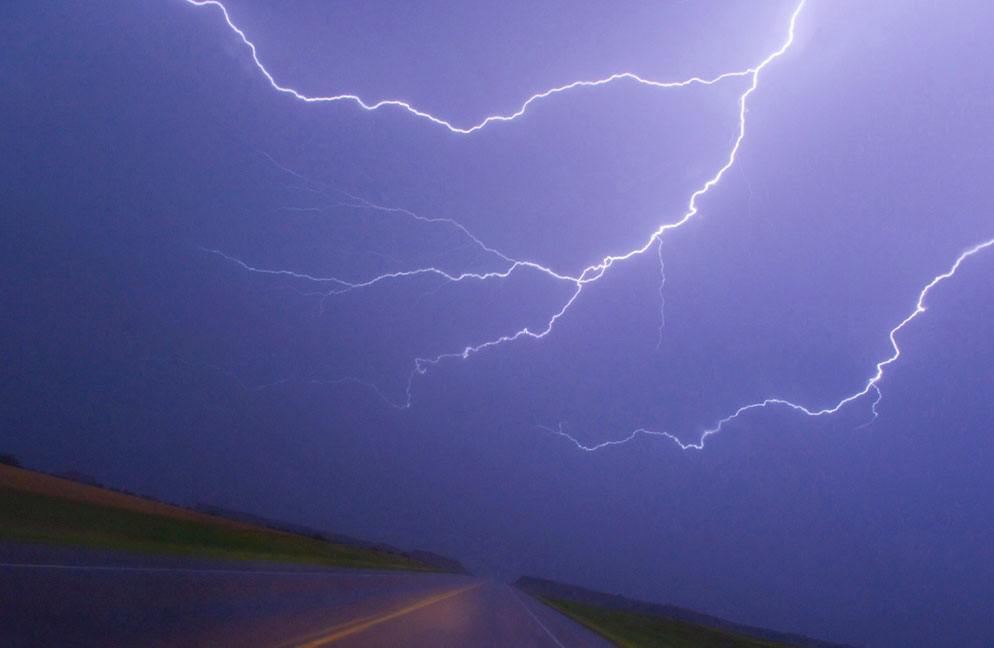
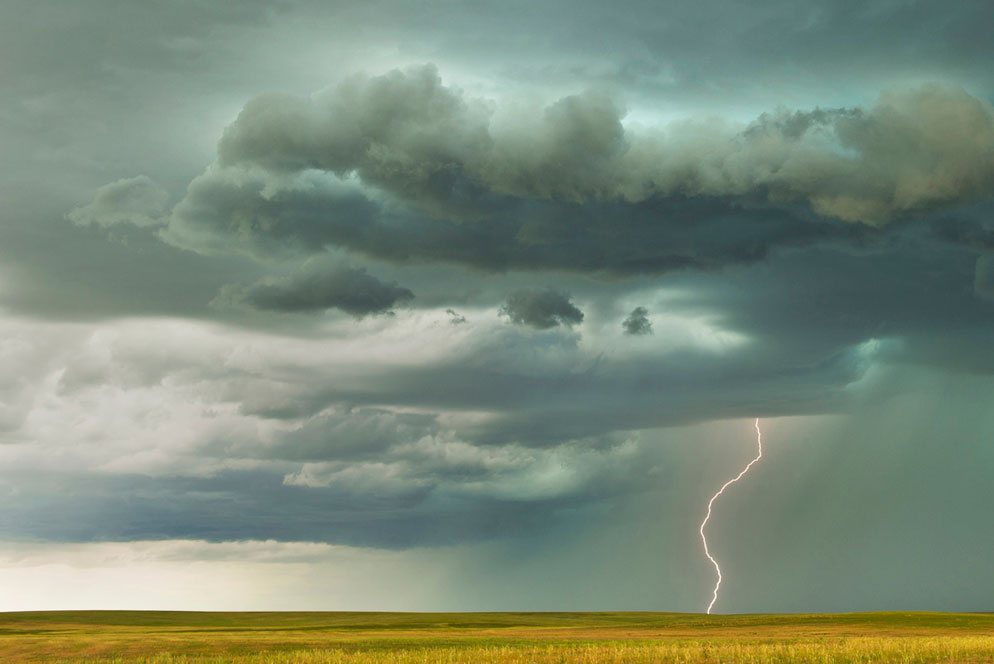
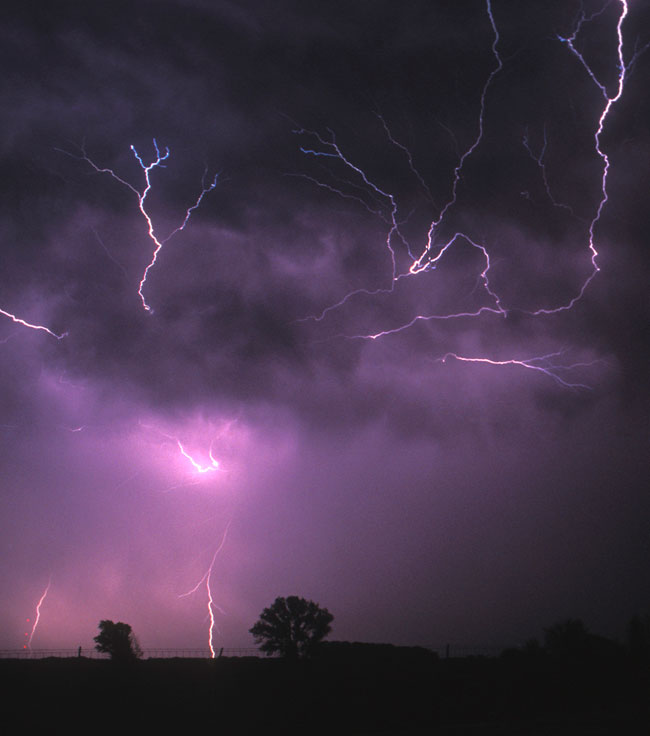
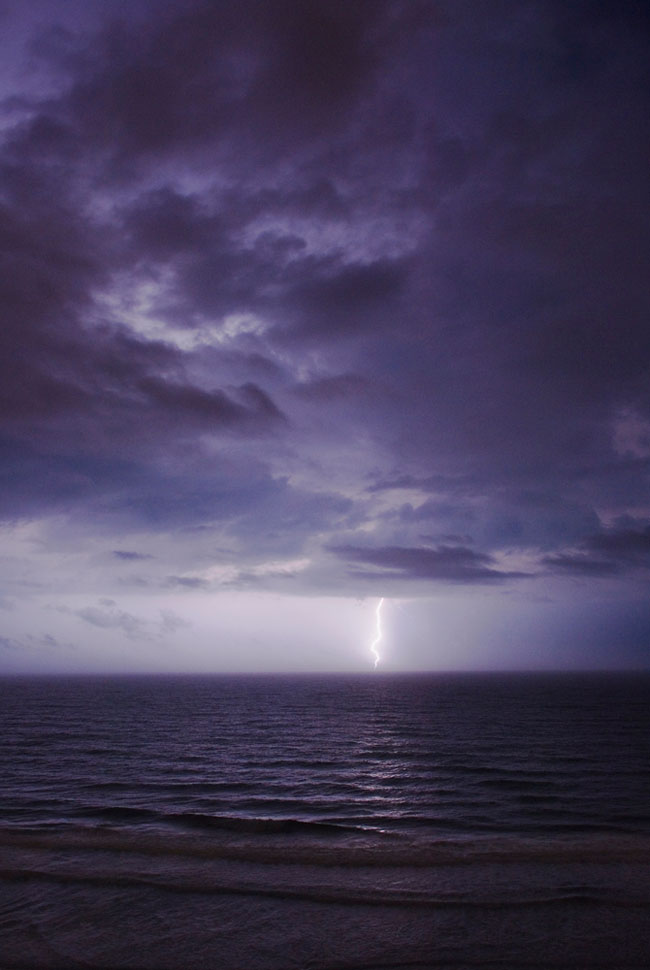
PATTERN (OR SHAPE): One of my favorite lightning objectives is to capture a lone, very clean, cloud-to-ground bolt. I like the stark simplicity of such a bolt. When trying to create a fine-art image, this type of bolt works best in my opinion. But multiple-bolts, zigzagging lightning, or lightning that branches out in many different directions is also quite popular among my clients. Sometimes lightning appears to rise up and out from communication towers. This is known as reverse lightning.
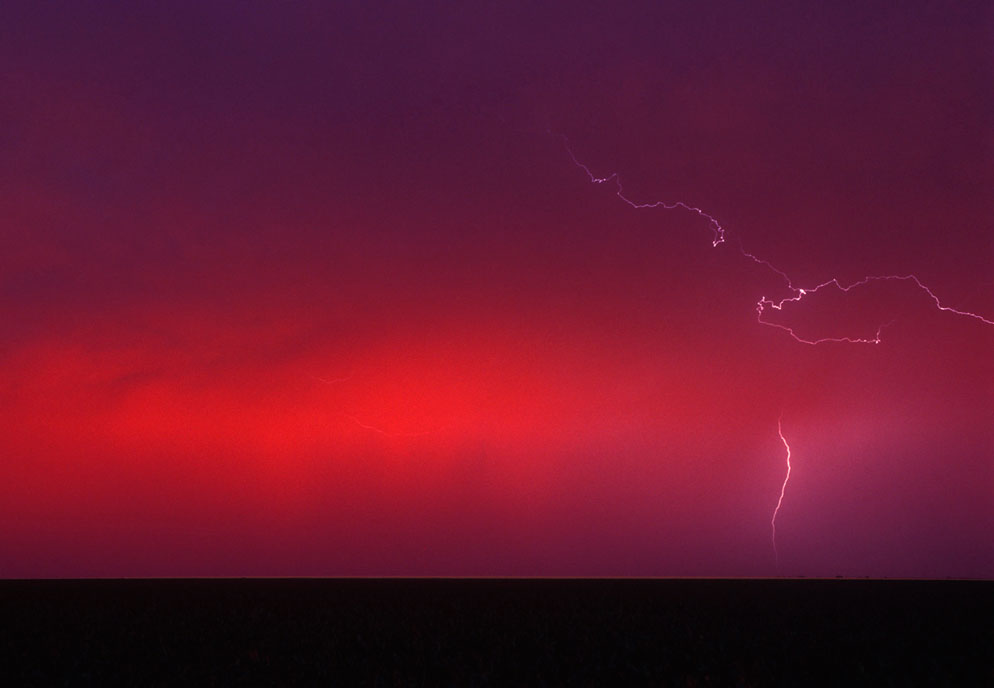
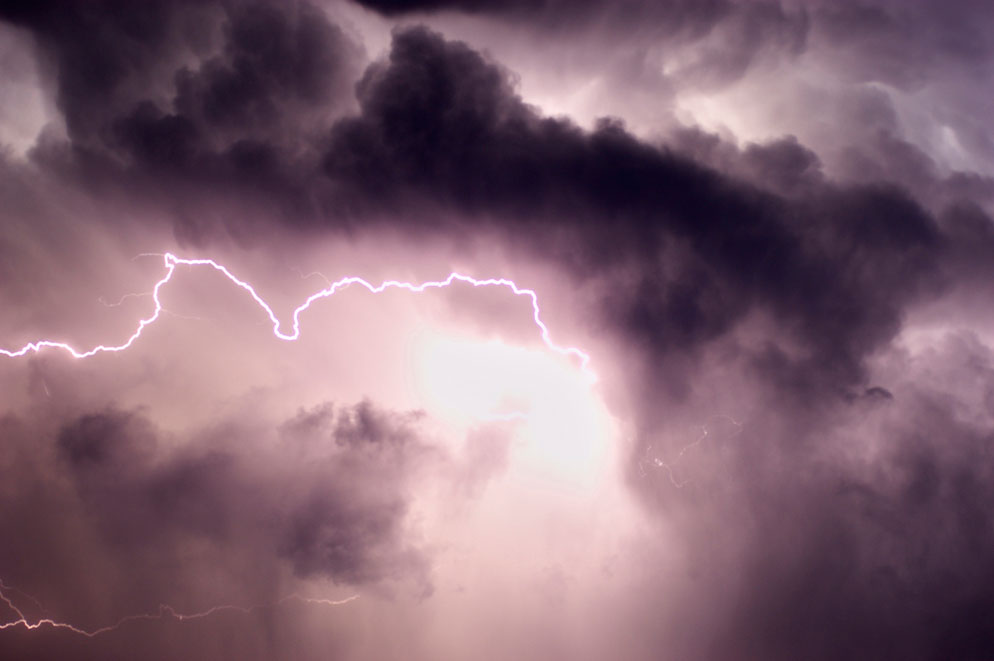
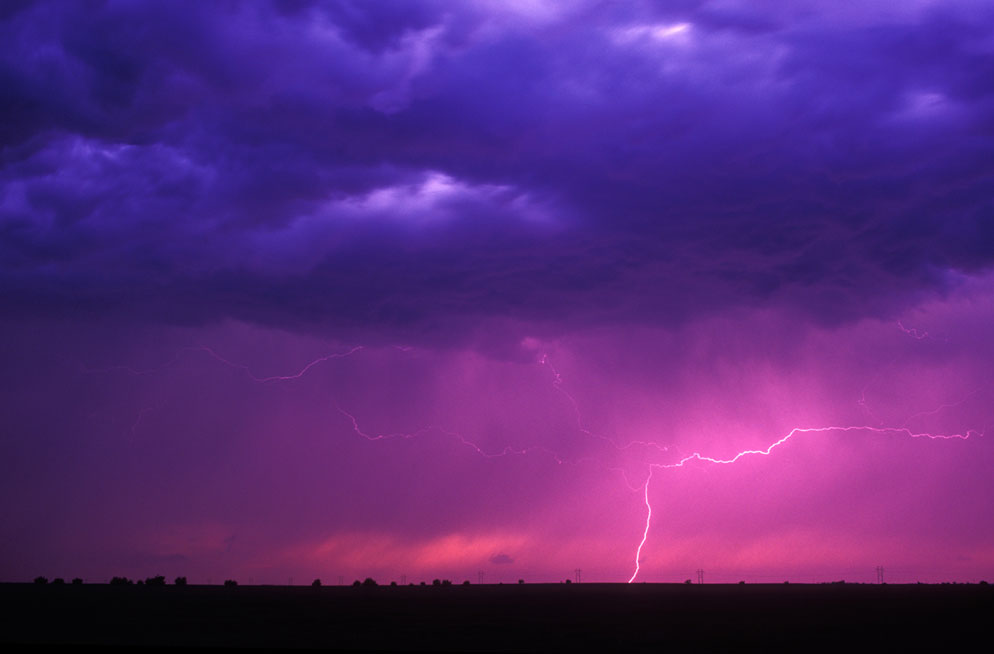
COLOR: Lightning can strike in a variety of colors. The most common color of lightning is white, but lightning can actually appear red, yellow, green, even blue or purple. The hue usually depends on gases, chemicals, and impurities in the atmosphere, as well as the actual temperature of the lightning bolt. Vivid white lightning is most common. Orange or reddish-colored lightning can occur if there's a large concentration of dust or pollution in the air. Hailstones in a storm can make lightning appear a purplish color, sometimes even blue. Sodium vapor lamps in a city can also influence the color of lightning, giving it a bluish-green appearance. The variety of colors certainly adds to the fun.
Shooting lightning at sunset or during the day can also effect the perception of color. This is one of things I love most about the challenge of capturing images of lightning strikes. I've been doing this for so many years now, I can actually read the sky and get a sense for what to expect.
Q: Safety should be on everyone’s mind when photographing lightning. How can we keep ourselves safe?
A: One rule you should always keep in mind: if you can hear thunder, you're vulnerable to being struck by lightning. You can lower your risk by remaining in a hard-topped vehicle and shooting with a window mount.
You can also reduce the risk of being struck by setting up your tripod-mounted camera outside, and use a remote trigger from the interior of your home. If a storm is producing a lot of fairly close cloud-to-ground lightning strikes, I stay inside my vehicle and use a Kirk window mount, or I quickly set up my camera on a tripod and then operate the camera remotely from inside the vehicle.
If you're ever confused or unsure about what to do, ALWAYS YIELD TO BEING SAFE. The more you learn about the subject, the safer and more successful you'll be!
Q: How do you protect your gear?
A: Nikon cameras are so well sealed that I rarely use a rain cover of any kind. My favorite scenario is to shoot lightning as the storm is approaching. If I time it just right, I can shoot before it starts raining. I do use a lens shade to keep sprinkles off the front element. If the camera does get wet, I simply dry it using a soft, lint-free cloth. If it starts to rain lightly, I tuck the camera under my raincoat. If it starts to pour, I return inside my vehicle or to a safe indoor structure, whether a house, building, or barn.
Q: What photographic gear do you need for lightning photography?
A: What many of your visitors might find surprising is that I never shoot lightning the same way. Every storm is different. Every lightning bolt is different. I am constantly reviewing the LCD and changing the settings on the camera in-between strikes. What's wonderful about shooting lightning with a digital camera is that you can immediately review your work on the LCD and adjust your settings accordingly.
I recommend that your visitors start by using a Nikon D-SLR. Buy the lowest noise-producing D-SLR you can afford. The Nikon D3S and D700 are two of my favorites. Buy the fastest lens you can afford. The 14-24mm f/2.8, 24-70mm f/2.8, and 70-200mm f/2.8 are my three favorites for shooting lightning. Invest in a remote control-cable like the Nikon MC-36 Multi-Function Remote Cord [replaced the MC-20 which Jim uses—Editor] or the Nikon ML-3 Compact Modulite Remote.
Most important, experiment! Try capturing your pictures several different ways. Keep notes in a small notebook, so you can look back and decide what you like best. One of the wonderful advantages of digital is also being able to go back and review your camera data, which includes ISO, shutter speed and f/stop.
Q: What camera settings do you normally begin with?
A: When shooting lightning, I usually set my camera to manual exposure: 3D Color Matrix Metering and put the white balance on auto. Whether I'm shooting with a cable release or remote control, I usually start by setting the shutter to BULB, the aperture to f/5.6, and ISO to 400. Focus is manual.
As soon as the lightning occurs, I close the shutter. After reviewing the first few images on the LCD, I begin making changes. If the lightning is brighter than anticipated and results in overexposure, I change the ISO to 320 or 250. If the lightning is dimmer than anticipated and results in an underexposure, I change the ISO to 640 or 800.
My secret to sharp lightning images is to have the shutter open for the shortest possible time—unless, of course, you're trying to capture multiple lightning bolts. The less time your shutter is open = sharper lightning images. One tool I use that helps me achieve this is the Lightning Trigger, a hot shoe-mounted device that plugs into the camera's 10-pin connector port. The lightning trigger causes the shutter to open just when lightning strikes. But: you still need to set ISO, shutter speed, aperture, and white balance. I usually start out by setting my camera to Shutter Priority at 1/4 second, the ISO at 250, white balance to auto, and adjust from there.
Subtle adjustments can then be made in post-production using image editing software. The more you shoot, the better you'll get!
Q: Your years of experience have made you an expert. What other tips can you share with us?
- Always turn off the autofocus. When shooting lightning, you'll want to use manual focus. Automatically setting your lens to infinity won't always give you the sharpest image. Look for a distant light and focus on it. This will result in sharper-looking bolts. Remember, SAFTETY FIRST, however if you can, and don't have a distant light, have a friend walk at least 100 yards away from the camera with a flashlight. Then focus on the lens of the flashlight.
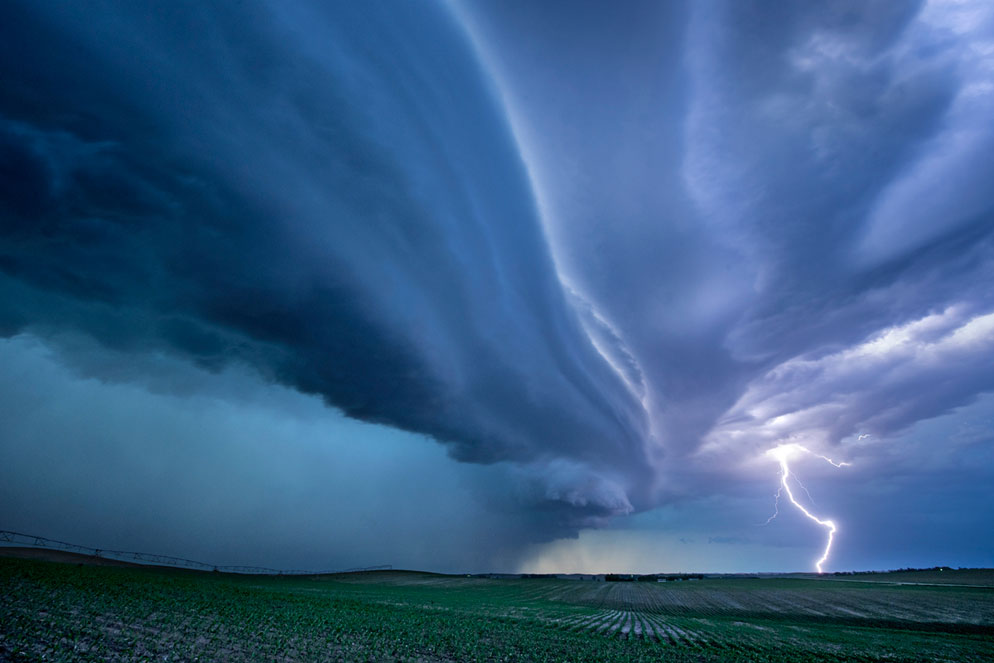
- Try to shoot lightning that's ahead of the storm or away from the heaviest rainfall. Moisture, especially precipitation, can soften the look of a lightning image, even when the focus is correct.
- Don't be afraid to crop in post-production. If you've captured a beautiful lightning bolt, but the strike is further away than you'd like—try cropping.
- Always compose your shot with care. Try to frame the image with as few potentially distracting elements as possible, such as power lines, traffic, and airplanes.
- And finally... practice, practice, practice.
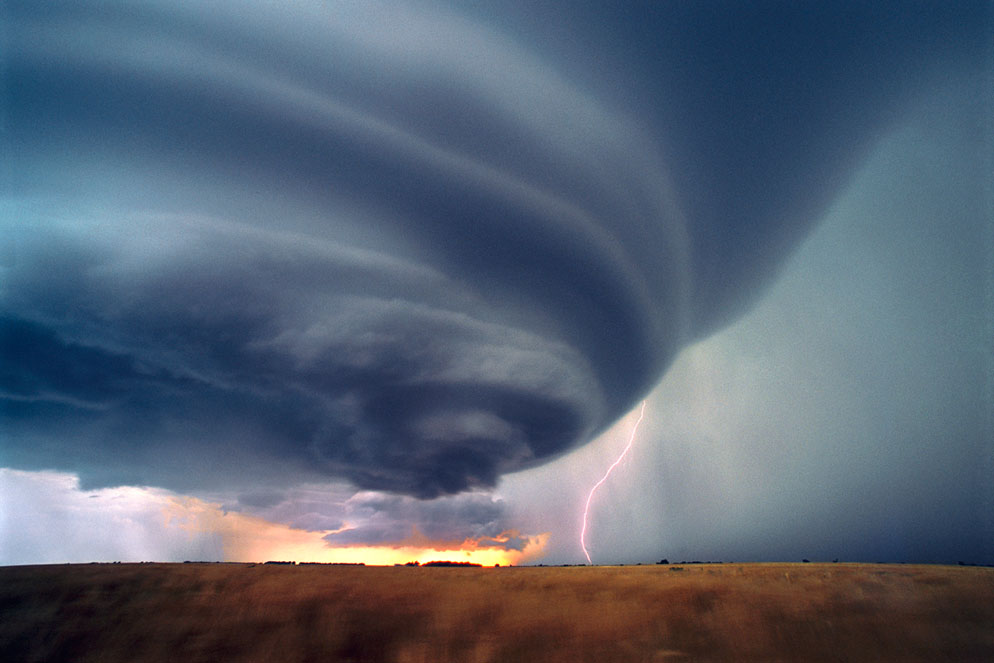
Jim Reed has been photographing and writing about chasing storms for two decades. He takes every precaution to limit the amount of danger he’s put into when he goes out to capture the beauty and devastation of weather’s effects—hurricanes, tornadoes, blizzards and hailstorms. It's the lightning, which can be present during all of the aforementioned types of storms that we’re turning our focus to. The images that accompany this article were taken over the course of the last decade—as early as 2000, and as recent as the Summer of 2011. These images are vibrant and the danger, close by. The most important take-away advice from this article is to stay safe while making your photographs.
As photogenic as lightning can be, it can also be very helpful. At night, lightning actually assists National Weather Service-trained storm spotters and storm chasers by illuminating a tornado that otherwise would never be seen or reported.

