High Dynamic Range Photography
Basically there are two reasons to make an HDR (High Dynamic Range) photograph: necessity and creativity—and because those reasons often overlap, you'll get great photos and be able to add your own personal touches along the way.
The "necessary" reason for making an HDR image is due to the fact that our eyes can perceive an extraordinary range of contrast in a scene, a range far greater than any camera's sensor can capture. We see into a scene's brightly lit areas, and we can also tell what's going on in the shadows. The camera is going to have trouble capturing the ends of that drastic range. If you choose to meter for the highlights (the bright areas), you'll lose pretty much all the detail in the shadow areas of the scene. Try it the other way—meter for the shadows—and it's likely you'll end up with what are commonly called "blown out" highlights.
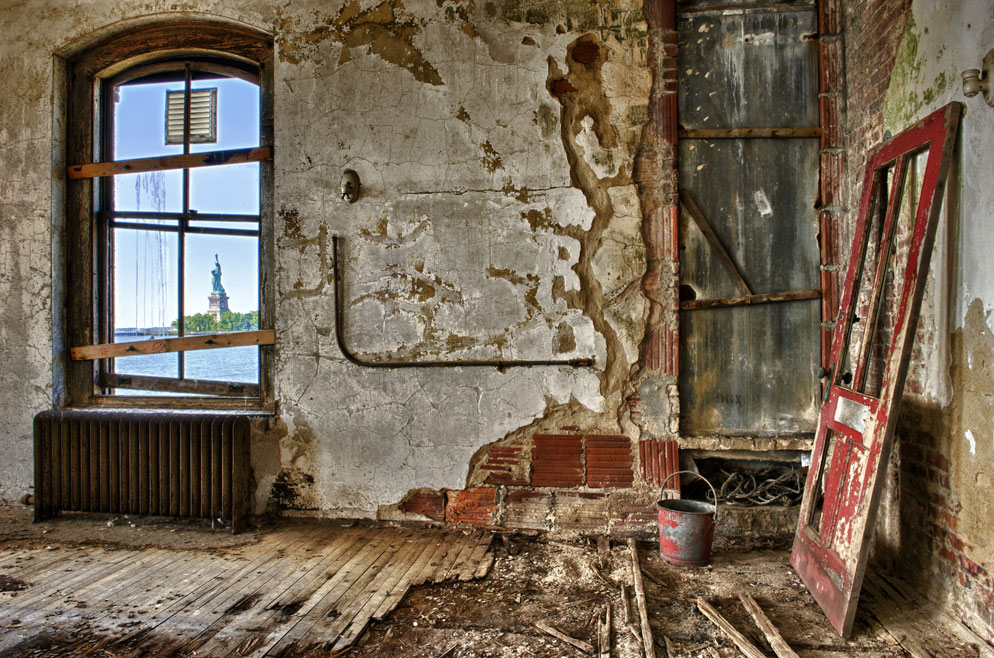
A familiar example of that: a well-exposed room interior in which the windows are blazing with light. If you expose to capture what's outside those windows, the room's details are going to be lost in shadow. And when you shoot outdoors, the sunlight that creates bright highlights will also create dark shadows; expose for one and you lose detail in the other.
But when you make an HDR image, what you see is what you're going to get because an HDR photograph results when you take a series of exposures—commonly called a bracket—to capture both highlights and shadow detail.
In nature photography, the more realistic the better, but there are times when I want to make a graphic impression—and there are many subjects that work better with more interpretive processing. It's all personal preference.
We talked recently with nature photographer Tony Sweet about the techniques he uses to create HDR images in both outdoor and indoor situations.
First, his camera is always on a tripod to insure that the images he's going to take don't vary in composition, and that every shot is as sharp as it can be. Then he sets his Nikon D-SLR for aperture priority operation—meaning that the aperture he chooses will not vary from shot to shot.
"I take a Matrix meter reading of the scene for my base exposure," Tony says of his next step. "Then I'll check the histogram, which will show, even better than viewing the base exposure on the LCD, what's going on in the scene." The histogram will tell him if he's blowing out the highlights (he'll see the spikes go off the top of the graph at the right side) or blocking up the shadows (in which case he'll see the spikes go off the chart at the left side). If either happens, he'll adjust the f/stop and, perhaps, the ISO.
Tony usually makes a five-shot bracket, though three- and seven-shot brackets are also common in HDR photography. The choice often depends on the range and severity of the scene's contrast.
He takes the bracket using his camera's auto bracketing feature—which does pretty much what the name suggests. Once he picks the steps (the increments) of the bracket, the camera handles the rest. (If auto bracketing is available on your Nikon D-SLR, the camera manual will tell you how to select and set it. If it's not offered on your model, you can make your bracket manually using the exposure compensation dial.)
"I set the auto bracket for five steps: at 0 for the base exposure, then +1, +2, -1, -2," Tony says. "That sequence will cover 85 percent, if not more, of what I do in HDR land." To make the bracket, the camera is varying the shutter speeds. "Because the camera is on a tripod, the shutter speed is a non-issue; there won't be any blurring at slow speeds," Tony says.
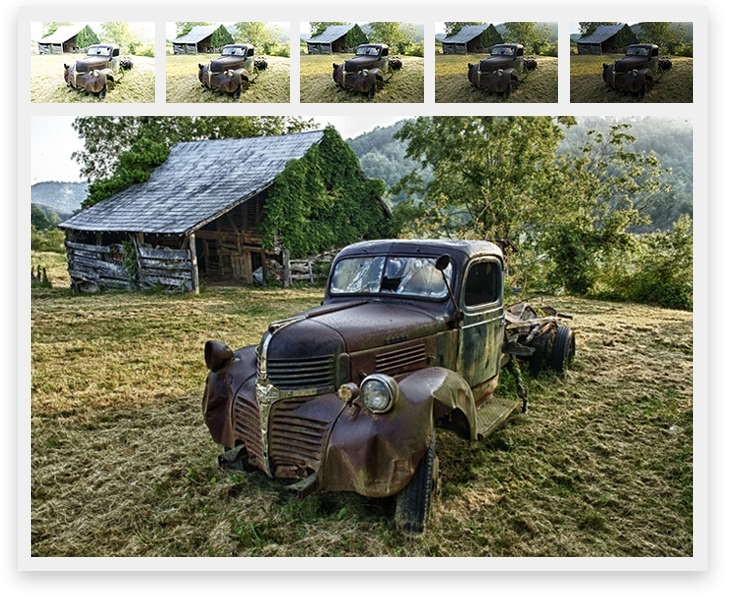
Here's a five-step bracket and the HDR image it produced:
Top Row (l. to r.) The bracket of five exposures: [+2EV] [+1EV] [0] [-1EV] [-2EV]; with the final HDR image.
What the bracket provides are exposures that, in total, contain all the highlight and shadow information the scene has to offer—in other words, the full range of the scene's contrast. When you bring those exposures into an HDR software program, you can create a single image that represents the scene virtually as you saw it—or, if you wish to get creative, the software also provides the tools for those personal touches we mentioned earlier. The HDR process gives you the choice: create a realistic image that represents all the subtleties of the scene, or go for an illustrative, hyper-color graphic...or work up something in between.
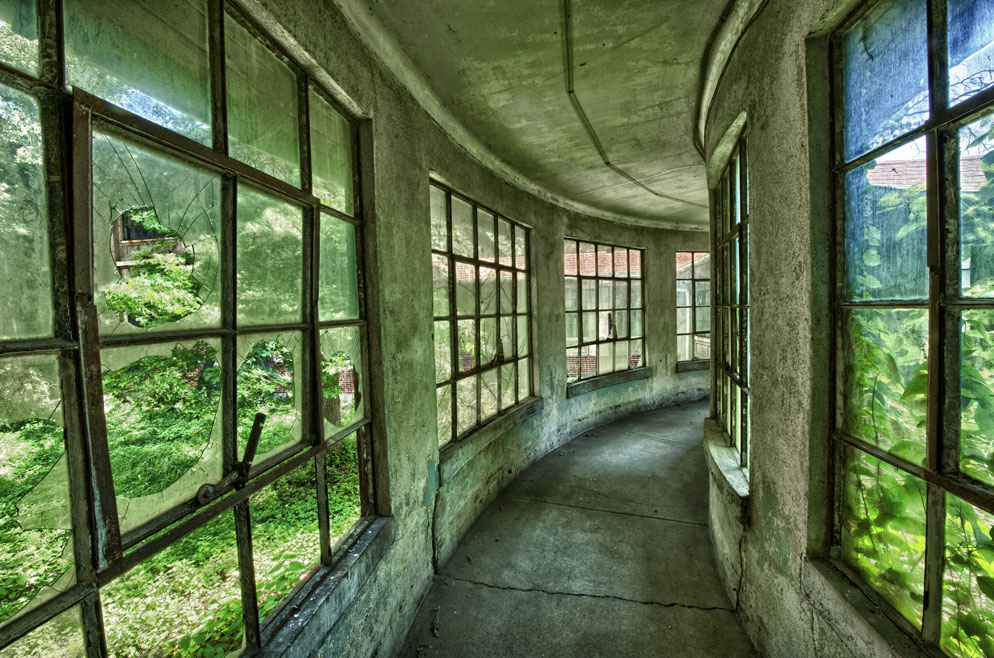
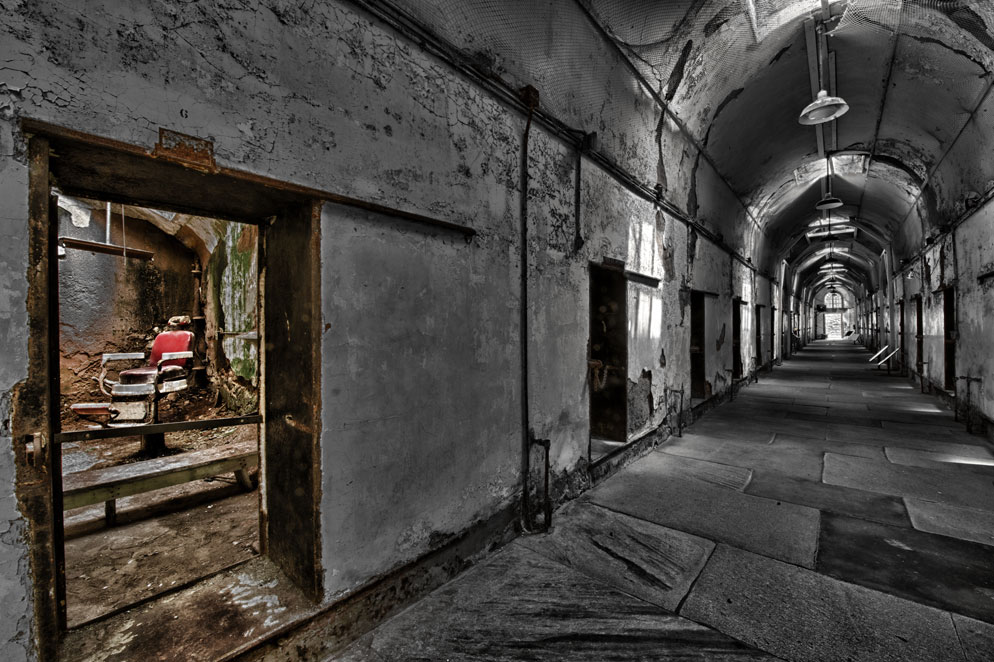
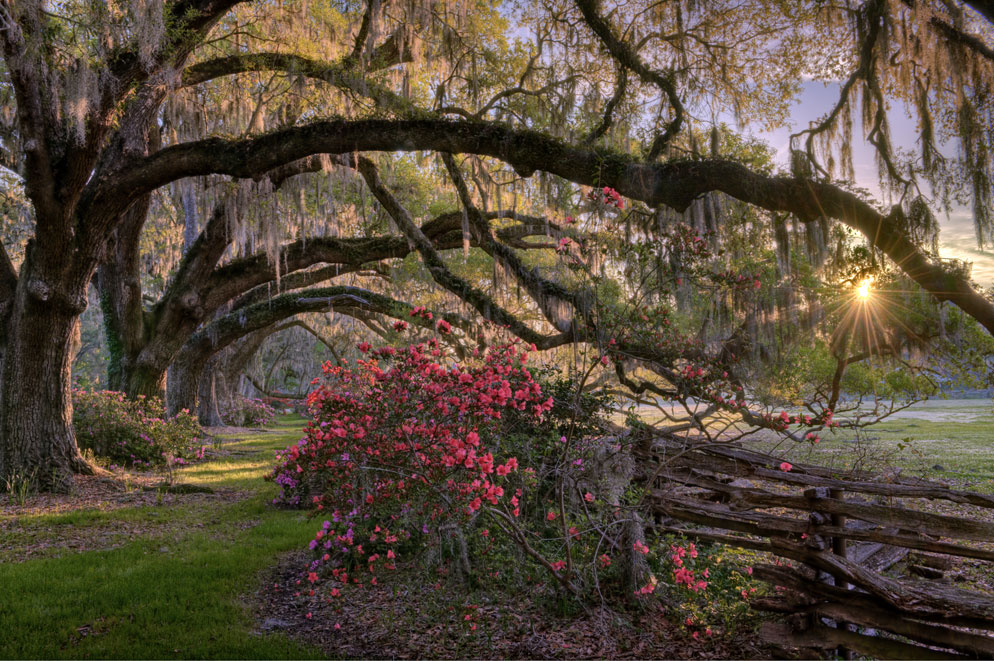
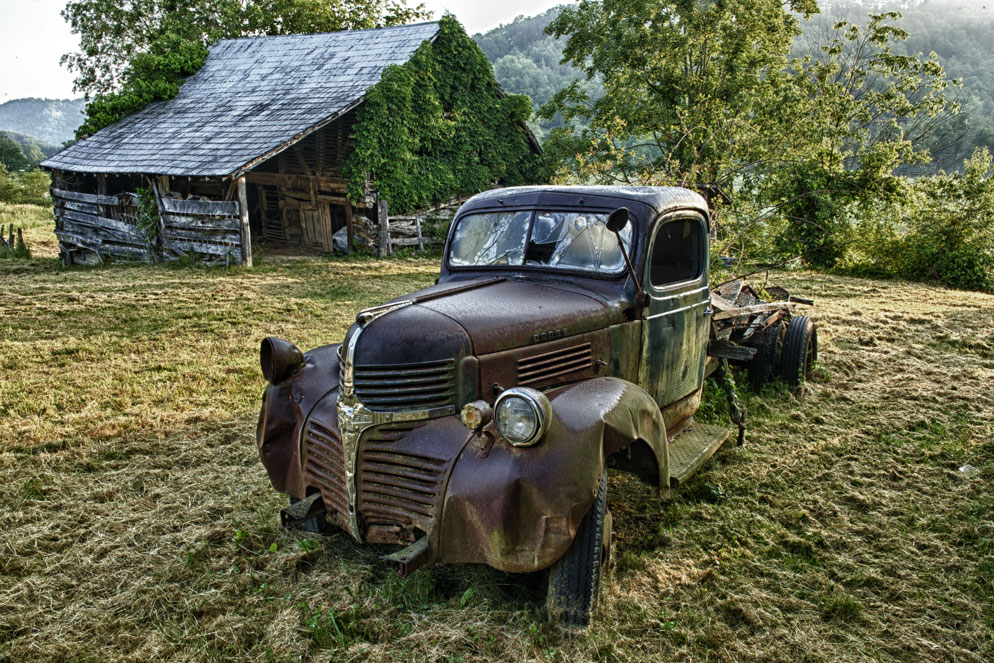
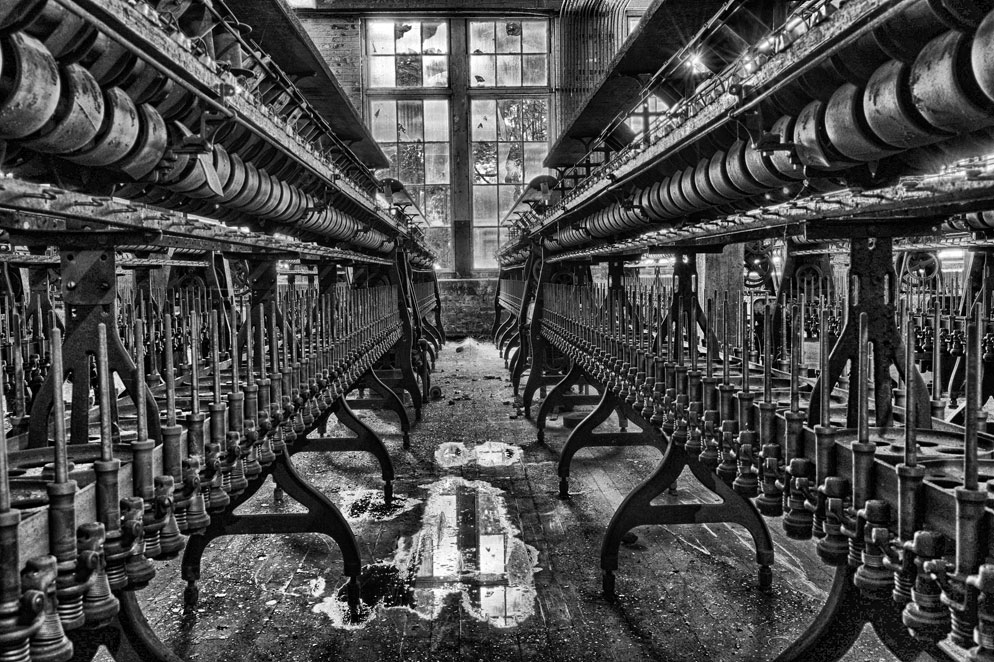
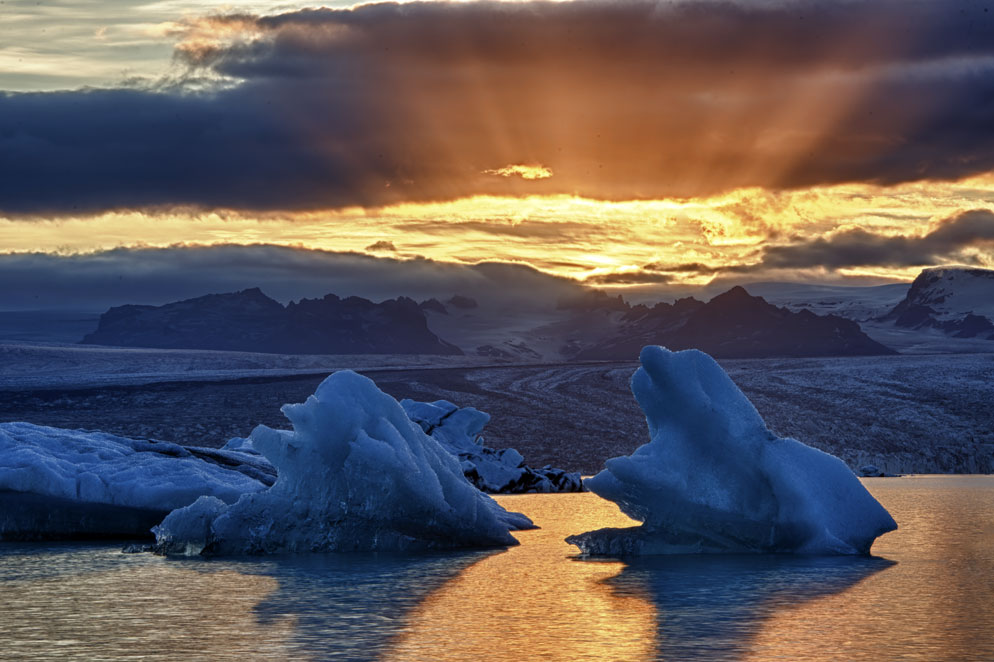
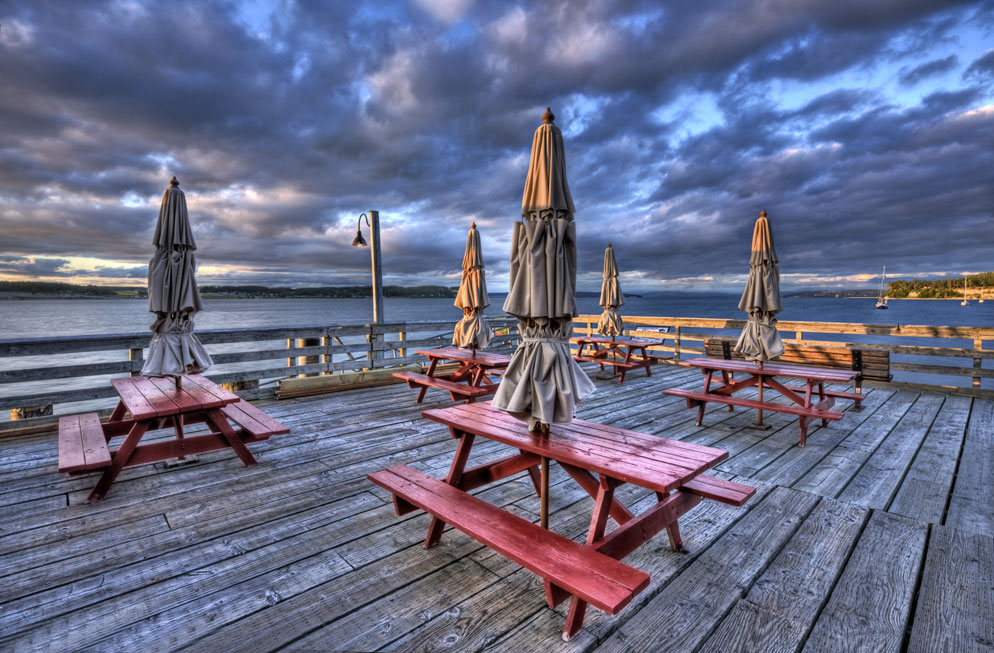
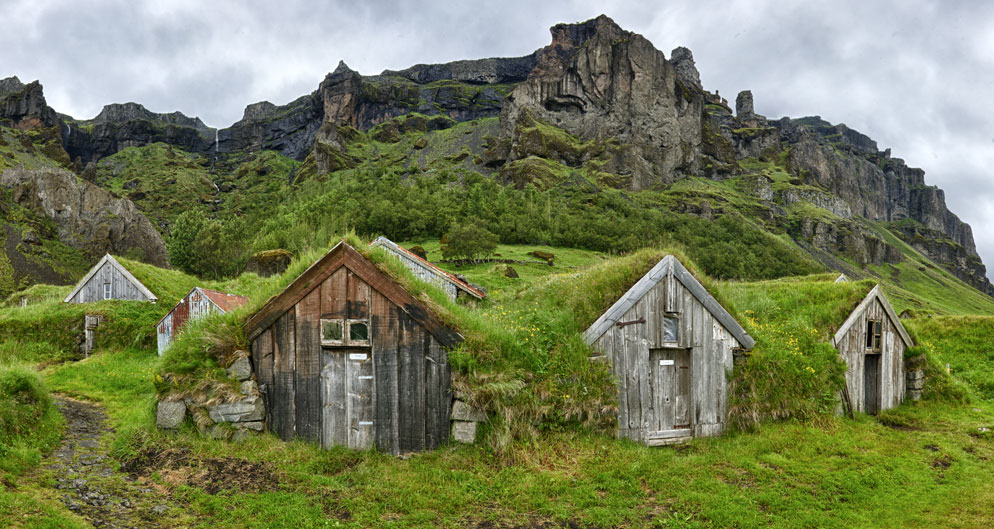
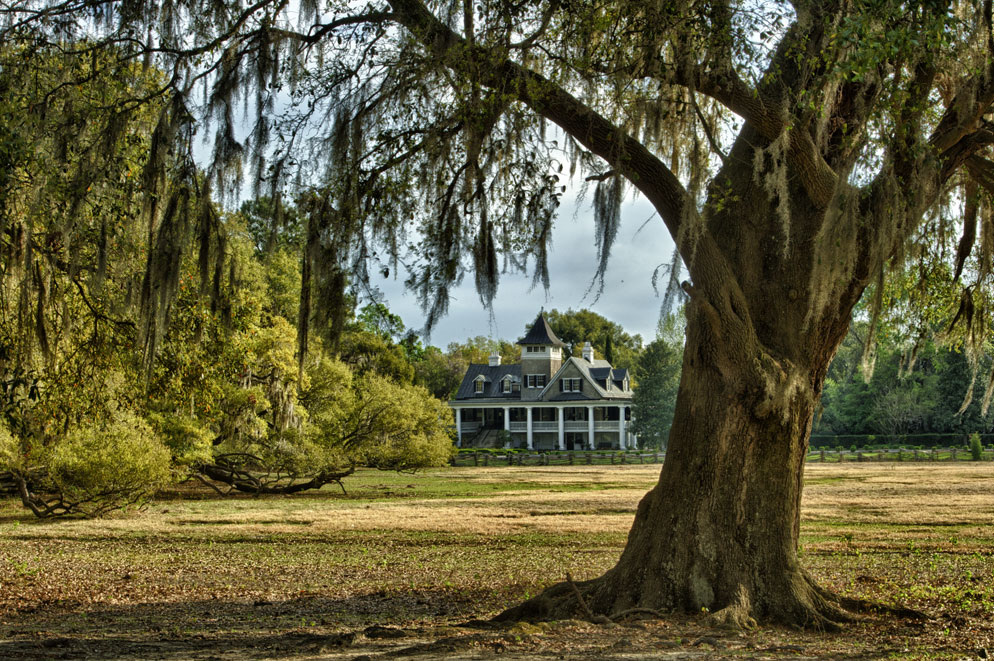
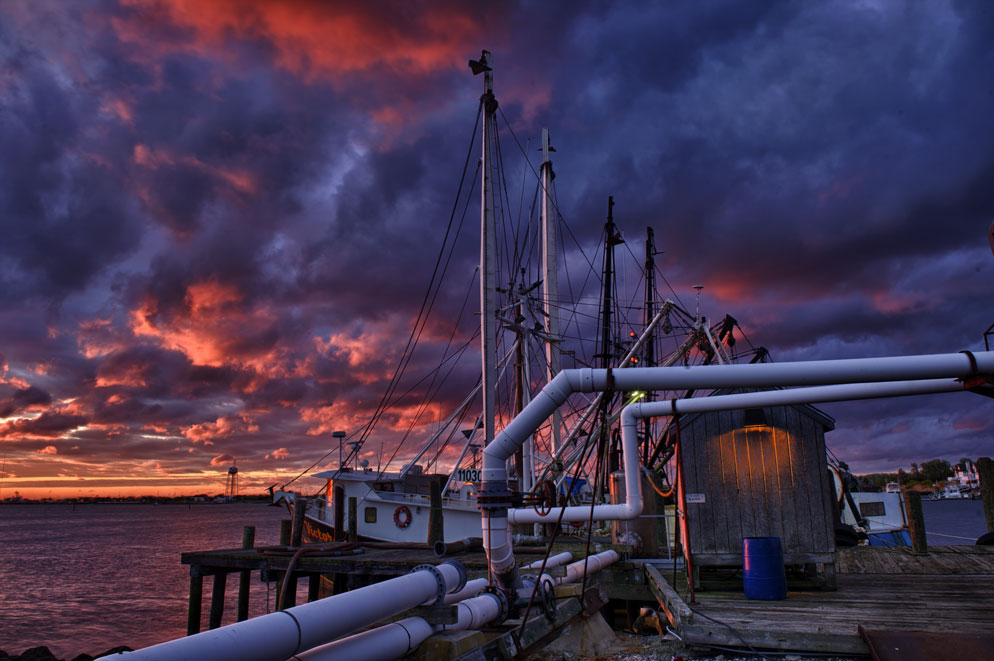
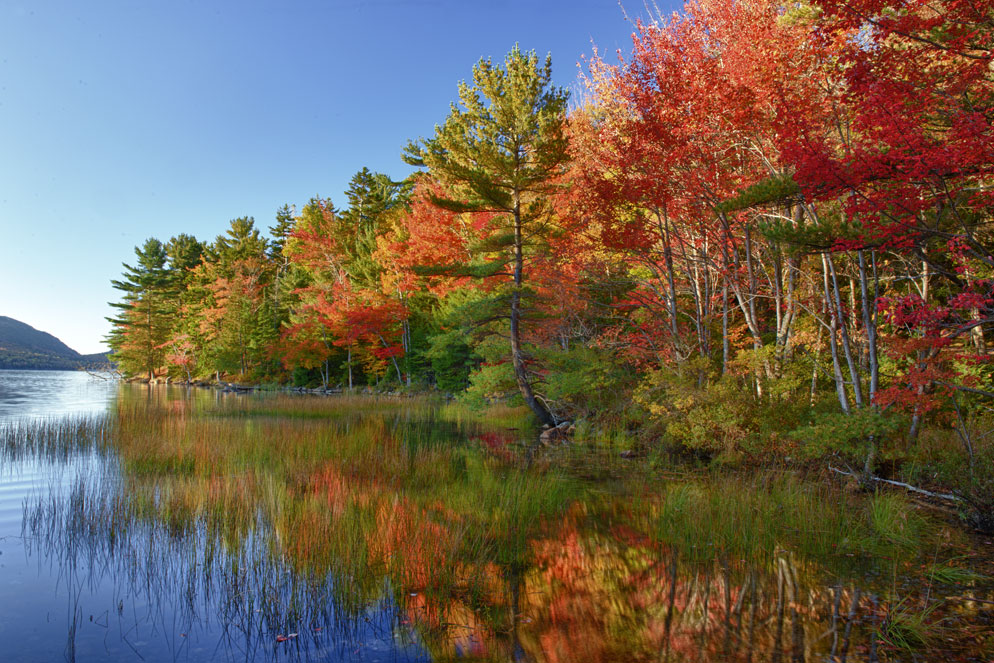
"In nature photography, the more realistic the better," Tony says, "but there are times when I want to make a graphic impression—and there are many subjects that work better with more interpretive processing. It's all personal preference." He finds that scenes like the interior of an old barn, or a field with an abandoned car lend themselves to "an extra real" look—"subjects where the colors, textures and contrasts lend themselves to the process." The accompanying photos include examples of Tony's real, hyper real and in between choices.
Tony uses two software programs to process his HDR [exposure] brackets. One is Photomatix; the other, Nik Software's HDR Efex Pro. Both work in similar fashion—basically, you set the parameters that control the result—and each program will create a file that contains all the information for an exposure, a file that renders the extremes of highlight and shadow, plus everything in between. "The file averages out the tonality of the scene," Tony says, "and then you tone-map that file—which means that the software adjusts highlights, shadows, contrast and color so that the image will suit your taste." The first step in tone mapping is the software's default—it will give you what it thinks is a natural rendering. "it's not bad in most cases," Tony says, "and I start with that selection."
Why does he work with two programs? "I like to change things up a little bit. Going from program to program gives me variety. The results can be quite different, so sometimes a shot that doesn't look too good in one program looks great in another—or it looks like what I want it to be."
Ultimately HDR photography makes it possible to capture images that were once pretty much beyond our reach. At the same time, it offers up a lot creative options. Tony puts it this way: "Your camera is capturing information. HDR is about how you decide to use that information to create an image."
Nikon's Built-in HDR Mode $
In addition to creating High Dynamic Range images the traditional way (by shooting bracketed exposures and combining them in software), select Nikon digital cameras offer a built-in HDR mode that simplifies creating these unique images. Check your camera's manual to determine if your specific model has this functionality.With the HDR mode, multiple exposures of a scene are captured and combined—according to user selected parameters—to form the HDR photograph. The processing is done in-camera so there's no need for post production computer work.

