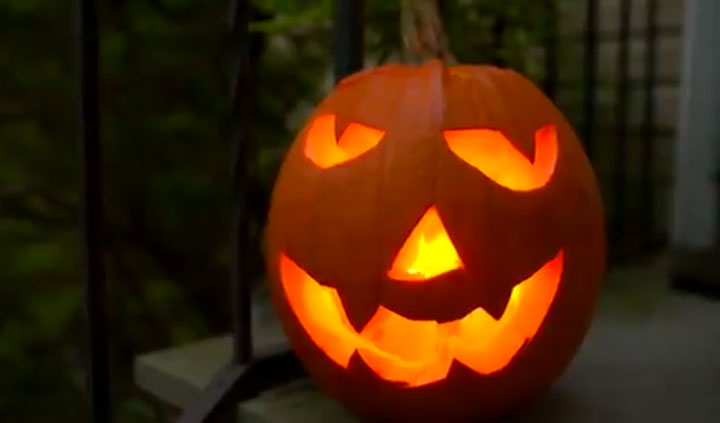
Halloween Time-lapse Fun: Carving a Jack ‘O Lantern in 60 seconds
How to carve a Jack 'O Lantern in 60 Seconds - How to carve a Jack 'O Lantern in 60 Seconds
Try something new. Ever made a time-lapse? It’s simple as pie if you use one of the newer Nikon DSLRs or Mirrorless cameras. Create a time-lapse that speeds up an entire afternoon—distilling it down to 60 seconds. Follow our recipe to create a new way of telling a story using Time-Lapse Photography.
How to Make a Jack 'O Lantern Carving Time Lapse Video:
-
Plan a timeline
-
Choose your subjects
-
Determine camera placement
-
Adjust exposure for lighting
-
Set frame rate and duration
-
Review and share video
1. Plan a Timeline
Whether your time-lapse will run 15 seconds, 30 seconds or more, follow a storyline. Just like a good holiday meal, start with something appetizing, share lots of great food, close with a sweet ending.
2. Choose your subject(s)
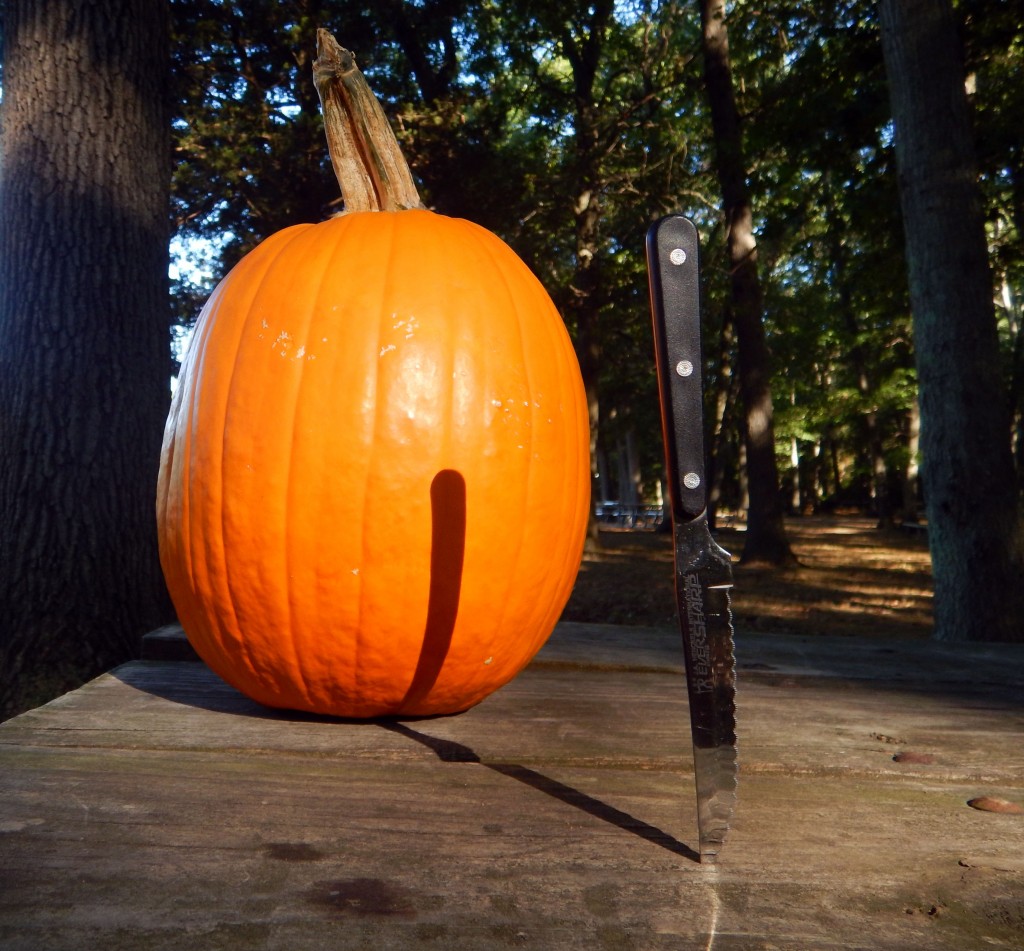
Who (or what) will star? We used a pumpkin. Keep everything harmonious; an appealing time-lapse has a distinct color palette that complements the theme. Trick or treat autumn tones, anyone?3. Determine Camera Placement
What goes where and when? What’s in the frame should be logical and harmonious. Determine camera placement by going through the range of movements in your script. How much of this motion needs to be seen?
When preparing to do a time-lapse, a steady tripod is a must. Before starting your project, shoot a few minutes of footage to ensure your settings are yielding the best exposure, etc.
A time-lapse is always good fun; it is amazing how quickly inanimate objects can come to life—experiment, and above all, be sure to have fun!
Tip: Figure out best camera and lens settings by shooting some stills. You can objectively determine how close the camera should be, and you can hone-in point of focus, depth of field and exposure.
Musts: Manually set exposure and focus. Keep Autofocus (AF) turned off. Do these to avoid having the camera ‘take over’ and change settings during capture. Use a tripod!
4. Adjust Exposure for Lighting
When moving about, consider how will shadows will be affected. Build your story and ensure that illumination remains steady, unblocked and similar. Your subject needs to be clearly lit and remain in the camera’s prime zone of focus.
Tip: If lighting will change during the span of capture, set to Auto with Exposure Smoothing. The camera will automatically adjust the exposure and give a more uniform look. In our time-lapse we manually set exposure.
5. Set Frame Rate and Duration
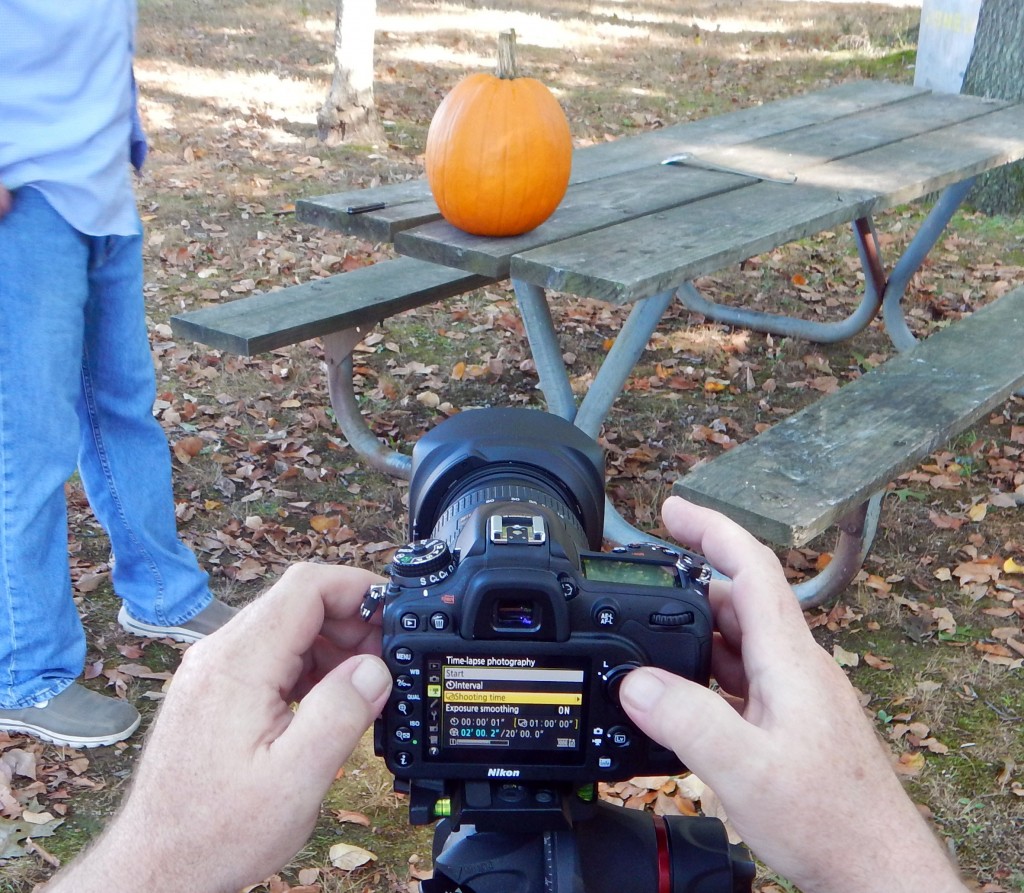
Many of today's Nikon DSLR and Mirrorless cameras can prep a time-lapse at the touch of a few settings. Review your camera's user's manual to see if your camera offers in-camera time lapse and how to go about setting it up. Your time-lapse video will be a .mov file. Time-lapses are recorded without sound, so you’ll need third party software if you want music or voice-over in your movie.
6. Review and Share Video
Once it’s a wrap, share your mini movie—upload to social media, attach and send in email or debut it on your HDTV. The new Z 50 mirrorless camera is designed to seamlessly shoot and share your creation!
Time Lapse Prep Checklist
-
Charge battery
-
Format SD card (class 10 advised)
-
Use a tripod
-
Pair best lens to the scene
Camera Settings for Time Lapse
-
Select FX, DX or 1.3 Crop Mode
-
Movie Option: select as desired; this time-lapse used 1080p 30s
-
Focus: Manual
-
Exposure: Manual
-
White Balance: Manual; in this time-lapse we warmed the scene to enhance fall colors
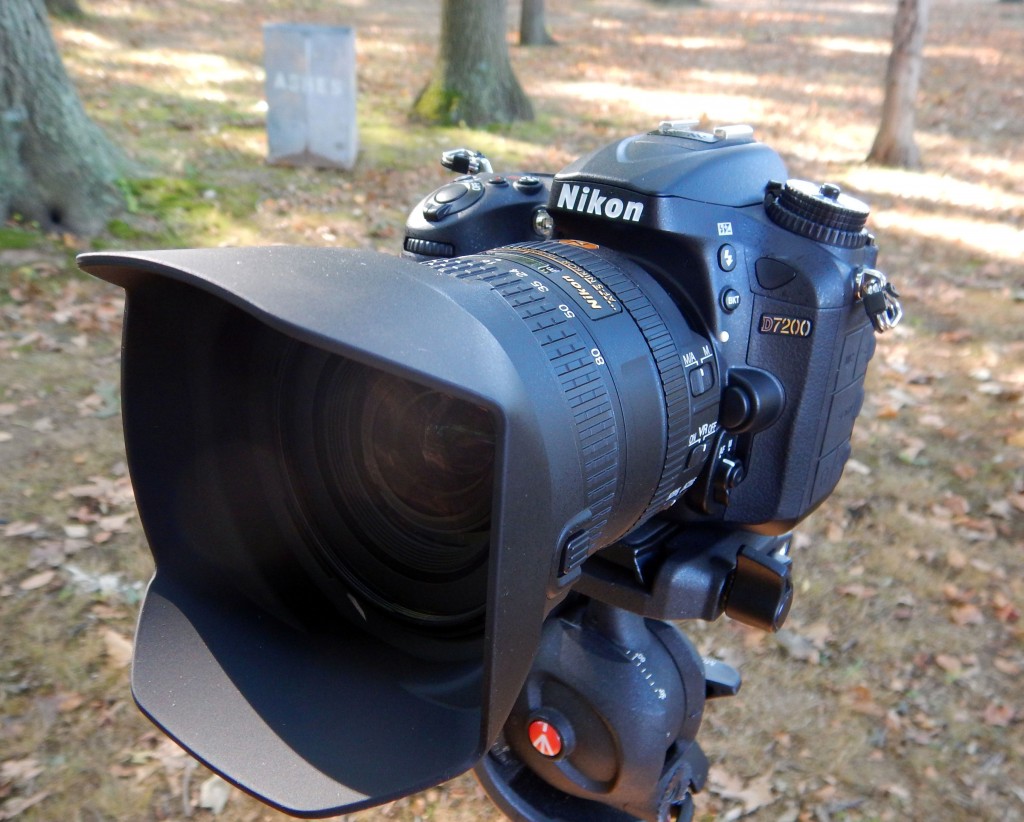
Nikon D7200 & AF-S DX NIKKOR 16-80mm f/2.8-4E ED VR lens setup for time-lapse shooting.


