Canyon Country Shooting
Tips for Photographing the Southwest
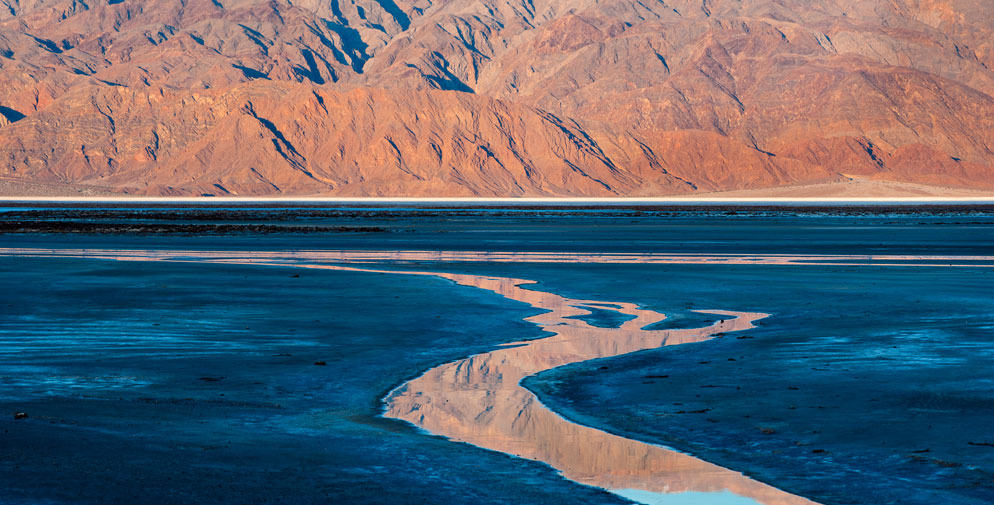
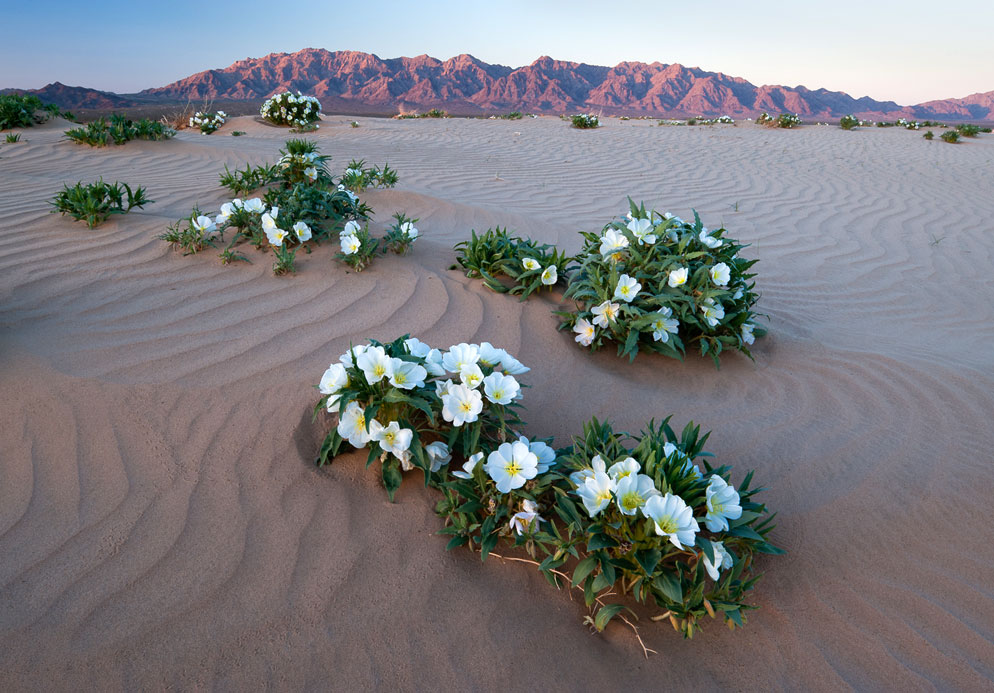
"It sounds simple, but you should make a decision about what the image really is, a landscape or a cloudscape." Foothills and Santa Catalina Mountains, Tucson, AZ. D3X, PC-E Micro NIKKOR 45mm f/2.8D ED, 1/80 second, f/11, ISO 100, manual exposure, Matrix metering.
Ask any aficionado of workshops and photo treks, "Why the southwest?" and the answer comes easily: an abundance of photo opportunities. Ask Justin Black, co-founder and managing director of the Visionary Wild Workshops, and he'll quickly get down to the specifics of the area's appeal, starting with the generally good weather and the translucent quality of the light in the desert air. Then he'll mention the graphics of a wide-open landscape, much of it on public land that's easily accessible for day trips, weekend excursions and longer trips and travel. Not to mention the sense of discovery in many of these areas. "Even though people have been there," Justin says, "there's little evidence of it, so you're an explorer as well as a photographer."
So there you have it: in southwestern Colorado, Nevada, Arizona, Utah, New Mexico and areas of the California desert—big, graphically clean landscapes that offer everything from broad vistas to the intimate details that are revealed as, say, sunlight reflects off the walls of sandstone canyons.
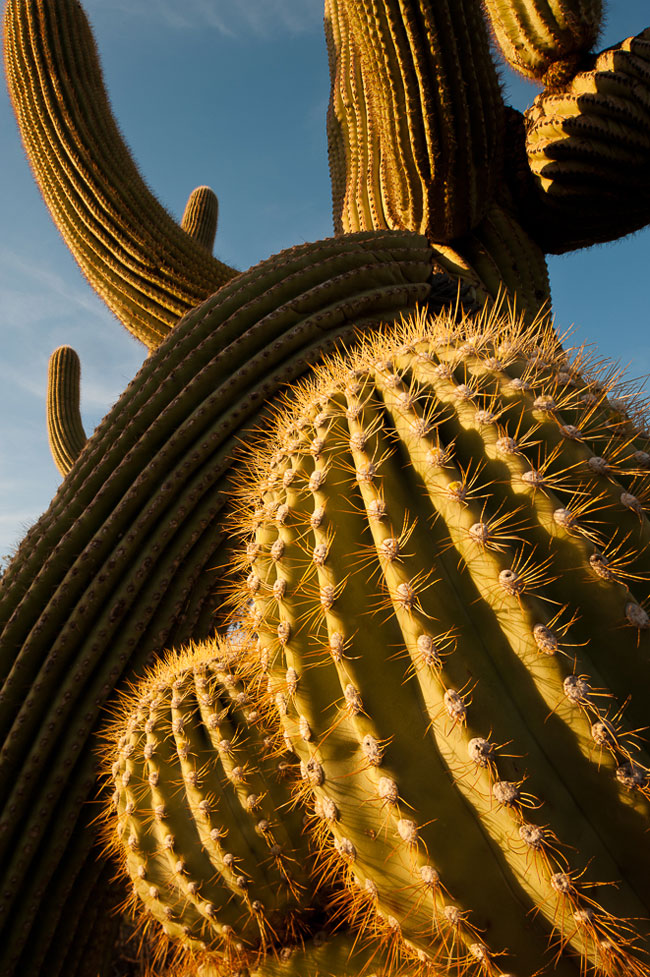
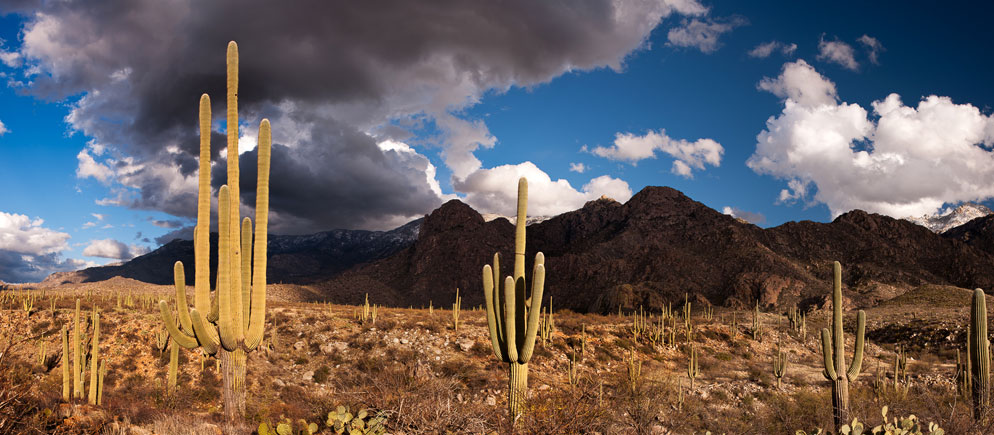
"Cross lighting emphasizes the texture of giant saguaro cacti. Take care to make use of the less harsh, less contrasty early morning or late afternoon light." Sonoran Desert National Monument, AZ. D3, PC-E NIKKOR 24mm f/3.5D ED, 1/13 second, f/22, ISO 200, aperture priority exposure, Matrix metering.
But before you get to planning and packing, a few essentials to consider:
The first is safety. Carry water and a first aid kit. Wear sturdy, comfortable boots; you'll be hiking, not strolling. "Watch the weather," Justin adds. "If you're in the canyons, know that storms even 30 or 40 miles away can have consequences—like a wall of water coming down the canyon toward you. Stay alert and stay informed." And tell people where you'll be. Your cell phone might not get service, so it's good to know that others know your plan and your itinerary. You don't want to end up like that guy they made the movie about who got pinned by the boulder and had to...well, you know.
The photo essentials?
Time. Really. Allow a lot of it so you can follow the light or wait out its changes; and so you can discover those great photo locations. "Don't be in a hurry," Justin says, "and don't show up with a lot of preconceived ideas or images in mind. You'll be offered surprises and opportunities, so be open to them. Relish the exploration."
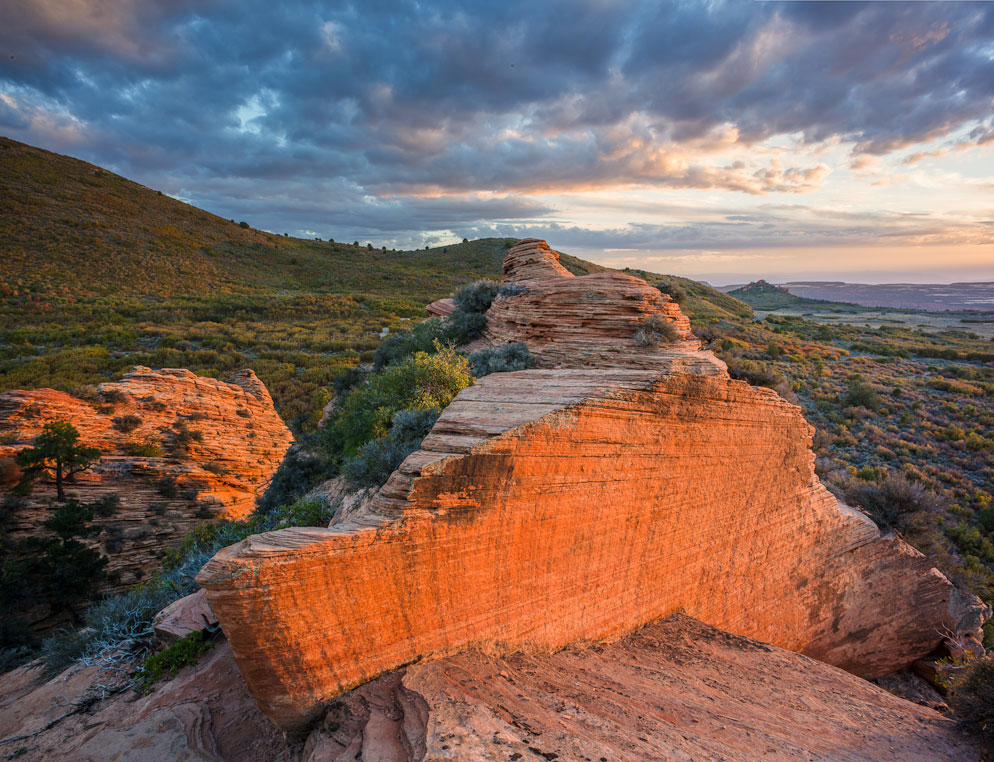
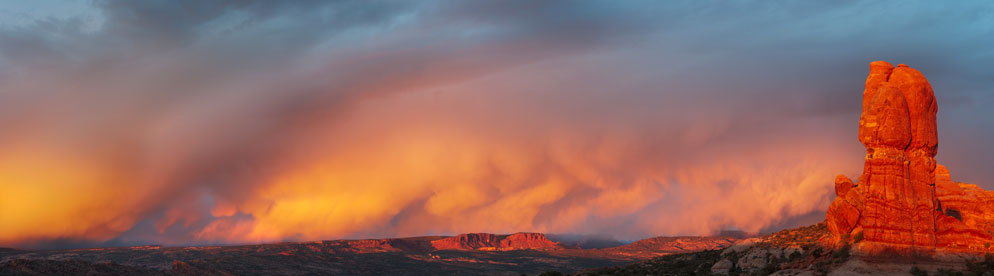
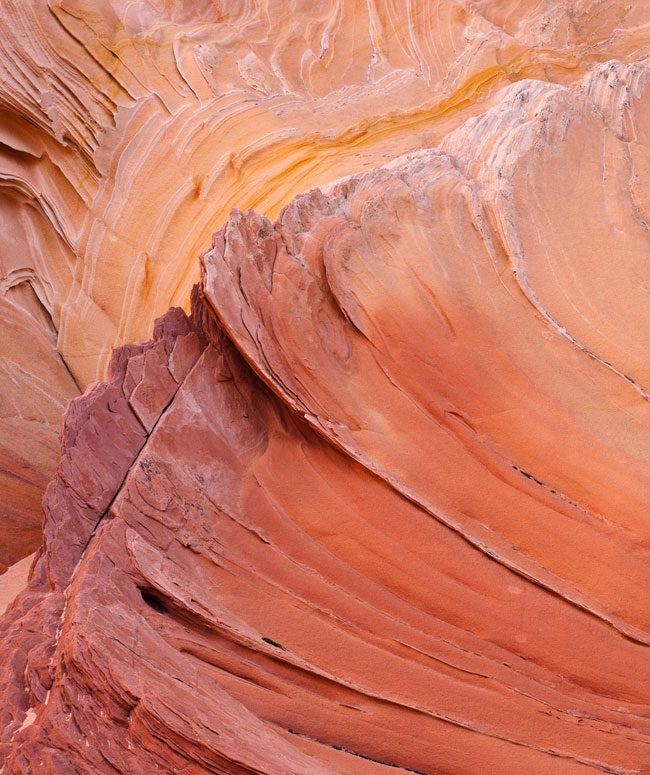
"At sunrise and sunset look for rock formations that catch the warm light of the sun that enhances texture in the rock and sets it off against the cooler shadows below." Hop Valley Trail, Zion National Park, UT. D800E, PC-NIKKOR 28mm f/3.5, 1/5 second, f/3.5, ISO 100, manual exposure, Matrix metering.

Also in the time category, expect long days...and take advantage of them. You can make pictures from pre-dawn to after dusk, and while some places aren't picture-friendly in midday light, you can use those hours to photograph in the canyons, working in the shadows or in areas of reflected light. If the light's harsh on the canyon wall, turn around to see what the light is bouncing into or onto; that bounced light can be diffuse, warm and welcoming.
With all that light bouncing around, what about exposure? "There are exceptions, but I find that Matrix metering does remarkably well," Justin says. "And I always check the histogram."
Sunlight also means sun glare and flare. "I'll almost always use a lens shade," Justin says, "and when the camera's on a tripod, I'll often use an MC-36 cable release and stand in front of the camera. If I can see my shadow falling on the lens, I know there won't be any flare."
Because of the range of tones in many southwest scenes, we wondered if HDR photography might be a good idea from time to time. "Not bad," Justin says, "but I've been astonished by the dynamic range of the D800E. There are some images I've made with that camera that in the past I would have had to use a graduated neutral density filter or a two-exposure layer or HDR, but what you can do in a single frame with that camera is amazing."
Finally, all the photos you see here were taken (by Justin or fellow pro shooter and Visionary Wild workshop instructor Jack Dykinga) with cameras firmly mounted on tripods. Whether you consider a tripod essential gear is your call; we're just saying...


