AF-S NIKKOR 16-35mm f/4G ED VR Lens Tips and Tricks
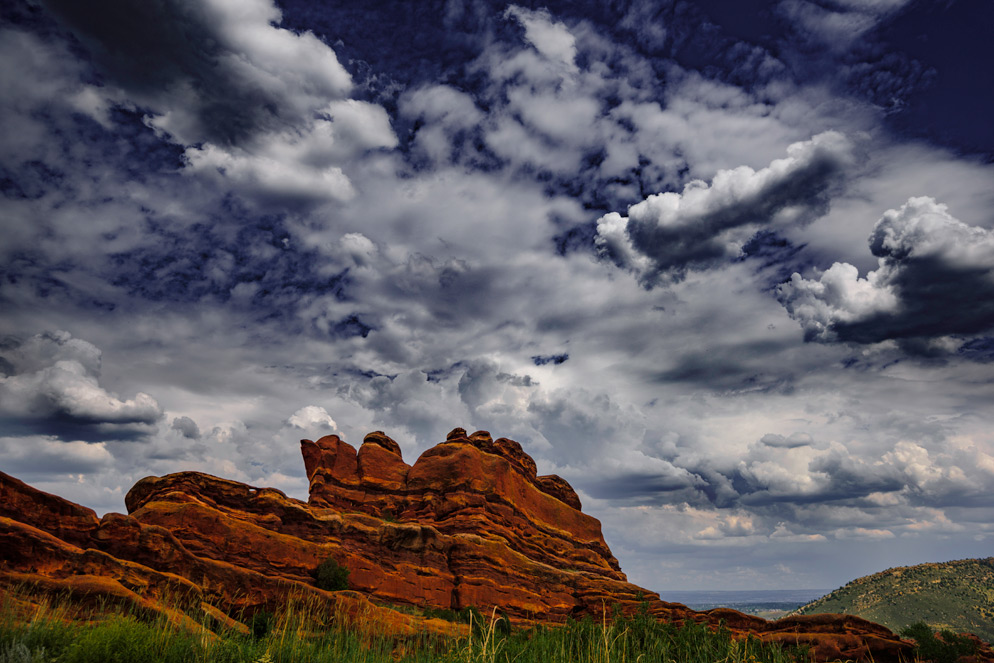
Red Rocks Morrison, CO. D810, AF-S NIKKOR 16-35mm f/4G ED VR, 1/2500 second, f/5.6, ISO 64, Aperture Priority, Center-Weighted metering, lens set at 26mm focal length.
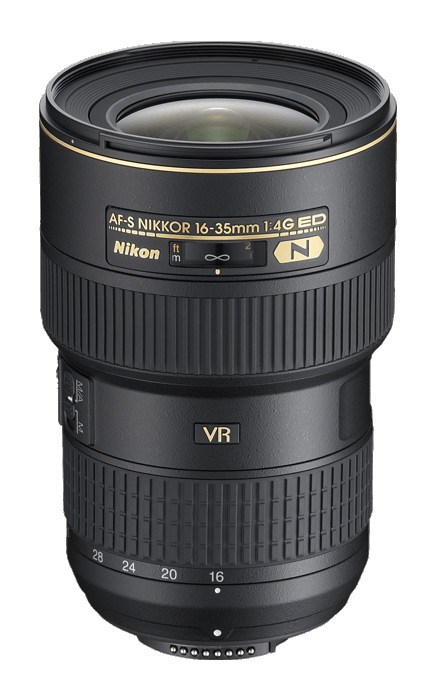
The AF-S NIKKOR 16-35mm f/4G ED VR lens is an ideal choice for landscape, architecture, group and long exposure photographers because of its constant f/4 aperture and wide focal length range.
The lens, with its 16-35mm focal length range is ideal for landscape photography including long exposures as well as architecture (building interiors and exteriors) and event photography when you’re shooting large groups, such as at a wedding or other affair.
The AF-S NIKKOR 16-35mm f/4G ED VR lens provides the perfect wide-angle coverage for architecture photography while also offering maximum depth of field.
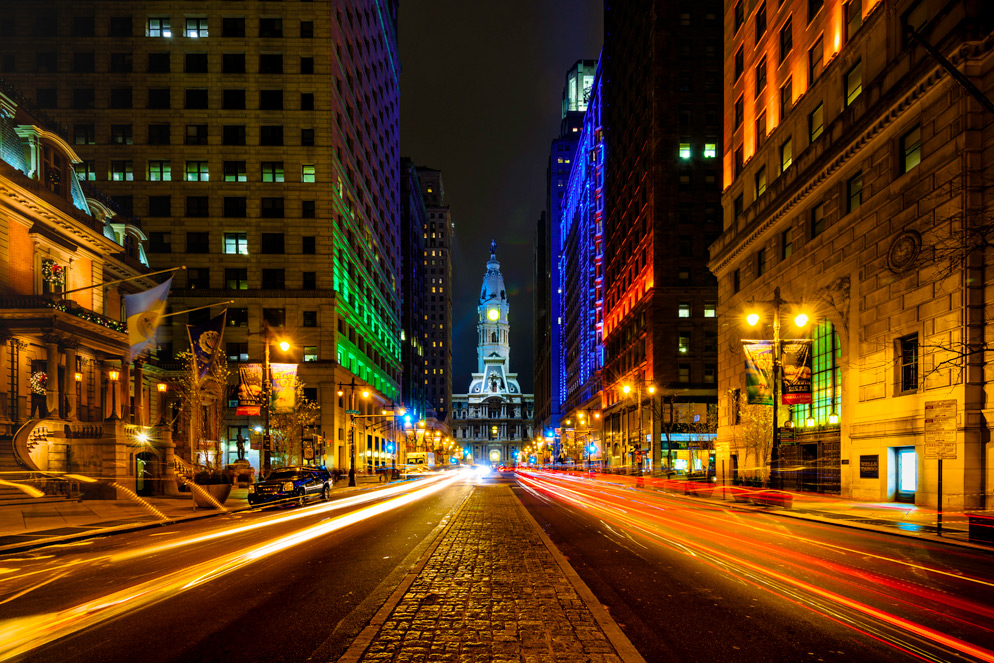
Philadelphia, PA during the holiday season. D810, AF-S NIKKOR 16-35mm f/4G ED VR, 10 seconds, f/16, ISO 64, Manual exposure, Center Weighted metering, lens set at 16mm focal length.
A hurdle to overcome while capturing architectural images is keystoning. This is the appearance of the top of a building looking narrower than the bottom of a building; and its something that can be averted by using a Perspective Control (PC) lens. However, if you take this into account when shooting with the 16-35mm lens, it can be fixed in post-production.
We spoke with Andy Dunaway, NPS Professional Marketing Representative and award winning photographer who keeps the 16-35mm lens in his camera bag because of its light-weight, versatility and ample coverage of a range of focal lengths.
“If I’m on the ground floor of a six-story building, the bottom will appear larger and will seem to taper and narrow toward the roofline,” he says. “Using the 16-35mm lens, I compose my frame as level as possible while also shooting wide and loose knowing I will lose a portion of that composition during the perspective correction in post-production.” Perspective correction can be accomplished using image editing programs including Nikon’s Capture NX-D software.
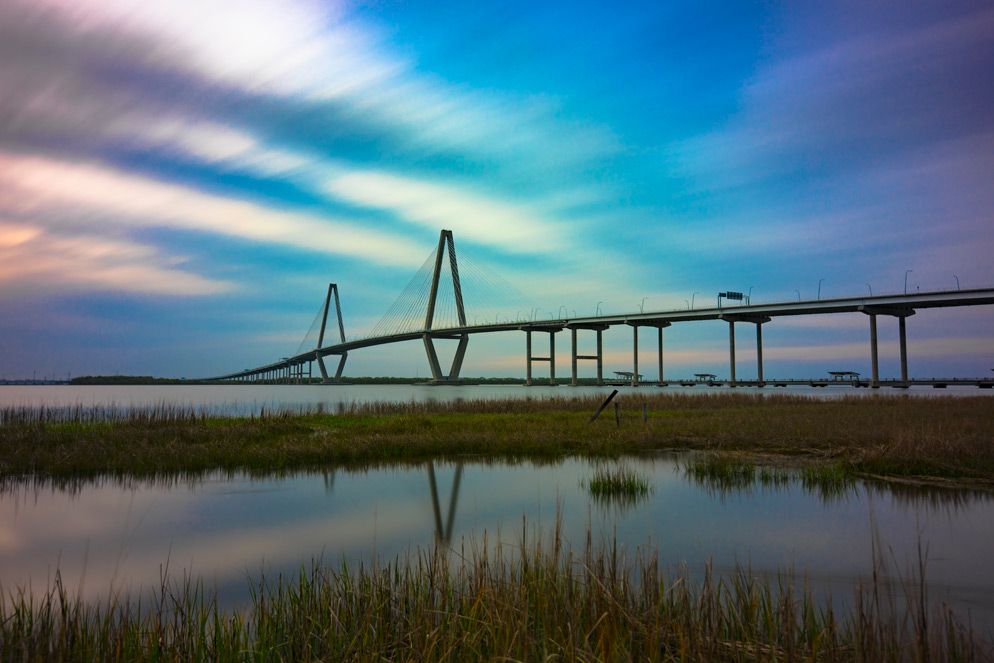
Ravenel Bridge connects downtown Charleston, SC to Mt Pleasant. This image was a long exposure shot, taken at sunset. I selected the 16-35mm lens to show the water and the amazing sky. D810, AF-S NIKKOR 16-35mm f/4G ED VR, 91 seconds, f/4, ISO 64, Manual exposure, Center Weighted metering, lens set at 25mm focal length.
Photographing long exposures
When taking long exposures, the most important piece of advice is to use a tripod to steady the camera. Andy uses Nikon’s WR-1 radio controlled remote to start and stop his long exposures but you can use any Nikon remote or cable release that your camera is compatible with (see your camera’s user’s manual for details). Doing so will greatly reduce any vibration or movement caused by pressing the shutter button.
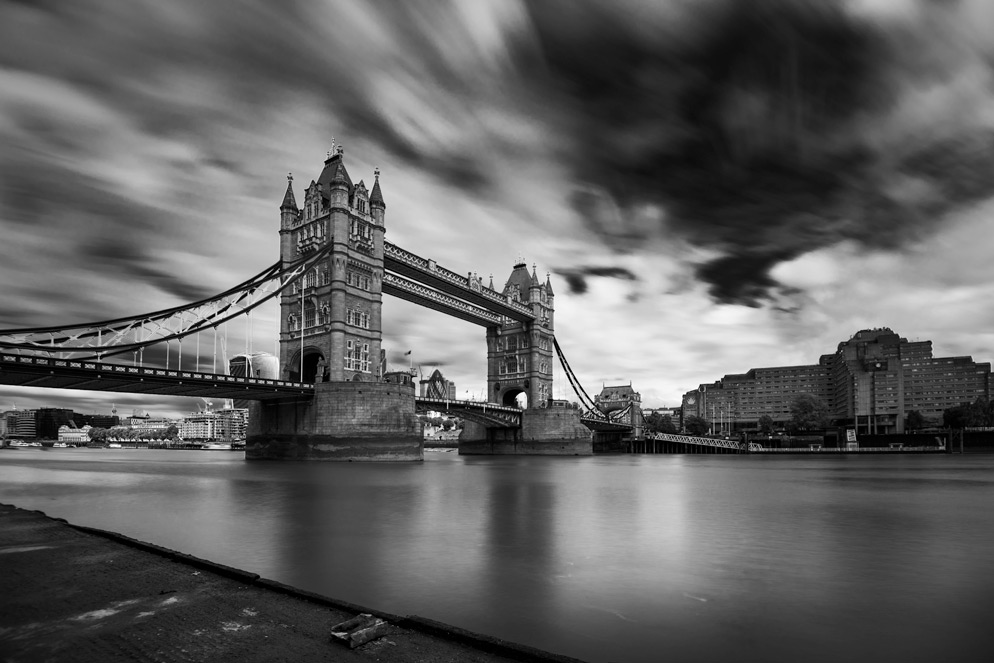
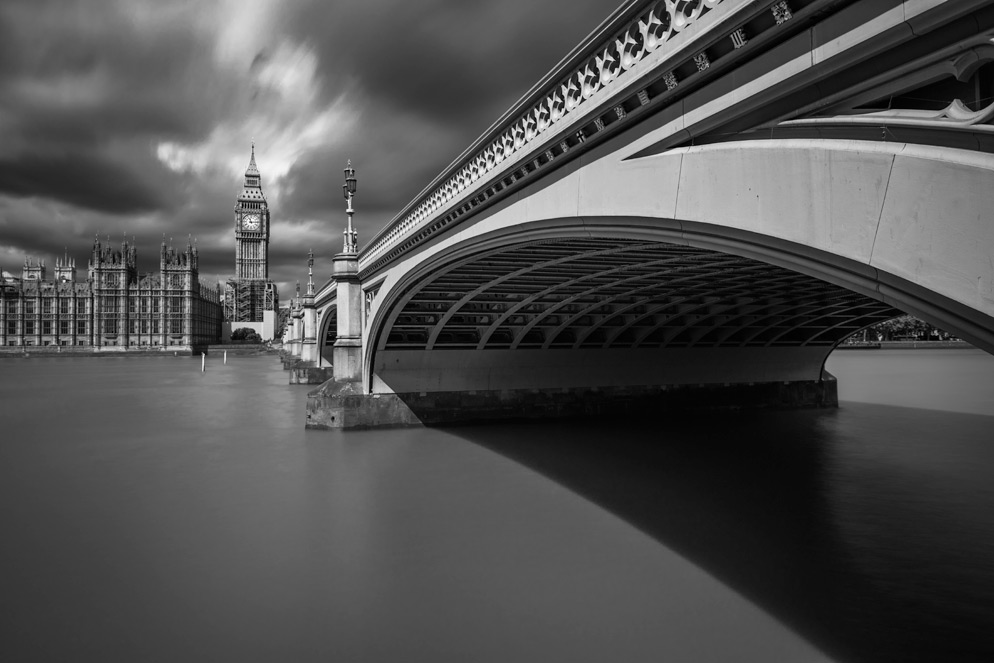
Another key accessory that Andy uses is a 15-stop Neutral Density (ND) filter. An ND filter is essentially a fourth way to control the exposure, working along with shutter speed, aperture and ISO sensitivity; and will let you cut the amount of light in your scene by up to 10 or 15 f/stops. They’re used in bright sunlight when you want to cut down on the amount of light in a scene so you can increase your shutter speed. An ND filter is optically transparent so it simply cuts down on the light without affecting the color.
The following is a starting point for a good exposure:
-
Keep the aperture at f/4 and use your camera’s lowest native ISO.
-
This will allow you to use a 30-second exposure with the fifteen-stop ND filter. If need be, close down your aperture to f/8 or f/11.
-
Know that in doing so, there is a chance of seeing any dust or debris on your camera’s sensor. In short, the more you increase f/stop, the more apparent your cleaning skills, or lack thereof, will show.
-
A 30-second exposure increases the chances of capturing cloud movement in-frame, and also the ability to make moving water to appear as smooth as glass.
“I’ve always had an affinity for clouds, which I strive to include in all my landscape images. The 16-35mm lens ensures that I’ll have the capability of incorporating my favorite white fluffy stuff in every landscape frame I compose,” Andy explains.
“Clouds are a key to capturing movement when photographing long exposure landscapes. They are equally as important as the vistas or cityscapes, so I’ll study the composition only after I’ve made a study of the clouds and their progress,” says Andy.
Tips:
-
A stable platform is essential when capturing long exposures. Given these exposures may be minutes or more long, a tripod is a must have.
-
Of the file capture options offered by Nikon, the RAW file, (Nikon NEF) has the most exposure latitude and allows you the ability to manipulate the file in post production to your desired effect.
-
A ten – to - fifteen f/stop neutral density filter is great to have if you really want to capture the movement in any frame—the higher the density filter, the longer your shutter can stay open.
-
Autofocus is activated when the shutter release button is depressed or the camera’s timer feature is engaged; therefore, the AF-S NIKKOR 16-35mm f/4G ED VR lens’ easily accessible autofocus and manual focus toggle switch helps when capturing long exposures. Because I use a remote to start the exposure, I’ll first lock in my focus using the autofocus feature, then, use the aforementioned toggle to switch the lens to manual focus and start the exposure.
-
Leave nothing to chance. Plan ahead by preparing your equipment the day prior to a photo outing. Check to that all equipment is operable, lenses are clean and batteries fully charged.
-
Always remember to have fun no matter what obstacles are thrown your way! For instance, you can’t control Mother Nature so if she rains on your parade, be sure to embrace the gift she’s given and put on your rubber boots and raincoat and capture those rainbows.

