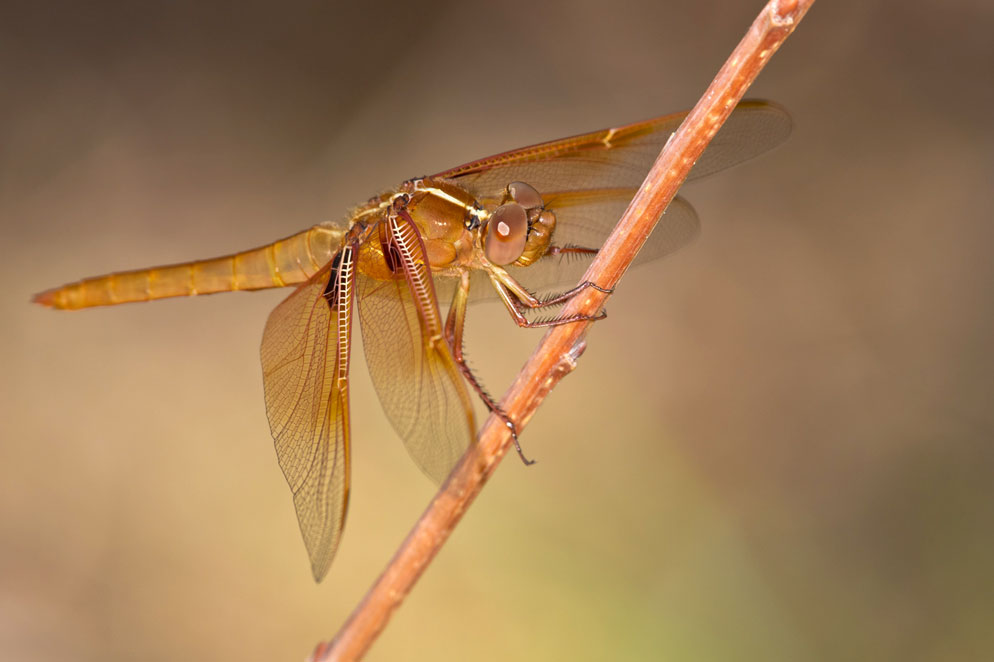
A Light in the Forest
Tips for close-up critter flash photography in the field
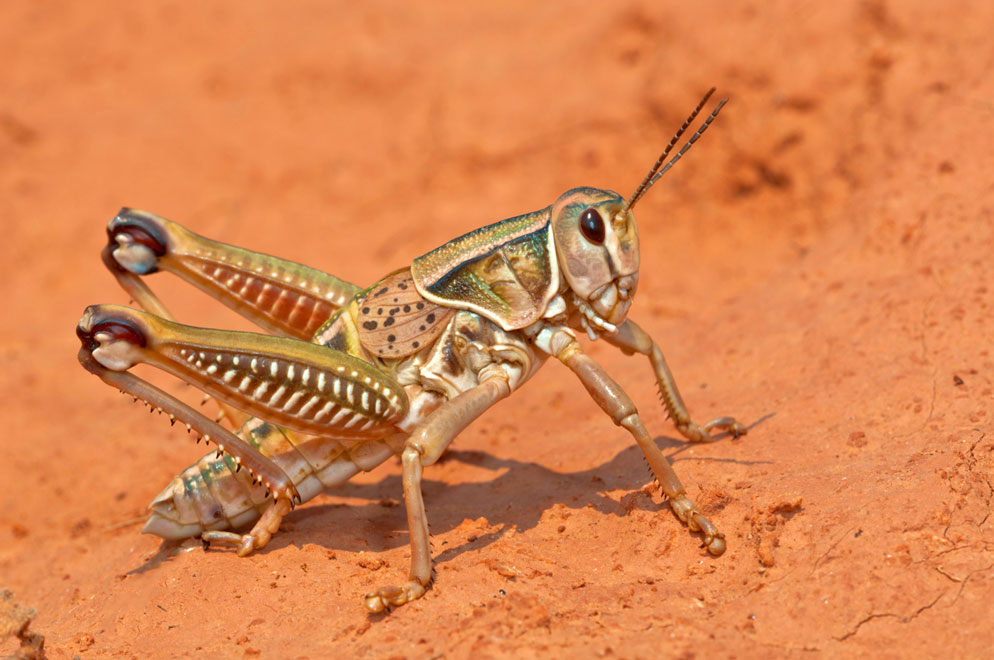
Let's take a walk in the woods. Bring your Nikon DSLR, a lens (or two), your Speedlight and a tripod. We'll be pursuing images of creatures small and quick, and chances are pretty good we're going to come back with some cool pictures. But because our subjects aren't as easy to photograph as, say, woodland landscapes or close-up details, we're going to need, in addition to the aforementioned gear, some clever strategies and a little patience.
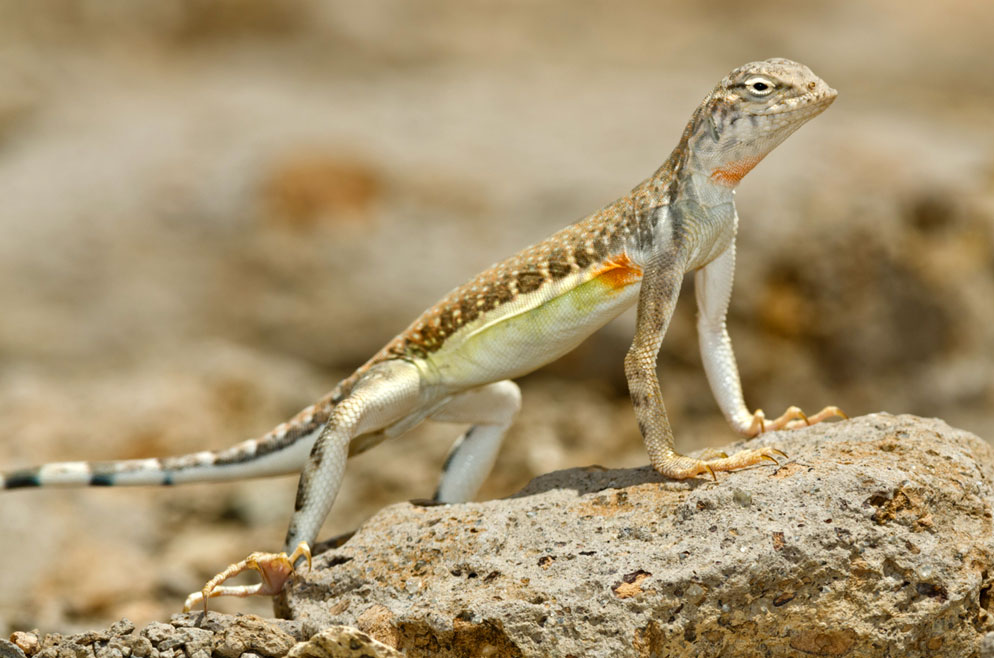
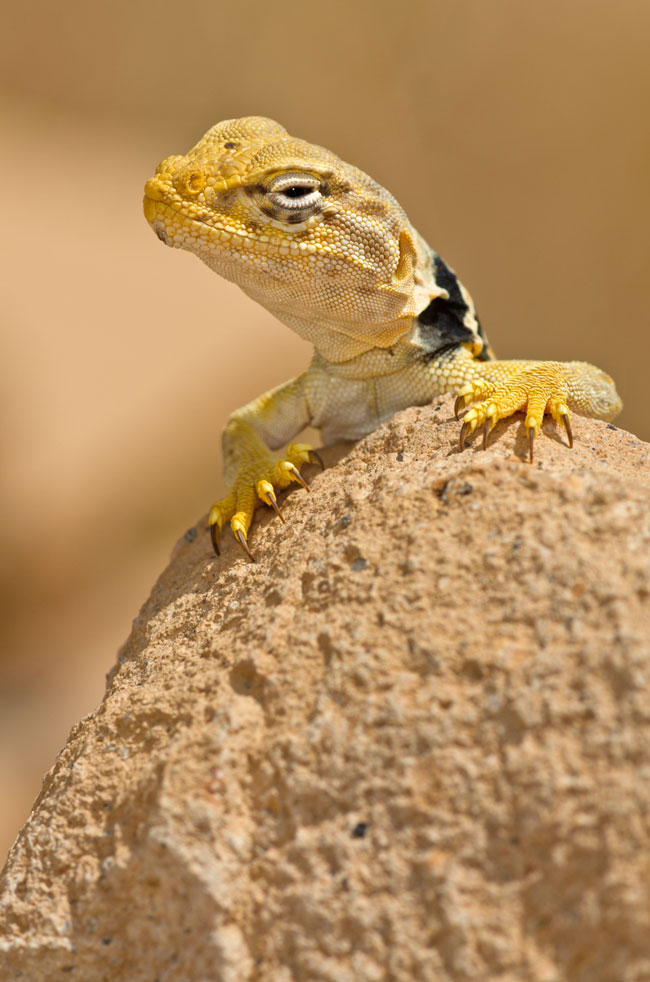
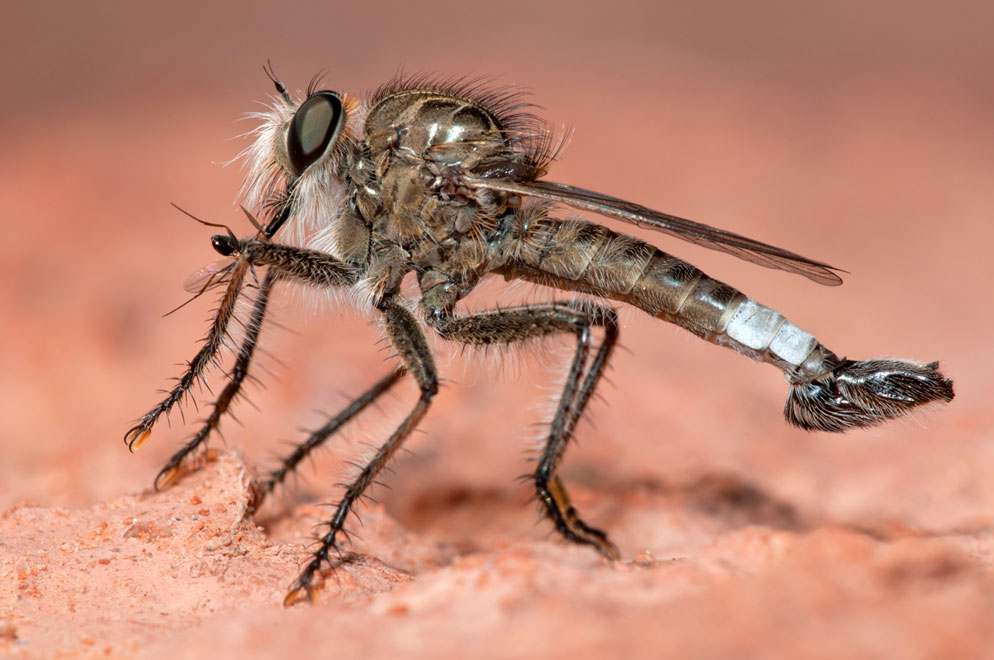
That's essentially the invitation offered to workshop students by natural history photographer Rod Planck, who recently talked with us about the skills and techniques he uses to make the kind of photographs you see here.
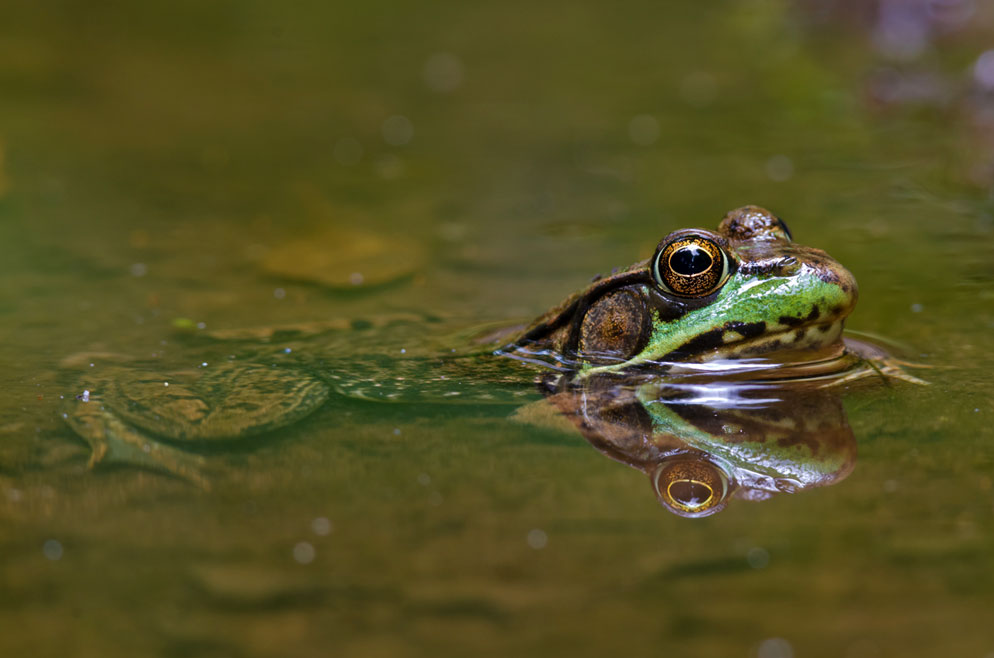
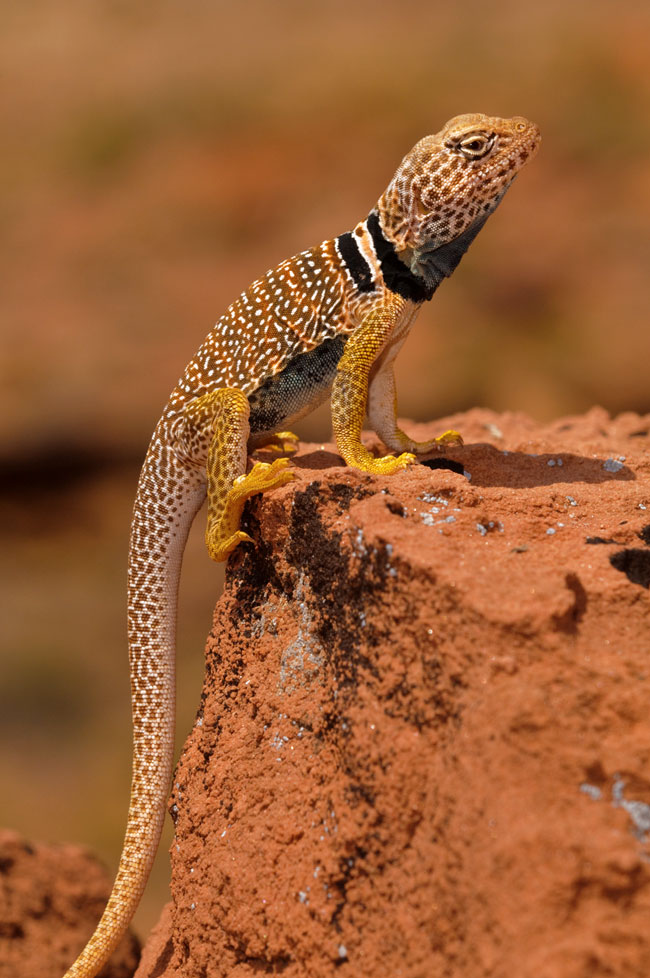
Why use flash? Because in the forest environment, it's often necessary to fill in shadows and reveal details. And, as we'll talk about further on, flash can be an effective way to freeze quick-moving critters in their tracks or their flight.
Ready? Let's go.
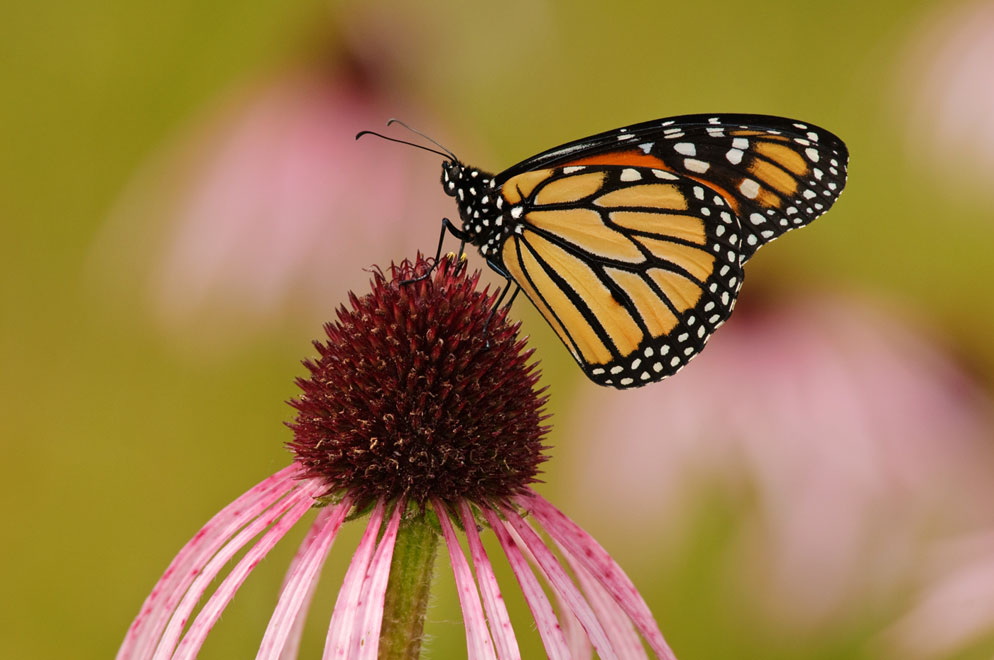
The Glass. For close-up photography of small critters you're thinking Micro-NIKKOR, and you're right, but while Rod uses the longest Micro-NIKKOR available, the AF Micro-NIKKOR 200mm f/4D IF-ED, he also shoots with an AF-S NIKKOR 300mm f/4D IF-ED fitted with an AF-S Teleconverter TC-14E II. It's a combo that gives him a focal length of 420mm for a very nice reach at a very comfortable working distance. "It always helps to be farther away," Rod says. "The difference between being six feet from a butterfly and two feet is enormous. A butterfly is not worried about things six feet away; at that distance, you're not in its world."
The Camera. Rod often prefers to shoot these types of images with DX body Nikon D-SLRs, like his D300, D300S and D7000, because of their sensors' 1.5 magnification factor. (With that factor and a 1.4 teleconverter, Rod points out that you can also get great results with an AF-S VR Zoom-NIKKOR 70-200mm f/2.8G IF-ED or an AF-S VR Zoom-NIKKOR 70-300mm f/4.5-5.6G IF-ED.)
The Tripod. You know the drill: strong, steady, solid; extend the legs, never the center column; perhaps one with a bubble level to keep your horizons (and maybe even your subjects) straight.
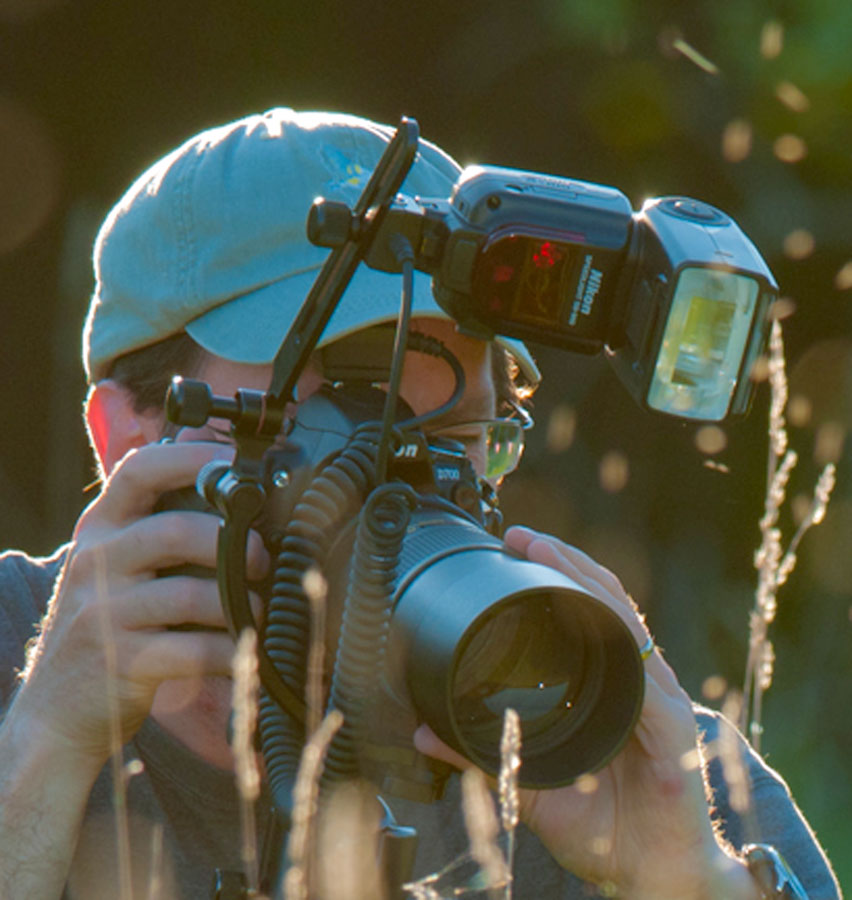
The Flash. Rod's forest critter close-ups are single Speedlight photos, and for the images here the Speedlight was either an SB-900 or SB-910, which was connected to the camera by a Nikon SC-17 sync cord (the current equivalents are the SC-28 and SC-29) and mounted to a bracket that positioned it above the lens. The bracket can be attached to the camera at the tripod socket or to NIKKOR lenses, like the 200mm Micro-NIKKOR and the 300mm f/4D, that have tripod collars. Here's what his typical setup looks like:
Rod connects the Speedlight to his camera via a Nikon SC-17 (current equivalents are the SC-28 and SC-29). The Speedlight is placed on the bracket so it is above the lens. The bracket attaches to the tripod socket on the camera or NIKKOR lenses that have a tripod collar.
The Ways and Means
Rod likes to use manual focus when he's using an AF NIKKOR (these lenses don't have a built-in focus motor)—like the 200mm Micro-NIKKOR. With AF-S lenses, like the 300mm f/4D (and the AF-S VR Micro-NIKKOR 105mm f/2.8G IF-ED he just started using in combination with an AF-S Teleconverter TC-20E III), autofocus is, he says, "lightning fast." He favors single servo AF and puts an AF focus sensor point on the eye of the critter.
Although he's using one flash, he's dealing with two light sources: the Speedlight and the scene's ambient light. "The first thing I do is determine if the ambient light is the main light or the fill light," Rod says. "Whichever one it is, the flash becomes the other source."
He'll then set his exposure by adjusting f/stop, shutter speed and ISO to work with those light sources and their role in the image. He'll generally set ISO at 100, 200 or 400. There's usually no need for higher settings.
Rod will choose either full TTL (Through-The-Lens) operation of the flash or set his Speedlight for fill flash. In full TTL mode the camera and the Speedlight, working together automatically, will read the ambient light and fire a flash exposure suitable to the scene.
Basically, TTL means full auto operation, and Rod will use it when he wants the Speedlight to provide the scene's main light. "When I use full TTL, I'm considering the scene's ambient light the fill light," he says. "I'm looking for a balanced lighting effect where the flash is the main source of light, while the ambient natural light fills in the scene." When he's shooting full TTL flash, he generally sets his exposures manually and uses the camera's exposure compensation if necessary.
There's one more setting that can play an important part in flash photography of small forest creatures when you're shooting in full TTL mode. Under "Bracketing and Flash" in the Custom Function menu of select Nikon D-SLRs, you'll find settings for flash sync speed. "If you set the option for Auto FP High Speed Sync, you'll be able to shoot fill flash above the camera's normal sync speed." And you might want to do that to have the flash help freeze your subject, as we mentioned earlier.
For times when the ambient light is strong and all he needs the flash to do is fill in the shadows or balance the lighting, he'll use fill flash—which means he controls the output power of the flash by using flash compensation to increase or decrease the Speedlight's output in 1/3 stop increments. (Check your Speedlight's manual for details on accessing this compensation setting as well as full TTL mode.)
Rod suggests that a good starting point for fill flash compensation is a -1.7 setting. "That's like training wheels for fill flash," he says. "The flash goes off at 1-2/3 steps 'weaker' than the auto flash exposure calls for. Then you look at the shadows on the LCD playback of the photo. If they're still too dark, try -1/3 or -1 stop." When he uses fill flash, Rod sets the camera for aperture-priority exposure and handles all compensation via the fill flash compensation setting.
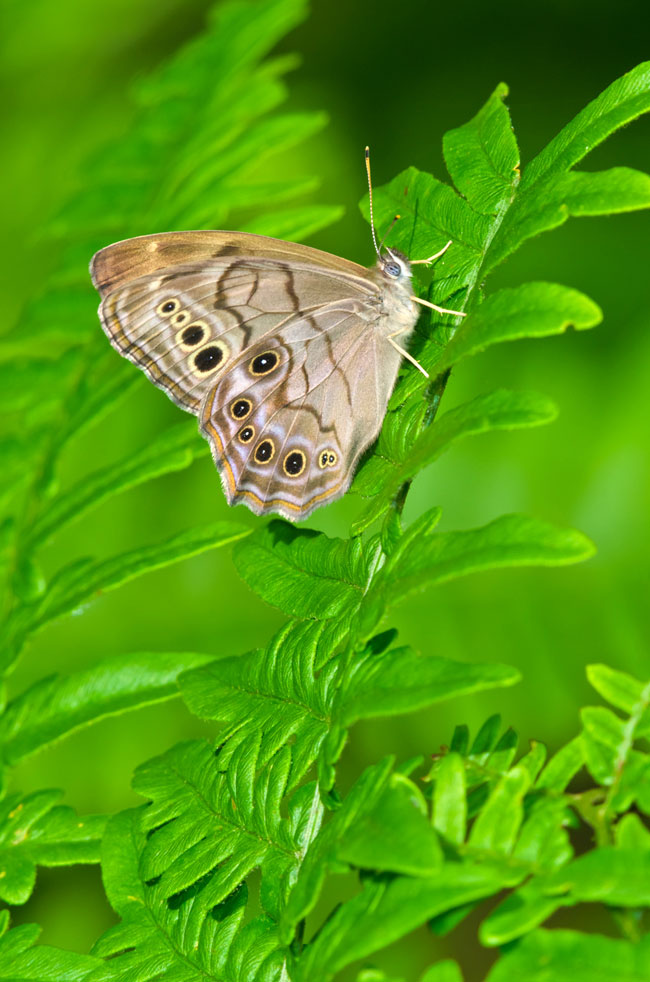
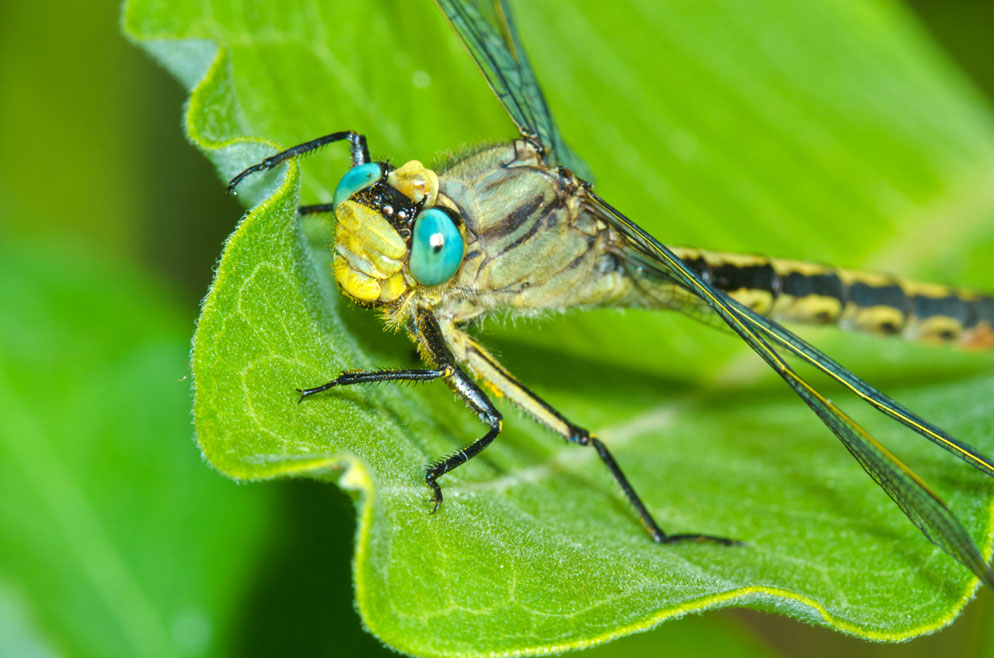
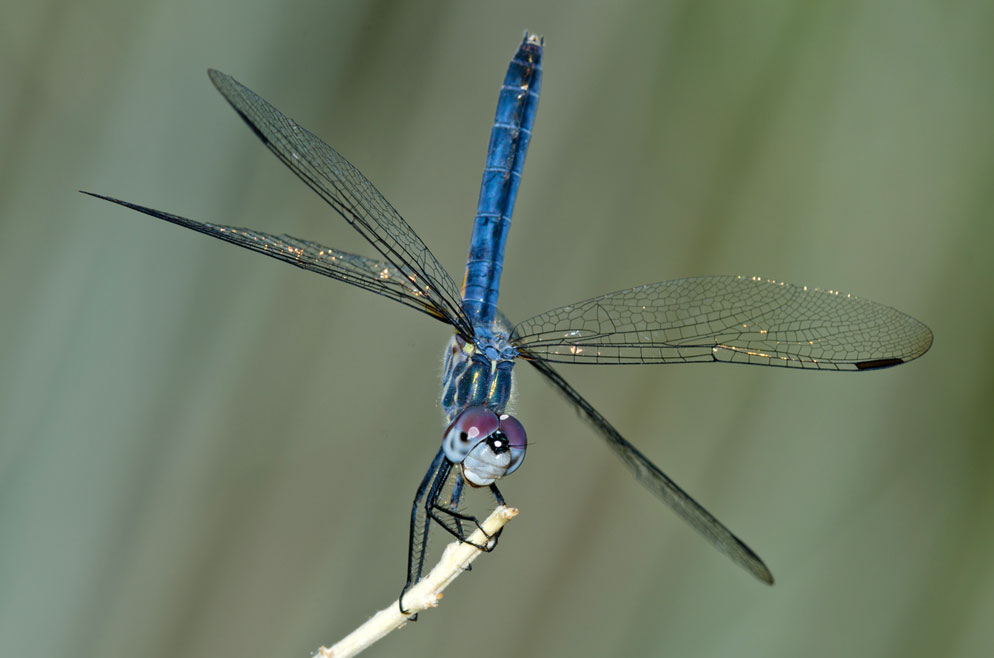
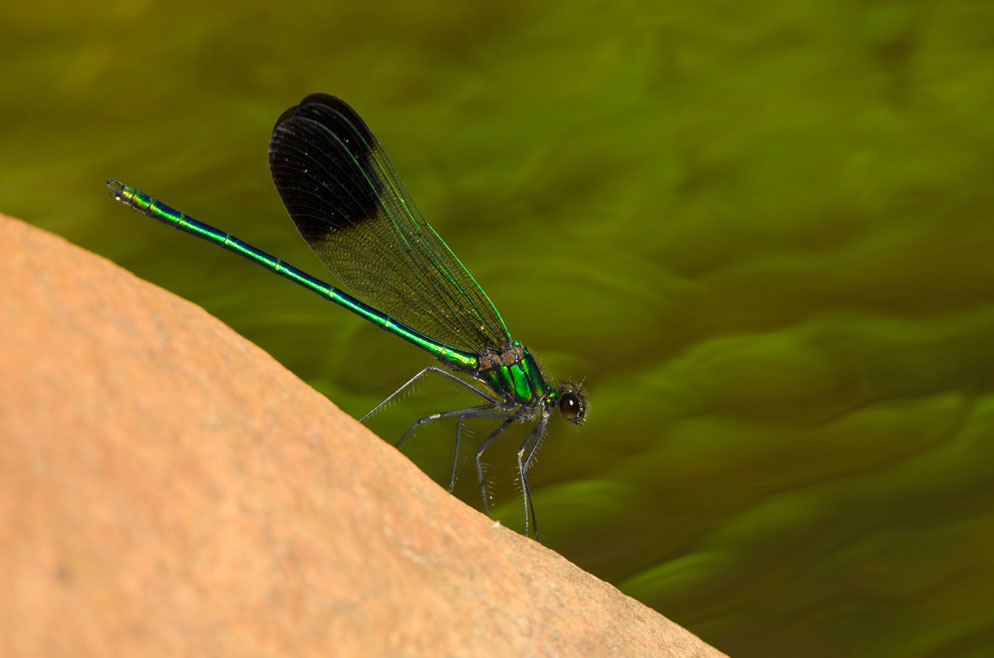
Add to these guidelines a degree of patience. "I don't place the subjects," Rod says. "I photograph them where they are, in their natural state in the natural world, and that's why this type of photography comes with a high frustration factor. That green damselfly [above photo 3] was darting everywhere; it took me an hour to get that shot. But I don't want these images to be just illustrations. I'm trying to put in as much poetry as possible."

