5 Steps for Getting Great Low-light Photographs this Halloween
Updated October 2025
Is successful photography a shot in the dark for you at Halloween? Evening photography generally means low-light shooting, so whether you’ll be capturing moments indoors or out, we have some tips for you.
Rock Steady
Sharp low light photography requires that the camera shutter stay open just a bit longer than when capturing in bright light, so keep a steady base of operation. Brace yourself against a wall, building or tree to help reduce camera shake.
Also, if your lens has it, switch on the VR (Vibration Reduction). Many Nikon lenses offer VR image stabilization built in. Certain Nikon Z series mirrorless cameras also have VR image stabilization built into the camera bodies.
Use a Fast Lens
A fast lens is a lens that has a really wide maximum aperture allowing it to gather more light that hits the sensor during the exposure, which means you can capture images at faster shutter speeds. A fast lens also lets you work at a lower ISO setting, which further helps ensure images that have less noise.
Top “fast lens” candidates to consider are those from the NIKKOR Z f/1.4 and f/1.8 and f/2.8 series such as the NIKKOR Z 50mm f/1.4, NIKKOR Z 40mm f/2, NIKKOR Z 85mm f/1.8 S or NIKKOR Z 17-28mm f/2.8 lenses.
Increase the ISO
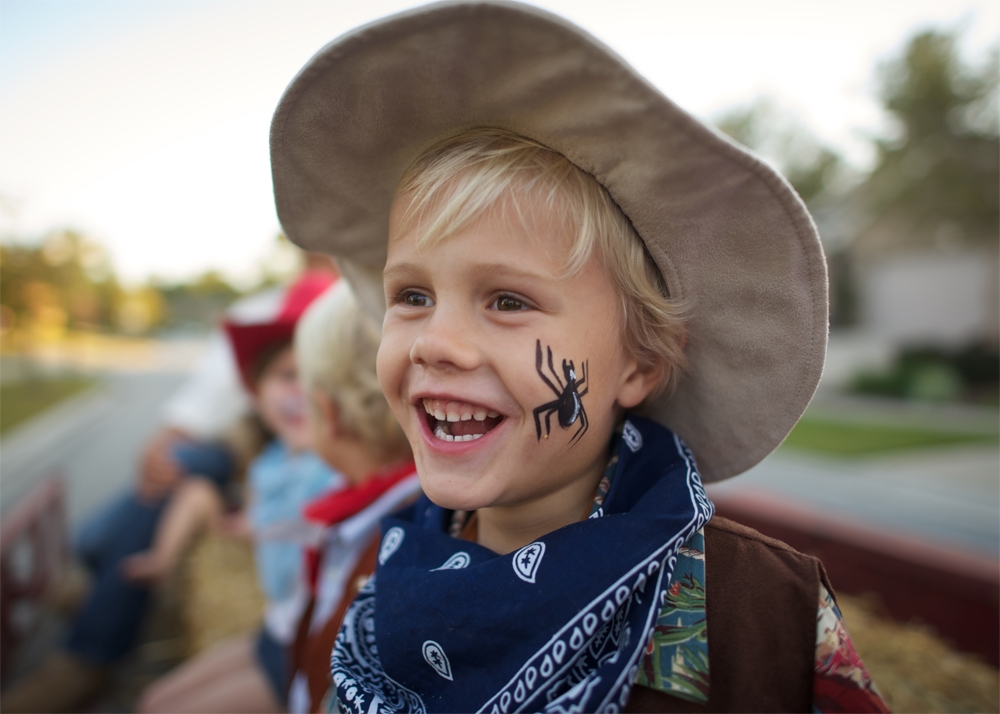
If your low light subjects are moving—maybe you’re trying to capture the kids in costumes as they gather on the front porch—then consider increasing the ISO to freeze their precious expressions. Newer mirrorless camera have superb low-light autofocus capabilities that allow you to use higher ISO ranges than DSLRs were able to with less noise. Even if you don’t have a super-fast lens, you can increase the ISO and still get great images.
Shutter Speed and Sharper Images
In low light situations it may be helpful to fire off a few test shots; testing can help you determine optimal settings combinations for your camera and lens. While it’s true that shooting at a lower ISO (for example ISO 400, as opposed to ISO 800) reduces the chance for image noise (by increasing the sensitivity of light hitting the sensor), that lower ISO may mean that your camera won’t fire fast enough to freeze the action. Kick ISO higher (from 400 to 800) to work with a faster shutter speed.
While it’s true that shooting at a lower ISO reduces the chance for image noise (by increasing the sensitivity of light hitting the sensor), that lower ISO may mean that your camera won’t fire fast enough to freeze the action. Kick the ISO higher (from 400 to 800 or 1600) to work with a faster shutter speed. Newer cameras are designed to handle low-light better, with less noise.
If you’ll be capturing anything where motion is probable, like your kids rummaging through their candy bags, a bump up on the ISO dial may provide a better chance for creating sharper shots. Taking these photos indoors, in a well lit room, or just outside your home under a bright porch light will help you get a well exposed image.
Using a slower shutter speed can gather more light to the sensor, but make sure your subjects are not moving much so the image is sharp.
Tip:
A slow shutter speed is ideal when photographing stationary subjects, such as lit pumpkins on the porch where you want to show the illumination coming from within the carved gourds.
Use Flash
If your camera has a built-in pop-up flash, use it! That added light, especially at dusk, can turn a dull shot into a great image. It’s a super tool to add a pop of light to (that sparkle or catchlight in the eyes) and brighter smiles.
If your camera has Auto or a low light SCENE mode such as Night Portrait, the flash will pop up when you gently hold the shutter depressed halfway; the flash fires when the shutter is fully pressed. If you are shooting in any of the camera’s manual exposure modes (P, S, A, M), you can raise the pop-up flash by pressing the flash button on the front side of the camera.
If your camera doesn’t have a built-in pop-up flash but you have an accessory Speedlight flash, take that along as you photograph your kids trick-or-treating.
Keep these tricks in mind as you treat yourself, and others, to some great photography this Halloween.
Five Creative Ideas for Halloween photos:
- Photographing Jack ‘O lanterns lit by candlelight or flashlights. Using a slow shutter speed will make the light look eerie.
- Use depth of field creatively. To capture your little ghosts and goblins and witches or superheroes against a background that’s blurred and out of focus, use a wider aperture like f/1.4, f/2.8 or f/3.5. Another tip is to keep the distance between you and your subject shorter than the distance between the subject and background to make sure the background will have a nice blur or bokeh.
- Try to take a picture of your kids hands full of the treats they’ve gathered – with a shallow depth of field (again using a wider aperture like f/1.4 or f/1.8 if you have a lens that fast). By having them stretch their hands out in front of them, and you focusing on their hands full of candy, their face should blur out of focus. This can be a spooky looking shot.
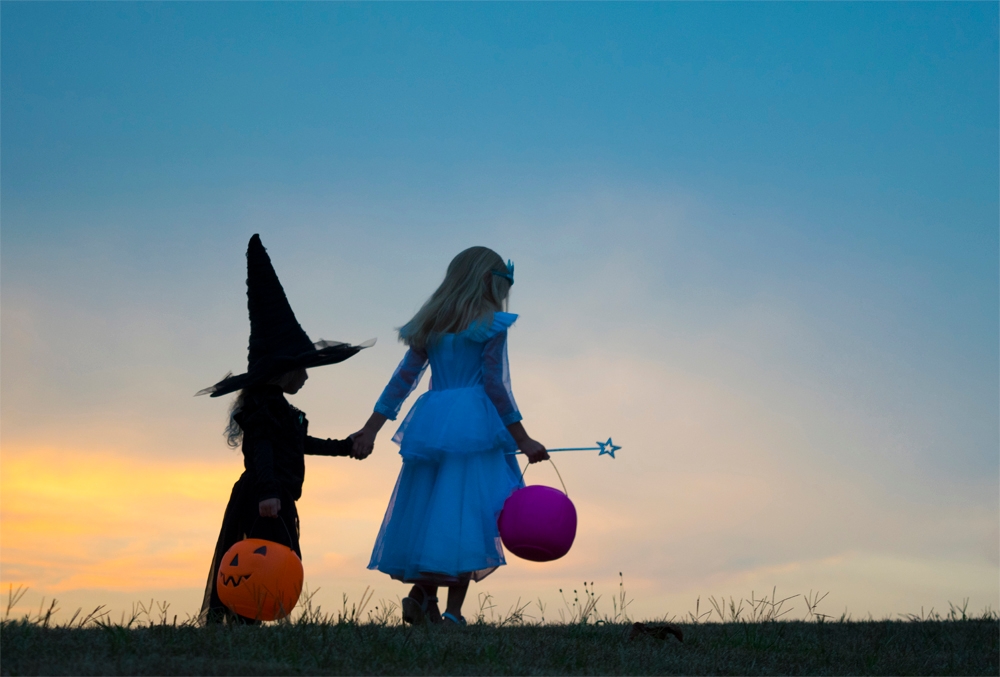
- Use a slow shutter speed on purpose to blur the kids as they walk. For kids wearing a spooky looking costume, this type of creative image making will fit the look.
- If you’re taking your kids trick or treating at night and they have a flashlight, let them hold the flashlight below their face, shining upwards and make a scary face.


