Tips For Making Tempting Food Photos
A photographer walks into a restaurant and asks for a table by the window. What happens next will inspire foodies far and wide; foodies with cameras, that is.
The photographer we're talking about is Alison Lyons, and though she considers herself a food fan rather than a full-fledged foodie, her visits to restaurants and cafés are likely to be dining experiences combined with photo opportunities.
They are also opportunities to develop and perfect people skills, as striking a balance between getting the images she wants and being as unobtrusive as possible can perhaps be termed the initial ingredient in her recipe for on-location food photography.
"Sometimes I get odd looks," Alison says, "but people are usually more amused than anything else. Of course I always try to work as quickly as possible for the sake of the restaurant and the other diners—and also for the sake of the food looking fresh and appetizing. And I do want to eat it, so the quicker I photograph, the better."
Sometimes Alison attracts the attention of the restaurant owners. "I was in a café the other morning and took a couple of photos," she says, "and the proprietor came over and was most concerned because she thought there was something wrong with the food. But when I told her I was a photographer, she relaxed and everything was fine." In another instance, a restaurant owner was very interested in not only what Alison was doing, but in photography as well. "I spent some time talking with him, and he told me he'd employed a photographer in the past, but wasn't very happy with the photographs. I ended up giving him copes of what I'd taken and I suggested he contact me next time he needed images made." In general, whenever owners or managers show an interest, Alison will give them prints.
Tips & tricks for fantastic food photos
Restaurants aren't the only places she'll photograph food. Several of the photos here were taken at her home. "At home I obviously have a lot more creative control," she says, "and a couple of locations where I have very nice light. There's a skylight in the kitchen that's like a big softbox—it spreads the light around nicely—and I have a little courtyard where I can photograph outside as well." A major advantage of food photography at home is that she can set up for photography rather than dining. Perhaps more important for the aspiring location shooter, Alison suggests that a home food shoot is "pretty good practice for a restaurant experience."
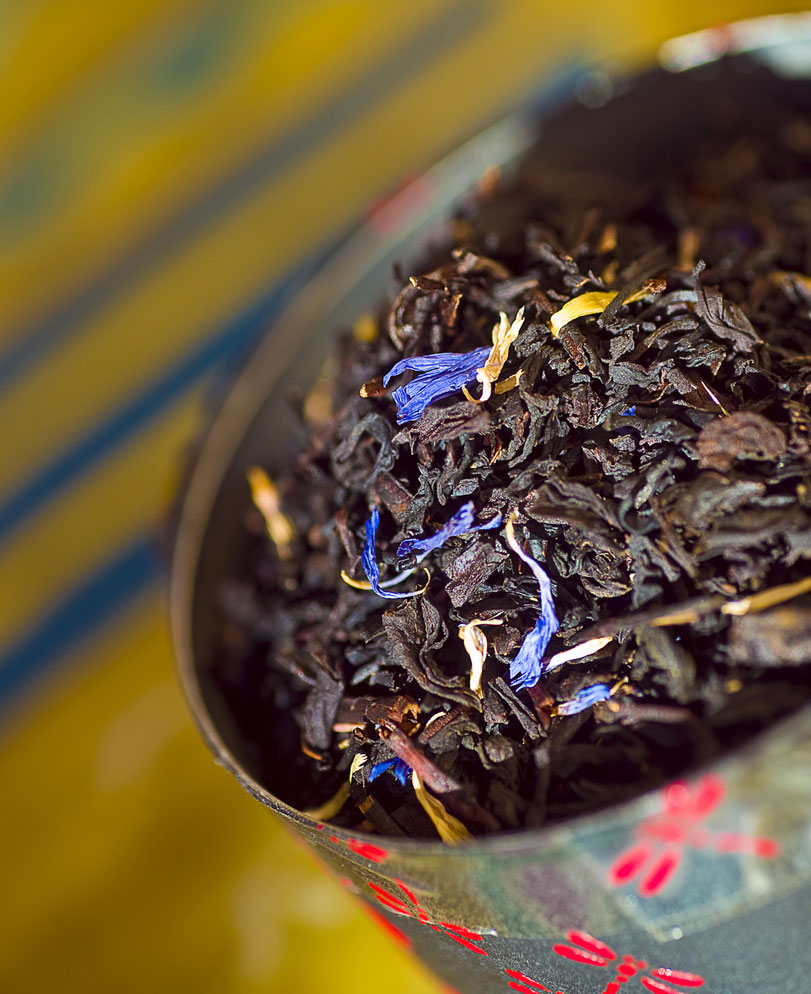
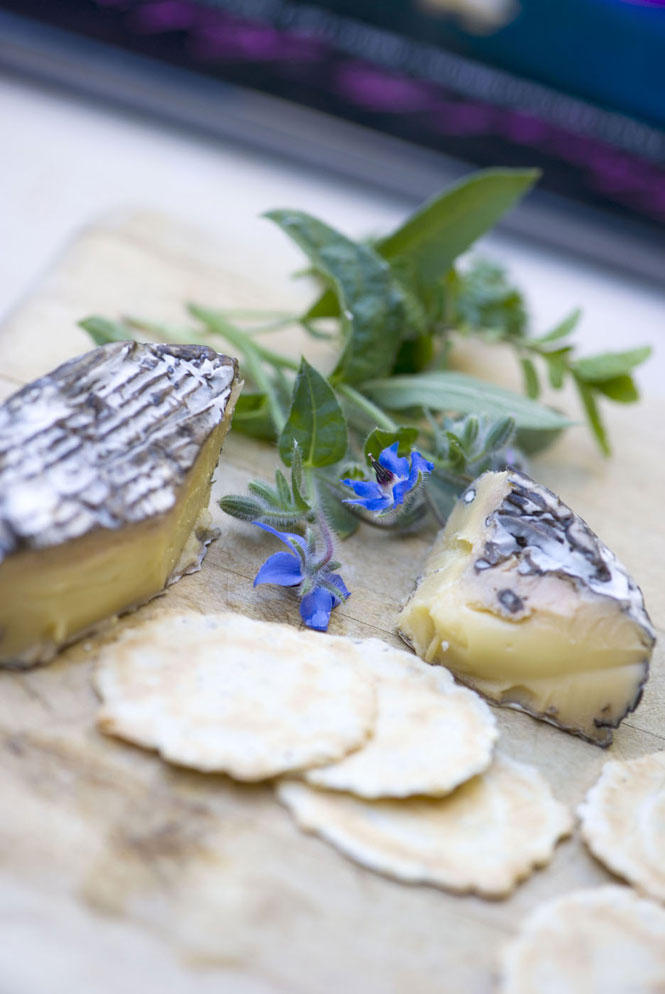
Once in a while she'll shoot at other locations. The teas (photo five accompanying this story) were shot in her office—Alison is the art director of an advertising and design agency—and the cheese and crackers image was photographed at the home of a friend. "The cheese was home-made and was rather special to her," Alison says, "and I gave her a print of that image."
For restaurant shoots, lighting is an important consideration.
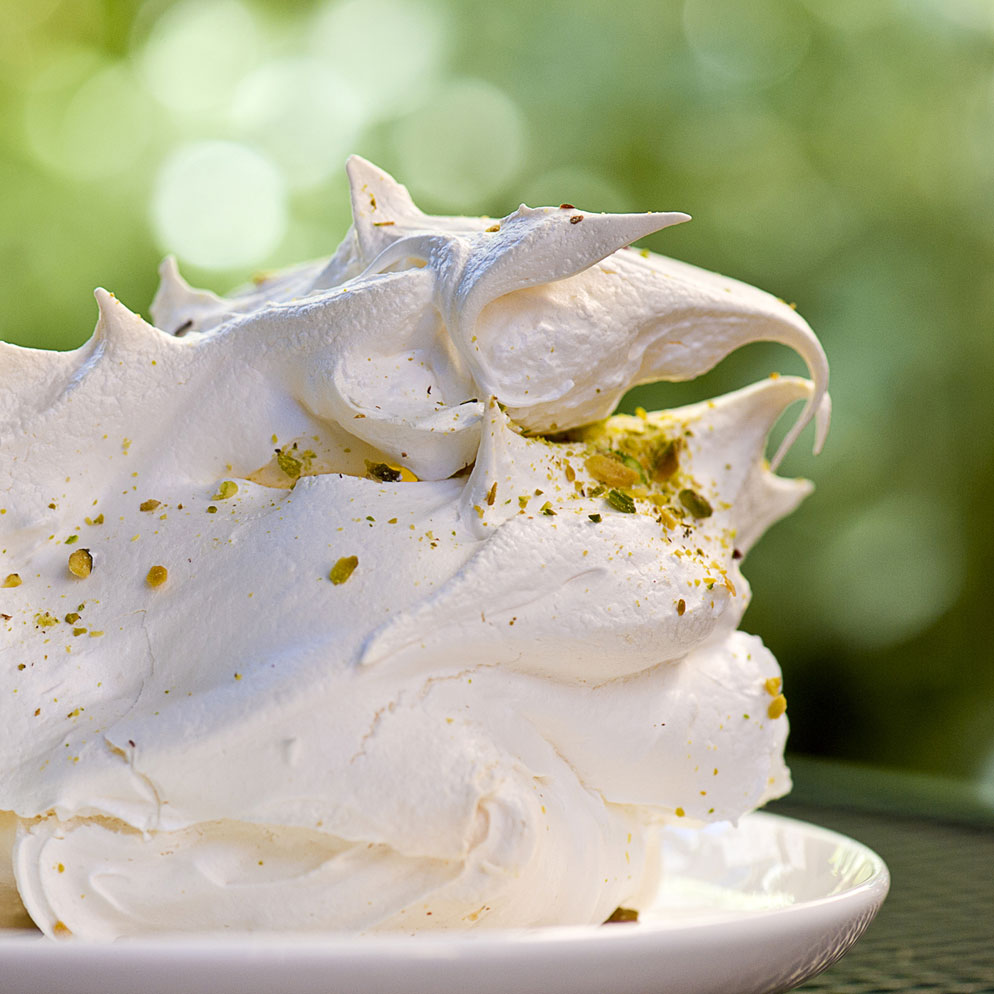
"I'll deliberately sit by a window," Alison says, "and sometimes I'll even move to another table or move the dishes to another table. For the pistachio meringue photo [number four], I bought several of the cakes at a café because they were so photogenic, and I actually [changed] tables three times and positioned it so it has that lovely bokeh in the background. It all depends on how obliging the café or restaurant is." Of course, talking photography with an owner and supplying prints, to say nothing of repeat business, can go a long way towards "obliging."
Often photography is a spur of the moment decision. Alison might see something pictured on a menu or being served at a nearby table, decide it looks good, orders it and take pictures. "Recently a restaurant had particularly nice-looking pastries, and I ordered them to photograph, not to eat."
When it comes to gear, she sticks to the basics: one DSLR, one or two lenses and complete familiarity with making quick camera settings.
At home and in restaurants she acts as her own food stylist, relying on her art background and the skills that come into play at what she calls "the day job." Styling can mean simply moving plates—"the food might be a little too close, so I have to move the dish to the other side of the table"—or it can mean creating a composition within a composition by rearranging the food on the plate to make it look better, then positioning the plate for its appearance within the frame.
[Food shot on a small plate is] better balanced, more inviting and appetizing when it fills up more of the plate. To me the entrees always look better than the main meal.
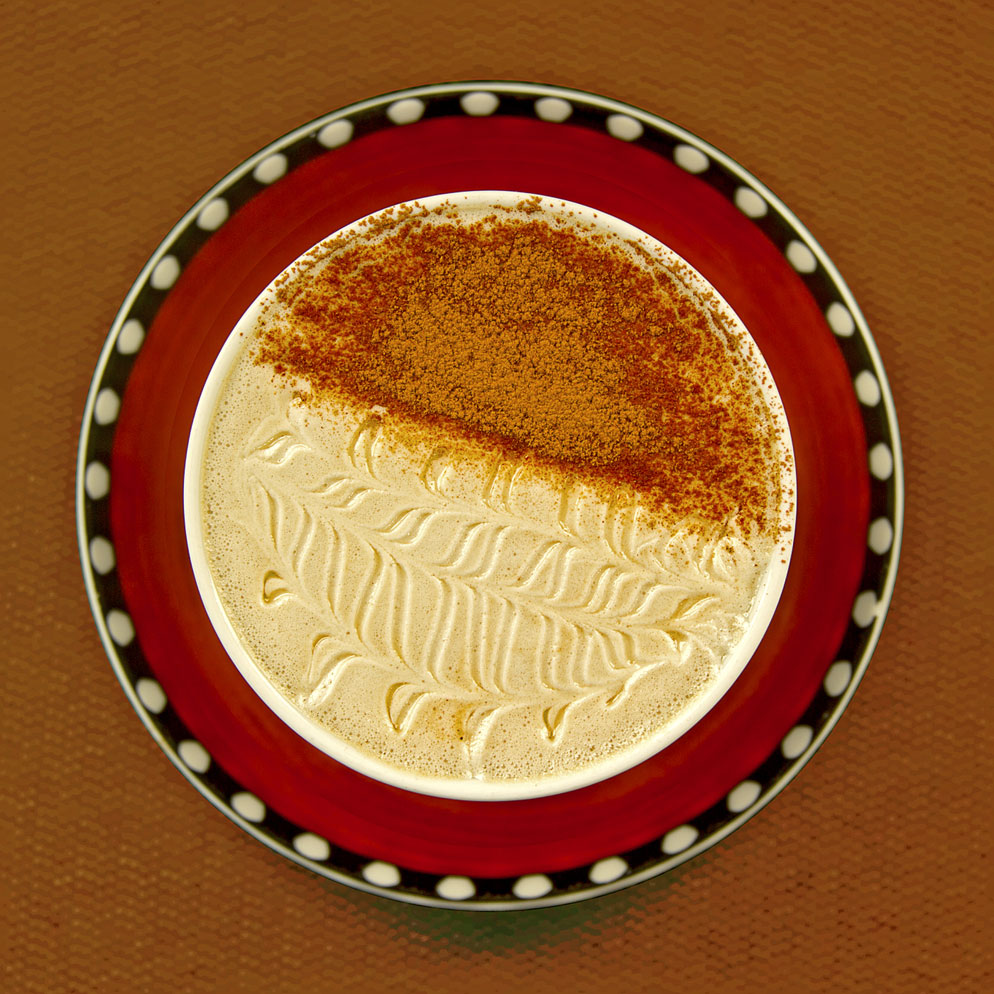
Soy Chai Latte - D3S, AF-S NIKKOR 28-300mm ƒ/3.5-5.6G ED VR, 1/250 second, ƒ/5, ISO 200, program auto exposure, Matrix metering.
In the case of the soy chai latte photo (at left) positioning meant moving the plate off the table. "The cup didn't have a handle, and it made a circle within the circle of the saucer, so I thought an aerial shot would be good. I put the saucer and cup on a chair next to me so I could get the height I needed to shoot it."
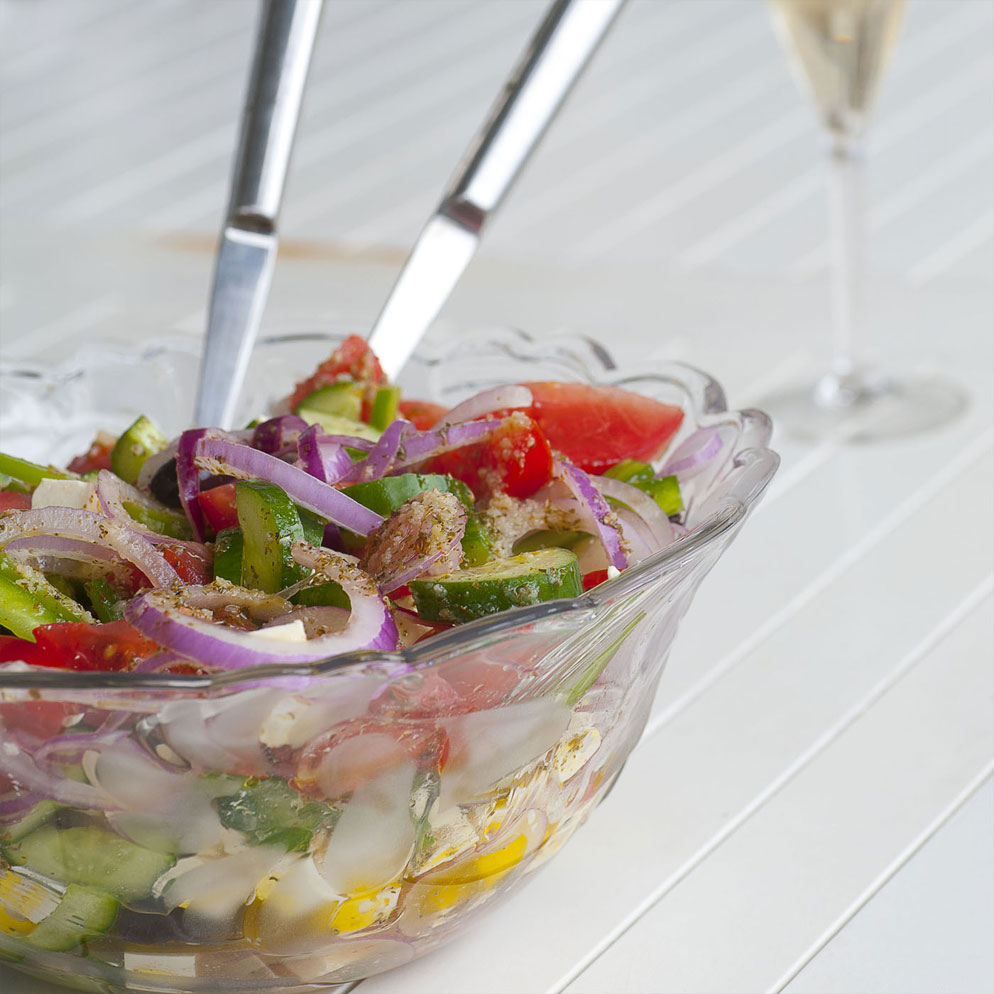
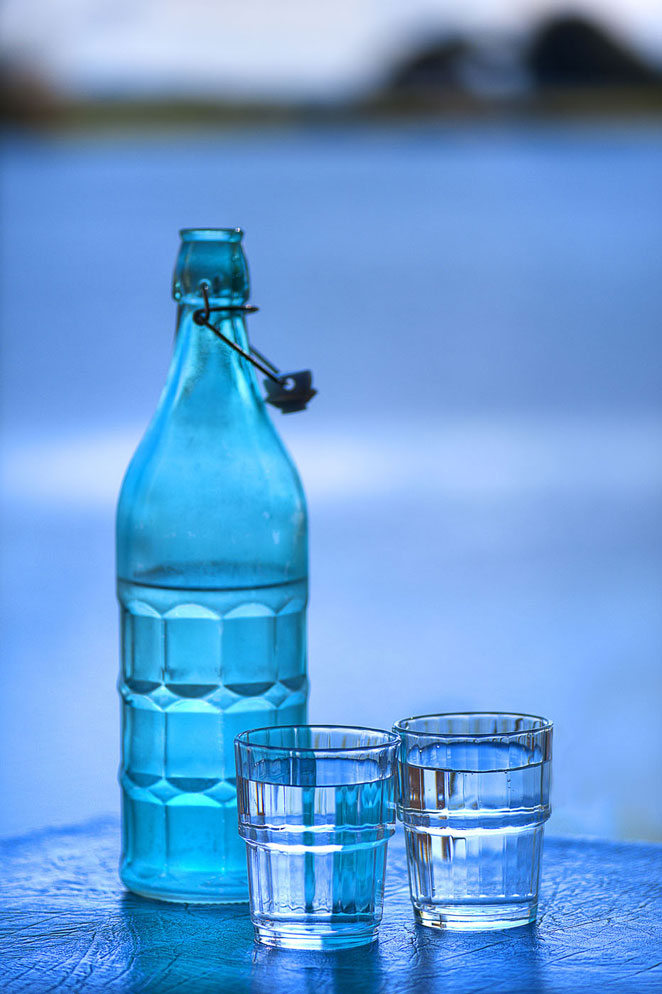
Isolating her subject is almost always a good idea. "I think that with food photography, the less cluttered images work best. I have a friend who is a professional food photographer, and she suggests taking everything out of the background. She also gave me an interesting tip: wine glasses always look too tall in photos, so often in professional shoots they use shorter glasses, like sherry glasses, or glasses with short stems."
She's also learned that it's almost always best to remove the cutlery from the image area, partly to prevent reflections, but also because she finds it a distraction. "And often in restaurants, the cutlery can be quite scratched. But if you're photographing at home, and you have something special—a polished antique serving spoon, for example—that's different."
Because Alison photographs food that's ready to eat, none of the preparation methods of professional food photography come into play. A professional shoot of a hamburger, for instance, can require examining literally hundreds of buns in the search for the perfect one. The aim of professional food images is food that looks good in the photo, not necessarily how it would look if you were going to eat it. "Certain foods look better raw than cooked," Alison says.
"Smoked salmon, for example. So food photographers will often have the dish prepared for them without cooking the fish because it'll look shinier, fresher and more appetizing."
Alison is serious enough about her food photography to have on some occasions gone back to a restaurant in order to get a better photo. "I went once to a café and ordered a particular cake, liked the photos of it, but thought that I could do better, so I ordered it again a week later."
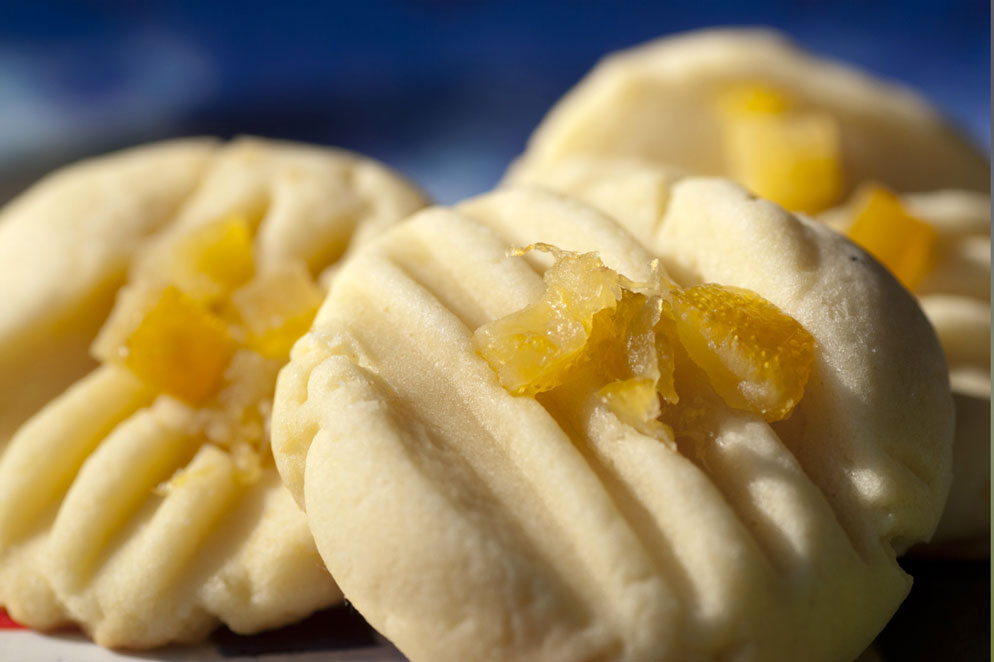
In most cases Alison favors the shallow depth of field of her AF-S VR 105mm Micro-NIKKOR f/2.8G IF-ED lens offers when used close to the subject. Blurring distracting backgrounds is part of the reason, but, she says, "It's also a decision-making process about what is the best point of focus to show off the dish. I like a short depth of field, but I will alter that if I need more of the image in focus. I'll often focus on different areas of the food to see which parts look best. I know that in any image your eye goes to the area of greatest contrast, so I try to make that area the sharpest part of the photo as well. I don't want contrast and sharpness fighting each other for your attention."
She's also found that food often looks better shot on small plates. "It's better balanced, more inviting and appetizing when it fills up more of the plate. To me the entrees always look better than the main meal."
Getting started
For foodies with cameras seeking to emulate her efforts, Alison suggests that a familiarity with the way food is photographed for magazines and cookbooks is a good idea; not to copy, but to inspire. "I'm sure that the way I choose and arrange food for photographs was subconsciously influenced by what I saw in cookbooks and food magazines. I don't look for ideas, but I do see what's being done."
She also suggests that outdoor festivals and food markets are great places to get started. "When I travel I find that local produce marketplaces are very good for food photography opportunities. People are generally relaxed and very friendly. You're outdoors so the space is good for photography, and often the light is quite nice as it might be filtered through umbrellas or trees."
Restaurants and cafés present a different situation, of course, but as long as "unobtrusive" and "quick" are on your menu, the chances of success are good. "I've found that most restaurants will cooperate if you're quick and professional and you don't upset other patrons by standing up. Most of what I do is done sitting down. And if the café is a little bit empty, I can often move to another table and make a little bit more of a fuss over shooting the food."
By the way, if you're not carrying a D-SLR, your COOLPIX will handle food photography just fine. Switch to aperture priority or manual to control the depth of field, or simply choose the close-up or food scene mode. The latter will automatically enable the Macro mode, cancel the auto flash, set the AF area mode to manual, and let you make Hue adjustments.
[Editor's note: Check out the more affordable AF-S DX Micro-NIKKOR 40mm f/2.8G lens too.]
5 Tips for the Foodie Photographer $
Since food photos for "foodie" blogs or websites, or just to share with friends are taken of food that's usually served to you in a restaurant or your own kitchen, we've included tips that you can use in either situation.
-
Lighting is important. Window light is a great light source. It is large and when diffused it can wrap around your subject nicely. When you've got harsh light coming through the windows, incorporate shadows into your composition. When available, a skylight makes an ideal large, diffused light source.
-
Composition is everything. Since the food on the plate, bowl or glass is the star of the image, limit the distractions in the background. Using a fast lens will allow you to use the shallow depth of field to your advantage in throwing the background out of focus. Just like people often feel they have a "better side" to photograph, so does food. Turn the plate around so you can see which side is best to shoot.
-
Keep it simple. When you're shooting in a restaurant, be polite to servers and fellow diners. Stick to available light. Bump up the ISO if you have to, and shoot at wider apertures. Here's where a fast lens can make all the difference as to how quickly you can shoot.
-
Reshoot! If you don't like the images once you get back to your computer, but do like the subject matter, odds are the dish will still be on the menu when you return. Bring a friend if you don't want to eat on your own.
-
Experiment. This is easiest when you're not shooting in a restaurant, but in your own kitchen. Use an eclectic collection of dishes or glasses; experiment with the lighting, using gels or by changing the white balance to alter the mood of the image.

