Shooting Wirelessly with Nikon’s WR-1 Wireless Remote Controller System
Shooting wirelessly using Nikon's WR-1 wireless remote controller. - This video explains how easy it is to use the Nikon wireless remote controller system's WR-1 to take great photos.
The Nikon WR-1 Remote Controller can help you get the best shots when you can’t physically be where you want to be, whether that’s due to shooting wildlife in the field or other situations where you can’t physically get close to your subjects such as a dance recital or school play, press conferences or sporting events.
The Nikon WR-1 wireless remote controller is designed to remotely control multiple cameras capturing stills, video and time-lapse sequences. The WR-1 comes with two cables. One has a 10-pin connector for connecting the WR-1 to a camera with a 10-pin connector like the D810 and the D4S; the other cable has an accessory terminal connection for connecting the WR-1 to cameras with an accessory terminal like the D7200.
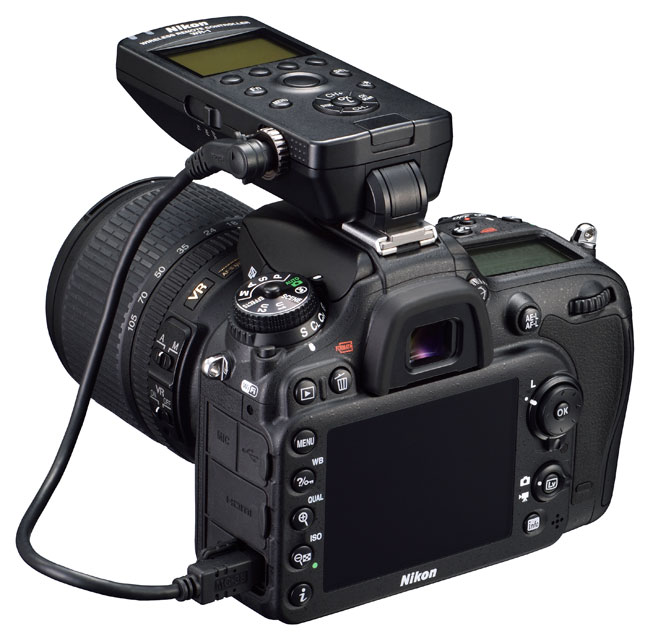
The WR-1 is powered by two AA batteries and easily mounts on the camera’s hot shoe, and once mounted, it can be angled as needed. Mount the WR-1 to the camera’s hot shoe and attach the appropriate cable, connecting the WR-1 to the camera. To release the WR-1 from the camera’s hot shoe, press the button at the bottom of the unit and slide the WR-1 off of the hot shoe and reverse the connection steps.
The WR-1 can control other WR-1 units. It’s also compatible with the WR-R10 remote control transceiver and the WR-T10 remote control transmitter units.
The WR-1 can be used either as a transmitter or a receiver with a range up to 394 feet, and using an additional WR-1 unit in the middle as a relay controller can double this distance.
To use the unit as a transmitter just slide the switch to Tx. To set the unit as a receiver, slide the switch to Rx. When you select Tx or Rx, the display shows the corresponding functions for either receiving or transmitting. Transmitters and receivers must be tuned to the same channel for pairing.
The WR-1 wireless remote controller connects to the camera via the hotshoe or a bracket and a cable. Two cables are provided with the unit, one with an accessory terminal connection that is used by cameras such as the Nikon D7200 (shown here) and one with a 10-pin connector.
Pairing two WR-1 units
1. To pair units, press the menu button to display the menus, then highlight PAIRING in the LINK MODE menu and press OK.
2. Repeat for the second unit.
3. Now, place the units close together, then highlight EXECUTE on both menus and press OK. The PAIRING COMPLETE message will be in the display and the LED will flash red and green alternately to let you know the units are paired.
Once the units are paired, you can check and adjust camera settings remotely. The shutter-release button on the transmitter performs the same functions as the shutter-release button on the camera. Press it half way to focus and all the way down to take the picture.
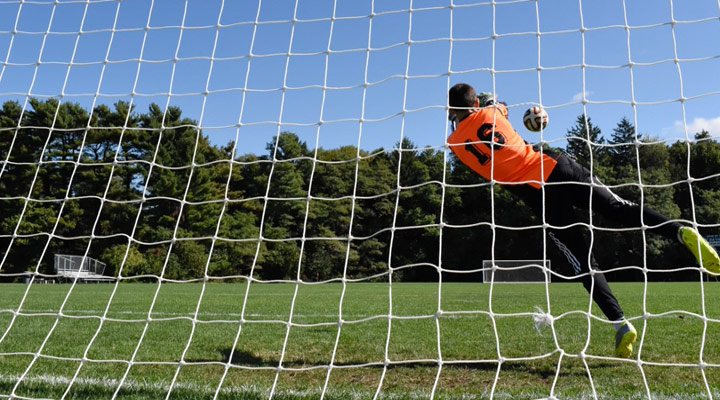
With the WR-1, you can operate and control up to four camera groups simultaneously. This could come in handy if you need to keep each group focused on a different subject such as at a sporting event where you might want to have one camera’s point of view from the goal and another from the bleachers, etc.
Creating Groups
To create groups, choose A, B, C or D from the display and then pair the cameras in that group.
When the transmitter and receivers are paired, on the same channel and in the same group, pressing the shutter-release button on the transmitter will simultaneously release the shutters on all the paired cameras. There is also an option to create an ID for each group if you want to name them.
Setting up one WR-1 as a master with multiple remotes
To synchronize the shutters of one or more remote cameras with the shutter on a master camera, attach the WR-1 to the camera you want to use as the master. When it is set to ’Master’ mode a WR-1 unit can be used to control up to 20 other cameras with WR-1 units attached or 64 cameras with WR-R10 units attached.
The master camera must have a 10-pin connection, such as the D4S and the D810.
1. Again, pair all WR-1 units to the same channel and/or group.
2. To set the transmitter to sync mode, select SYNC on the multi selector and press OK.
Now the shutters on all cameras will be released simultaneously.
If you want to shoot time-lapse videos with your Nikon DSLR, the WR-1 can also serve as an intervalometer.


