Quick Tips for Taking Better Portraits
Suggested Lens choices, exposure settings and focus modes
Anyone can take a well exposed, flattering portrait by following a few simple tips. By using a lens that will flatter, not distort your subject; lighting and exposing the scene well; and correctly focusing on the subject, you're guaranteed a great shot. To help you, we've put together suggested starting points for you to try. Read on...
Suggested Settings:
Lens Choice: For a portrait, you want to use a standard to short-telephoto lens, between 50mm to 200mm. NIKKOR prime lenses such as the 60mm, 85mm, 105mm or 200mm lenses; zooms: 70-200mm, or the telephoto end of the 24-70mm, 24-120mm lenses are ideal choices. If the lens you choose is too wide, such as 17mm, it will distort your subject’s face in an unflattering way. You also don’t want too long a telephoto, like a 300mm lens, because it will compress your subject’s face and not look natural. Also, the longer the lens, the further back you will likely have to stand when taking the photograph, which isn’t conducive to directing your portrait subject during a shoot.
White Balance: Depending upon the ambient lighting of your scene or location, you’ll want to set the white balance to match the available light. If you’re shooting indoors, using regular household lighting, set the WB to Incandescent (it is the lightbulb symbol). If you are going to rely on the flash from the Speedlight exclusively, then set the WB to Flash (it’s the lightening bolt symbol). If you are shooting in mixed light, you will want to create a custom preset.
Metering: It is suggested that beginning photographers use Matrix Metering.
If instead, you use Center Weighted Metering, you’ll have to place your subject in the center of the frame, press the shutter button half-way so the camera can focus and meter on the subject, (remember to focus on your subject’s eyes), and then press the AE Lock (if your D-SLR has one, check your manual), and recompose your photograph, fully depressing the shutter button when you are happy with the composition. Instead of using the AE Lock, you can keep the shutter button depressed half-way while you recompose the photograph, fully depressing the button when you are ready to take the photograph.
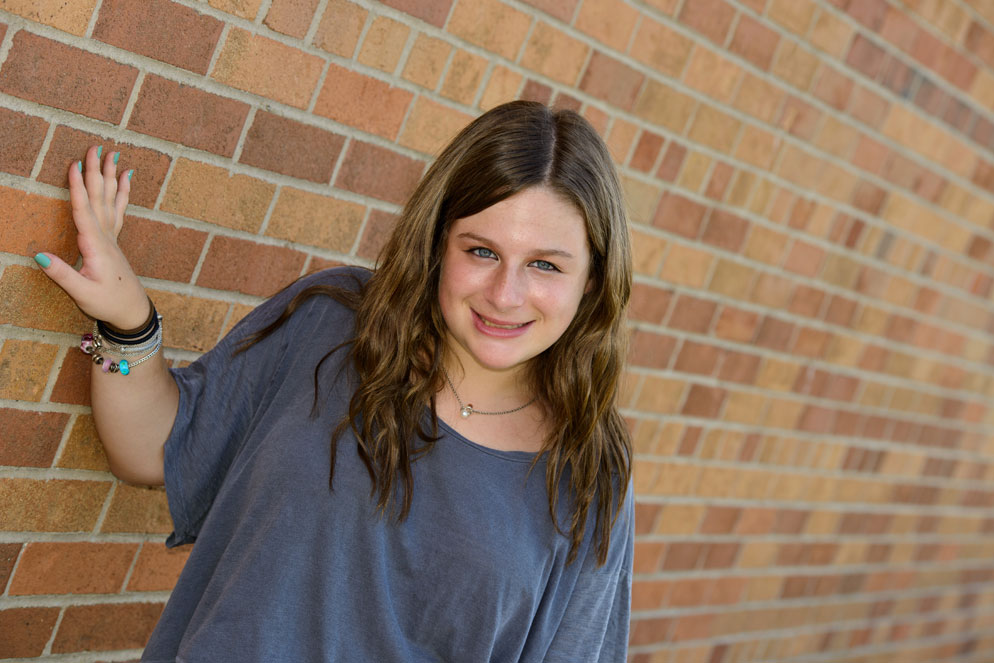
D300, AF-S NIKKOR 24-85mm f/2.8-4D IF lens, 1/30 sec., f/2.8, ISO 400, aperture priority, matrix metering, SB-900 flash (flash head tilted up and a reflector behind the unit spread out the light and directed it towards the subject). In this shot, the white balance was set to flash, and exposed the subject's skin tone correctly. Notice though, the light on the background is warmer, from the tungsten lighting fixtures.
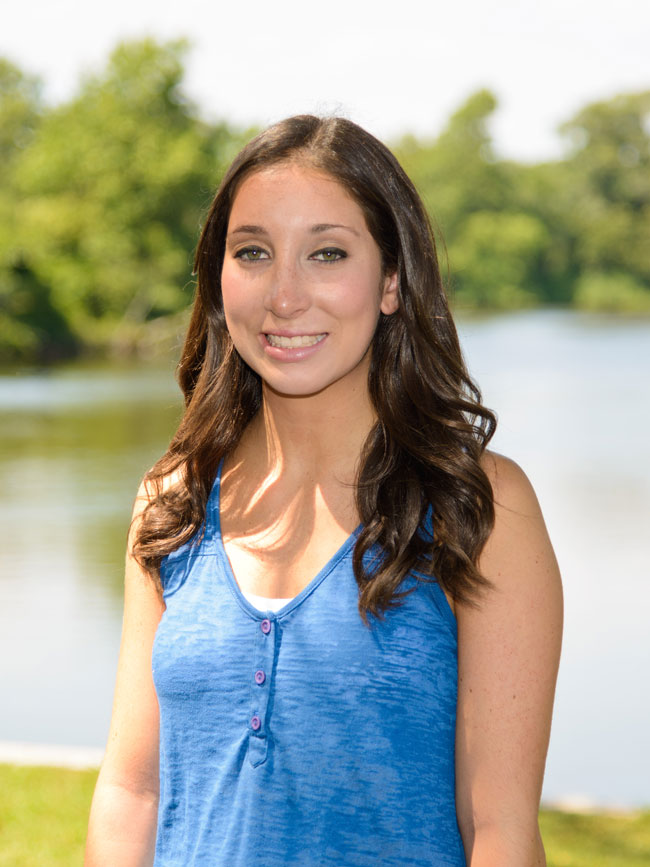
D800, AF-S NIKKOR 70-200mm f/2.8G ED VR II lens, 1/125 sec., f/5, ISO 100, aperture priority, matrix metering, built-in pop-up fill-flash. The focus is on the subject, and because of the aperture chosen, she is sharp and the background is out of focus.
Focusing: Set the camera to Single Area AF, to ensure that the area you focus on is sharp. For a portrait, the eyes should be the sharpest part of the image. If your final image will have the subject off-center in the frame, you will have to make sure the focus point is set correctly. You can do this in two different ways.
Set a focus point that is at the furthest end of the grouping of focus points. This way, when you compose your photograph, the focus point will correctly fall on your subject, ensuring accurate focus.
You can also use the AF Lock button (if your D-SLR has one, check your manual) to lock the AF point on the area of the image you want in focus. To use this method, make sure you are in AF-S mode.
Turn on the audible beep for confirmation that your subject is in focus.
Especially when shooting in low light, turn on the Focus Assist Lamp.
If manually focusing use Rangefinder and check results at 100% playback zoom.
Suggested Exposure Starting Points: The exposure for any photograph is made up of the combination of shutter speed, aperture and ISO sensitivity. Your exposure will depend upon the lighting in your scene. A good starting place is to set the ISO to 400, aperture to f/5.6. Because you’ll likely want to control the sharpness of the background, set the camera’s mode dial to Aperture Priority. In this mode, you set the Aperture, and the camera selects the corresponding shutter speed. You’ll want a minimum of 1/100th of a second shutter speed. If there is not enough light for a fast shutter speed, you will have to increase the ISO. Try setting it to ISO 800 and meter the scene again.
While many folks will use a very wide open aperture to completely blur the background, the zone of focus may be too narrow to ensure your subject will be in focus, so it is better to be cautious and use an f/stop that will offer some depth-of-field.
Using a Speedlight. If there is not enough light in your scene, you may want to use a Nikon Speedlight for additional lighting. There are a number of ways you can use a Speedlight to add illumination onto your subject. Try to set up your lighting and test it before your subjects are ready for their photographs, this will help you learn your equipment.
Remember to watch for harsh shadows behind your subject(s). If you’re in a room with a low enough ceiling (under 10’) and it is white, you can bounce the light off of the ceiling. Remember that bounced light will pick up the color of the surface it is bounced against, so you want a white surface to bounce light off of.
If you have access to multiple Speedlights, use them. Also, turn on all of the lighting in the room, indoors, to increase the amount of light available.
You can also use the Diffuser that came with your Speedlight to soften the quality of light hitting your portrait subject.
When using a Speedlight, remember that the sync speed of the flash unit to the camera is the fastest you can set your shutter speed to. For example, if the sync speed is 1/250th of a second, you won’t be able to use a faster shutter speed unless your camera offers the FP high-speed sync setting, and you select it.
If your subject is backlit, use fill flash, with the Dome attachment on the Speedlight, and do not bounce.
D300, AF-S NIKKOR 24-85mm f/2.8-4D IF lens, 1/30 sec., f/2.8, ISO 400, aperture priority, matrix metering, SB-900 flash. In this example, the flash was direct, lighting our two subjects. Because of the shallow depth of field, they're in focus but the foreground and background are not.
D800, AF-S NIKKOR 24-120mm G ED VR lens 1/250 sec., f/4, ISO 100, aperture priority, matrix metering. In this example, the subject is partially lit by direct sunlight and partially in shadow from the tree branches overhead.
D800, AF-S NIKKOR 24-120mm G ED VR lens 1/250 sec., f/4, ISO 100, aperture priority, matrix metering, SB-900 used as fill-flash. By adding fill-flash, the deep shadows are filled in and the overall light on our subject is better balanced.
D800, AF-S NIKKOR 24-120mm G ED VR lens 1/640 sec., f/4, ISO 100, aperture priority, matrix metering. In this shot the sun, to the left of the subject, is the main light source. Because she's facing the camera, the sun is directly lighting half of her face, with shadow on the far side of her face.
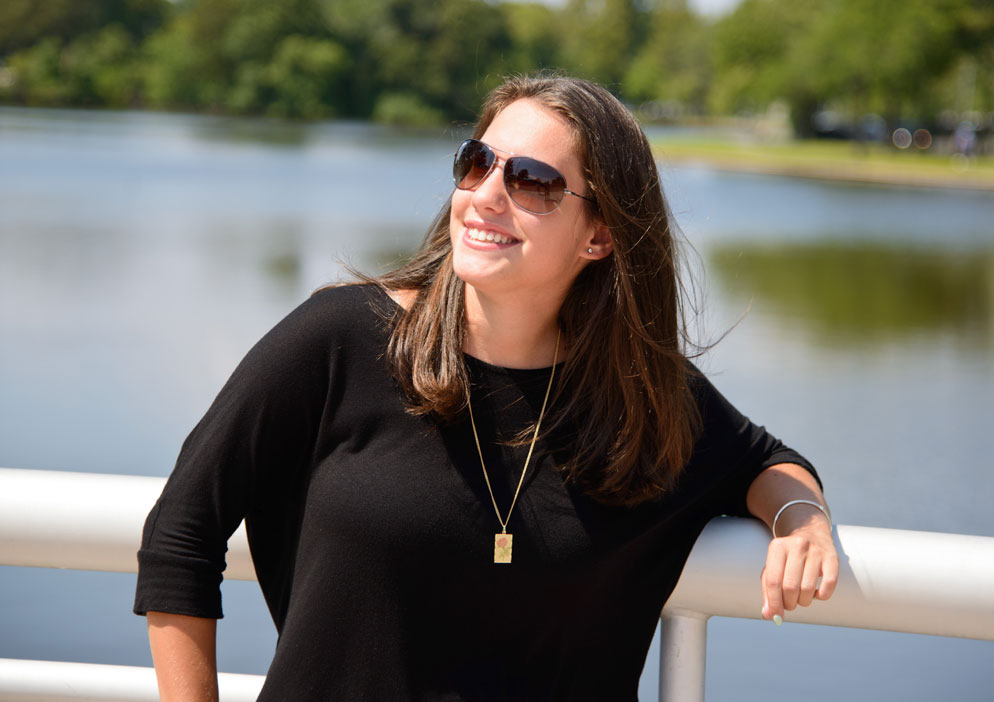
D800, AF-S NIKKOR 24-120mm G ED VR lens 1/640 sec., f/4, ISO 100, aperture priority, matrix metering. In this shot our subject has turned her face to the sun, so the sunlight is fully lighting the mask of her face, giving the image a more dynamic feel.
Recap: $
Lenses
Primes: 60mm, 85mm, 105mm or 200mm
Zooms: 24-70mm, 24-120mm, 70-200mm
White Balance:
Match the light of your scene
If your main light source is your Speedlight, set the WB to Flash
Metering Mode:
Matrix Metering
Focus:
AF-S mode for focus lock
Single Area AF
Center AF Bracket for very best result
Don’t shoot wide open unless you want a very shallow depth-of-field. If you are shooting wide open, check the focus of the image after you’ve captured it at 100% playback zoom.
Turn on the audible beep and focus assist lamp.
If manually focusing use Rangefinder and check results at 100% playback zoom.
Exposure:
Minimum 1/100th of a second shutter speed
If the lighting in the scene is not enough for a shutter speed/aperture combination that you want to use (i.e. too slow for you to handhold), increase the ISO
Using Speedlights:
Watch for shadows. You can soften shadows by using the diffuser that came with your Speedlight or bouncing the light.
Bounce off of low, white ceilings (under 10’).
Remember the sync speed of the camera, and do not exceed that shutter speed unless you are using the FP high speed sync setting
If your subject is backlit, use fill-flash, with the dome attachment and don’t bounce.

