Photographing the US National Parks
Tips & techniques to try on your own
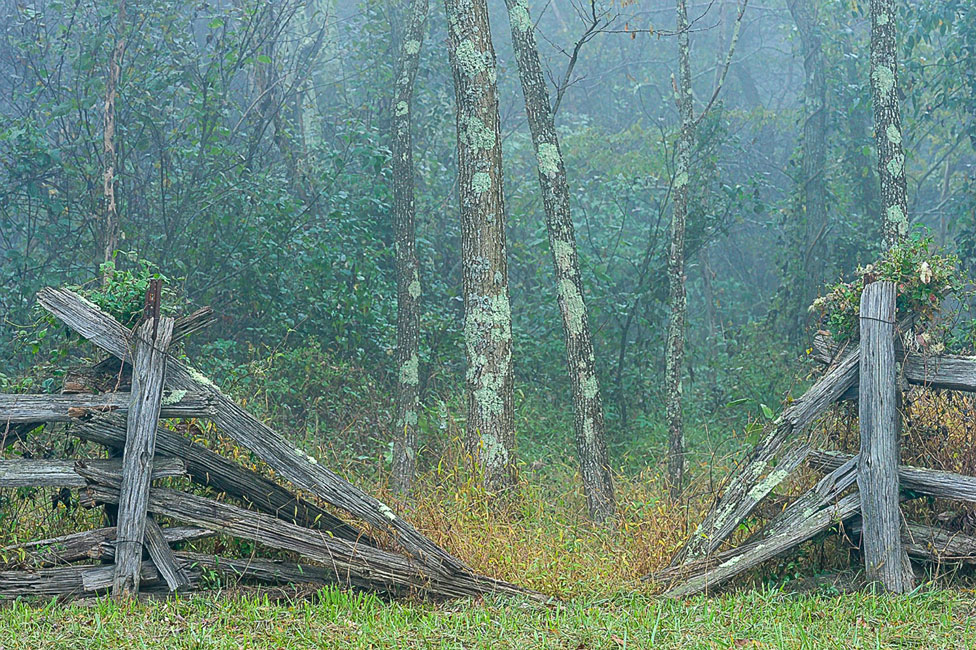
There are 59 National Parks that cover a wide and varied terrain, from newly formed land in Hawaii Volcanoes National Park, to the seemingly alive landscape of Yellowstone, to the swamps of the Everglades and sub-arctic Denali National Park and Preserve, to the desert of Death Valley and Great Sand Dunes National Park and Preserve, to the forests of Shenandoah National Park, and more. To the photographer, these parks offer wonderful subjects to capture. Chris Nicholson has photographed about half of the country’s national parks and offers valuable advice on not only how to prepare and enjoy a visit to these natural wonders but on the types of photographs you may want to capture as well.
Valuable Tips
-
Take the map and park newsletter that are provided to you when you enter the park. Special events will be listed in the newsletter and you can use the map to plan out your visit. To make the most of your visit and time photographing, do your research before you arrive so you’ll know which locations are the ones you’ll want to photograph, especially if you’re looking to make photos in the perfect light (early morning or late afternoon).
-
Sidestep the crowds. National parks usually receive their highest visitation levels on weekends, holidays and occasional fee-free days. If you want more solitude, plan your visit during a less busy time. Don’t bypass the well-known spots either, just because everyone else may have photographed sights like Old Faithful in Yellowstone, doesn’t mean that you won’t come away with great images yourself. Look for unique ways to capture well-known sights.
-
It’s a good idea to take notes while out photographing and it’s easier than ever with digital cameras. Shoot a frame of a park information sign that explains what you’re seeing—whether it’s a place or type of wildlife. It will make it a lot easier to ID your photos when you’re back home. If your camera has a sound recorder, use it to make notes. The sound file will appear in chronological order with your image files. If you have a means of geotagging your shots, use the GPS metadata to load the location into Google Earth to easily identify lakes, mountain peaks, meadows and the like. Collecting as much information as possible while on-site will make captioning and keywording much easier when you’re going through hundreds or thousands of images.
-
Permit required or not? So long as you’re not doing a commercial shoot with models, props and lighting equipment you should be fine with a camera, some lenses and a tripod; however just to be certain, check the park’s website prior to a visit to make sure you won’t have any problems. In a very few instances, a park or section of a park may be closed at night, but a permit might get you access.
-
Water (bringing plenty of it to keep you hydrated), food (to stave off hunger), appropriate footwear and clothing (layers during fall, winter or early spring seasons), sunblock, first aid kit and a plan are all givens. Having a plan and communicating it to family or friends; or registering an itinerary for backcountry travel with rangers will alert them to your absence, should search and rescue be necessary.
-
Memory: bring enough of it, especially if you’re going to a more remote location. Batteries: have enough charged batteries for a day of hiking or a solution for recharging at the end of the day if you’re spending multiple days camping or lodging in or around the park.
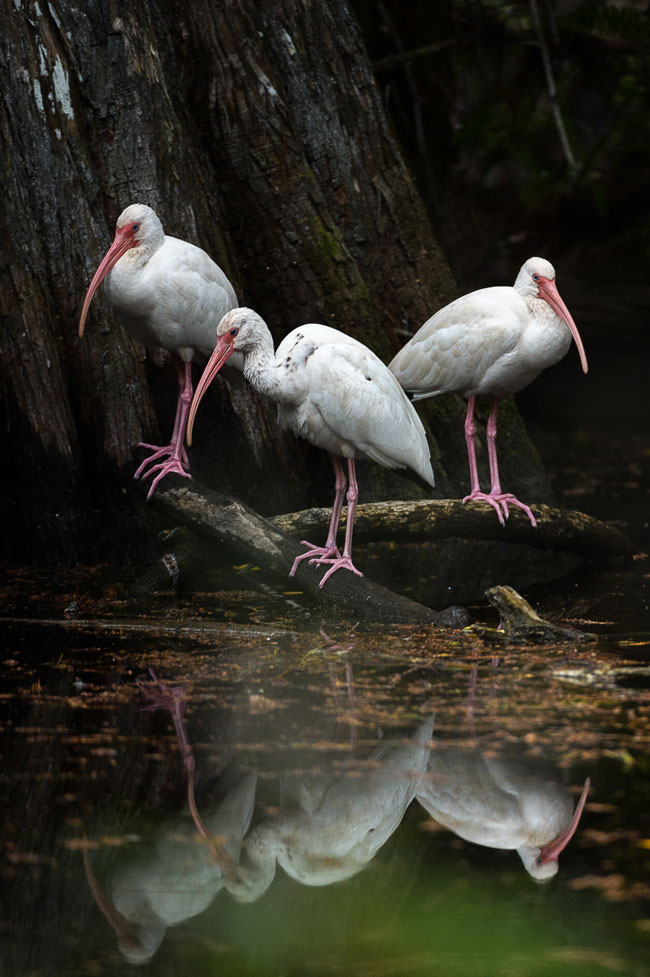
A trio of white ibises rest in the swamps of Florida’s Big Cypress National Preserve. Though adjacent to the Everglades, the preserve is home to an entirely different kind of landscape, dark and mysterious under the dense canopy of bald cypress trees.
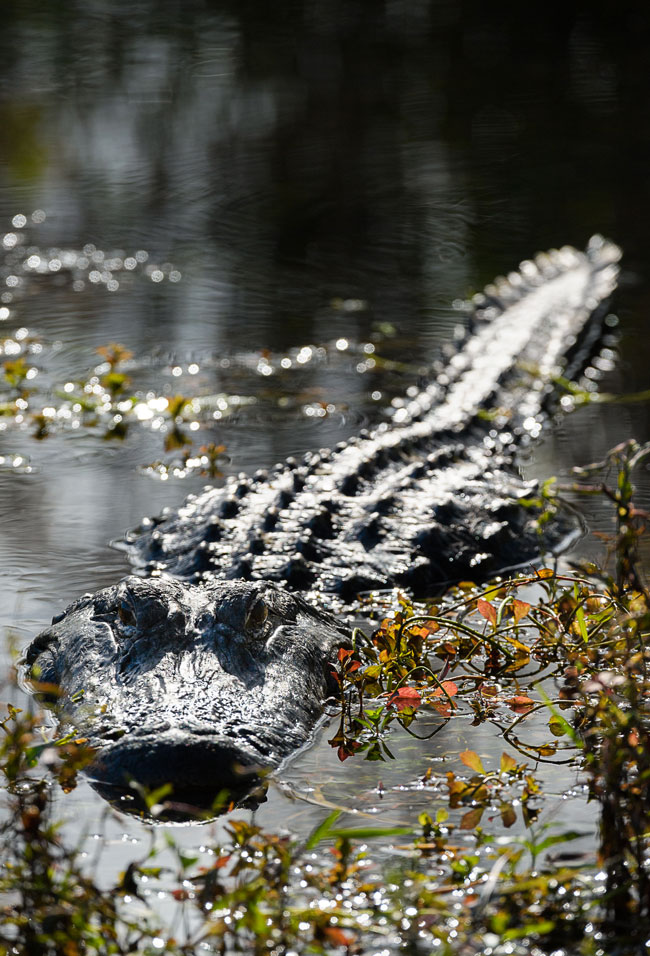
The most famous resident of Everglades National Park is the American Alligator, ubiquitous in this primeval landscape, especially at the boardwalks of the Anhinga Trail.
7 Different types of photographs to make in the parks $
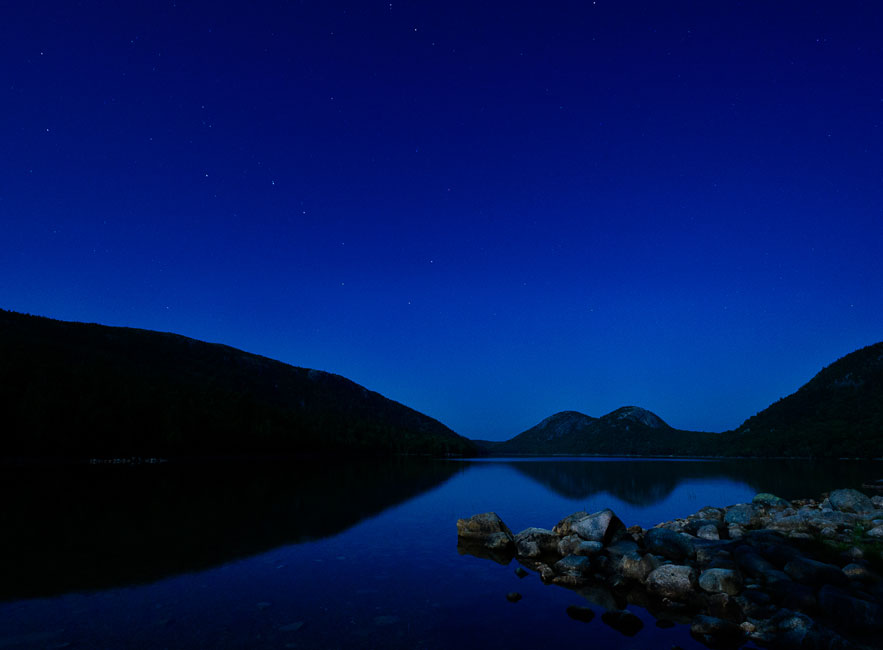
Reflections
-
The first requirement for a good reflection photograph is placid water.
-
Look for shallow water, from ponds, flat beaches or water coating melting ice.
-
When photographing just a reflection, you need to focus on the reflected scenery, not the water itself.
-
While it’s normally a rule of photography that you don’t want a horizon in the center of your image, reflections are the exception.
-
Polarizer filters can improve the colors; a graduated neutral density filter might balance the exposure, as reflections are normally 1-2 stops darker than the scenery it’s reflecting.
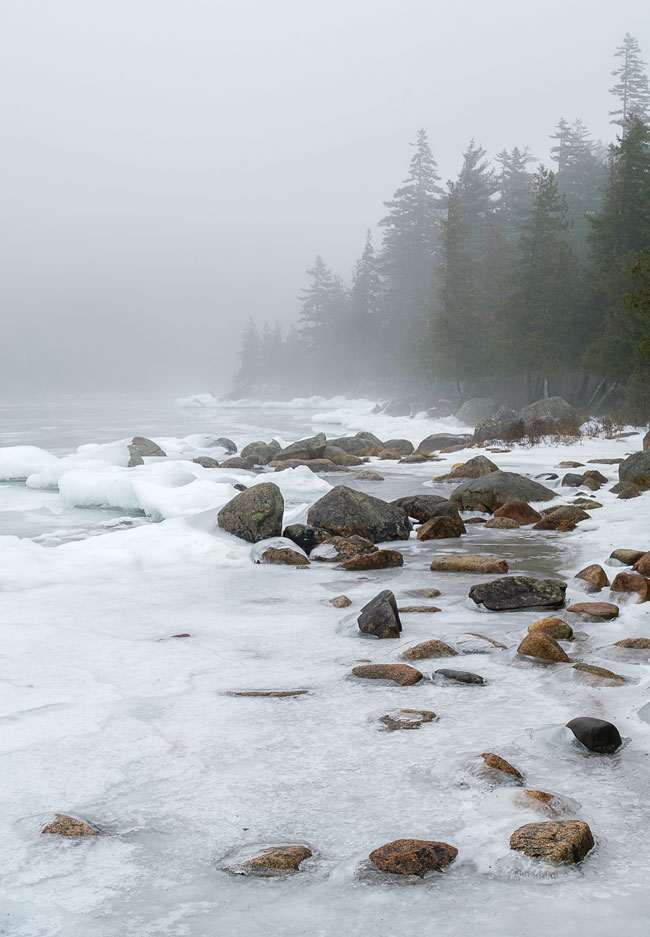
Fog & Mist
-
Fog will try and trick your camera’s meter into underexposing by about 1 stop so you will want to compensate for that.
-
Fog moves. The density of fog in your scene can change. Be aware of that and continually check it if you want an image with the fog thicker or thinner.
Water Motion
-
Waterfalls make for great images of flowing water in motion and national parks are full of them.
-
You may want to photograph moving water using a fast shutter speed to freeze the movement or a slow shutter speed to capture the scene with the creamy look, or both.
-
Use a tripod when shooting the blur of water slower than 1/15 of a second.
-
Hone in on small sections of a waterfall scene for unique details that a viewer of only the wide scene might miss.
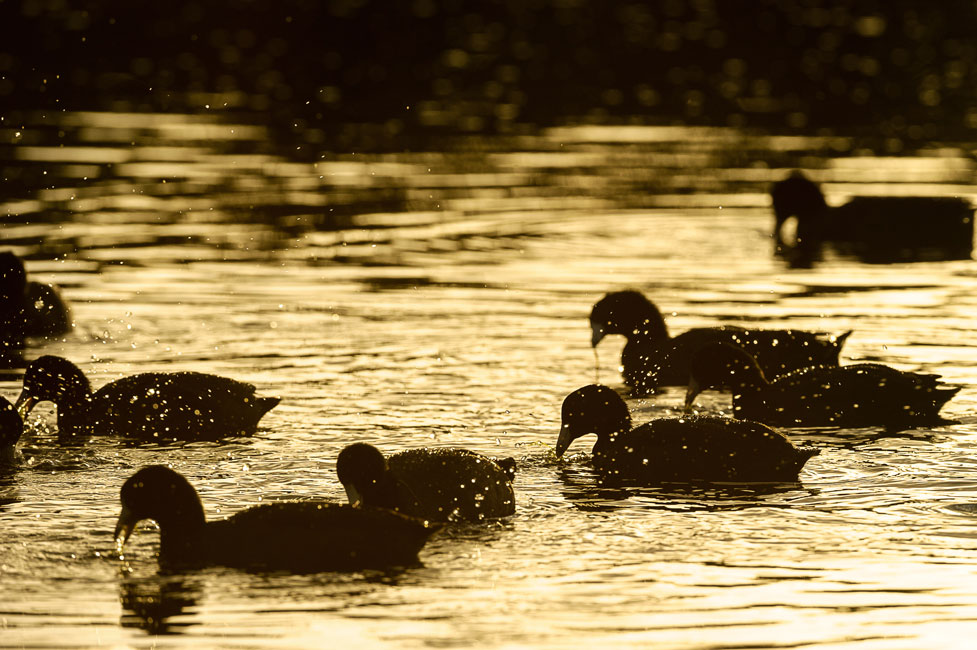
Silhouettes
-
Silhouettes are most often captured at sunrise and sunset but can also be photographed in a scene with an expanse that is brighter than the foreground.
-
Expose for the background while focusing on the foreground. The foreground subject will be sharp and in silhouette.
-
Bare trees, wildlife, sea stacks and rock formations are all good subjects for silhouettes.
Sunbursts
-
Sunbursts can be captured at any time during the day but more importantly you can make them during the midday when the light is often too harsh for photographing other subjects.
-
Use a wide-angle lens, small aperture, the sun, and something between the sun and you.
-
Position the sun so it is barely visible behind an object like a tree.
-
Start off with f/22 and if you must open up your aperture, experiment with each f/stop. The smallest aperture will have the biggest effect.
-
Highlights will be blown out. That is expected.
Moonlit Landscapes
-
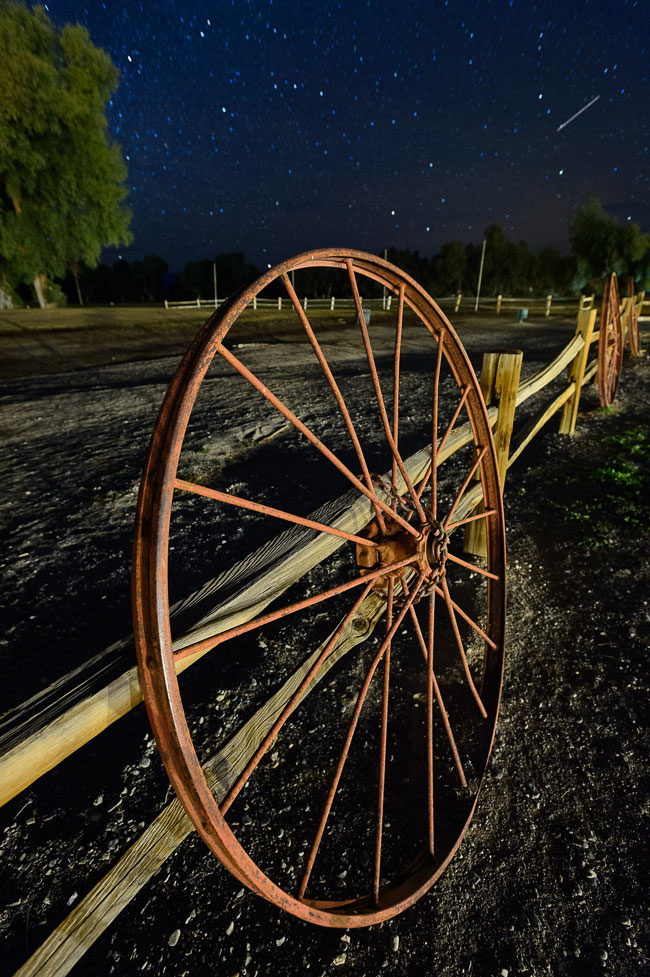
A good tripod and cable release or remote is needed. You may even want to use the mirror lock up feature if your camera has one to keep vibrations to a minimum.
-
Exposure is hard to meter so your best bet is trial and error.
-
Because of the dark, manual focus is a better choice than autofocus. Point your flashlight at an object that you want in focus to assist you in focusing the camera.
-
Moonlit landscapes under a full moon are best, especially on a clear night.
-
Just like the sun, the angle of the moon affects aesthetics. Directly overhead, the light will be harsh and shadows short. If the moon is closer to the horizon, shadows will be longer and the light softer.
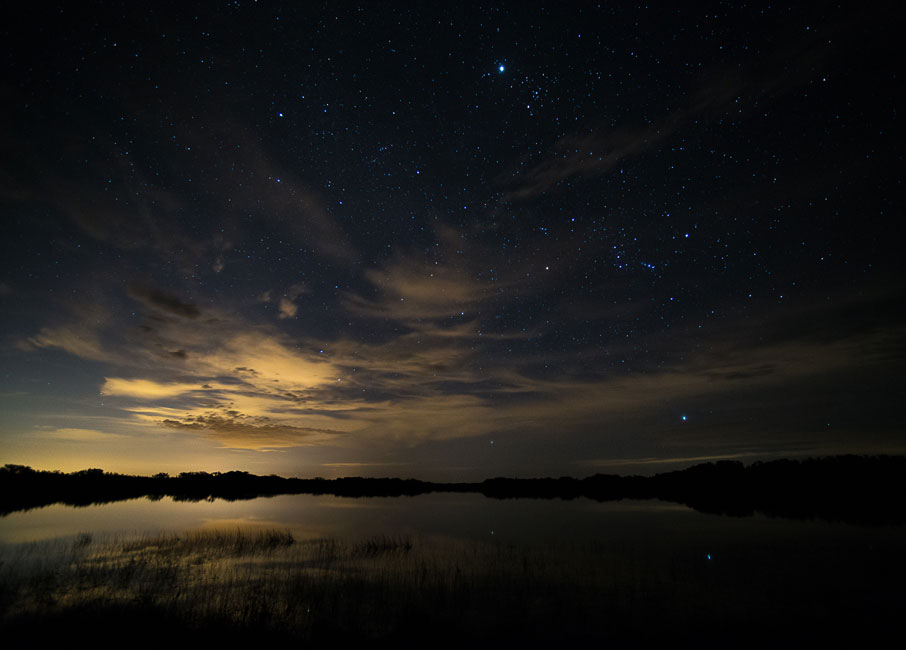
Stars
-
Most star covered landscapes are made with a wide-angle lens. Especially if you want to freeze the movement of the stars and if you want to fit the entire Milky Way into the frame.
-
A tripod is mandatory, as is a remote shutter release. Again, you may want to use the mirror lock up feature if your camera has one.
-
To maintain the appearance of stars as points of light, you need to limit the shutter speed to 20 seconds or less. That is unless you want star trails.
-
Use a wide aperture and as high an ISO as you are comfortable with on your camera. To determine your limit, run some tests beforehand to determine how acceptable your camera's noise is to you at certain ISOs.
-
If you want both the landscape and stars in focus you may want to experiment with focus stacking whereby you shoot a frame focused on the landscape and another on the stars, then combine them in post-production.
-
The core of the Milky Way is more visible in dark skies, far from light pollution of cities, and during a new or partial moon.
Chris has put his expansive knowledge of photography and photographing the National Parks into a great book that can serve as an all-encompassing guide to photographing in the US National Parks. In Photographing National Parks, A Guide for Scouting and Shooting America’s Most Cherished Lands, not only does he outline how to prepare for a visit, what to bring, types of photos you might want to capture but he also lists out information on each park, from Acadia to Zion.
Chris Nicholson is a partner and educator with the National Parks at Night workshop program, which offers night-photography instruction by five veteran practitioners and educators. The workshops are hand-crafted to provide a unique educational experience with individual attention, designed to help participants create awe-inspiring images of the night skies in the natural beauty of the parks. Over the next decade, the program will visit almost all the national parks, but each only once.
For more information on the workshops, go to www.NationalParksAtNight.com.

