How To Grow Your Garden Photography Skills
Sometimes the coolest subjects are literally right in our own backyards. Got a garden? Then great images are mere steps away.
Or they're close enough to make the photo opportunity irresistible—that nearby arboretum, park or botanical garden, for instance.
To gather some tips for garden photography, we elicited the advice of Cindy Dyer, who combines the skills of a professional photographer and graphic designer with the enthusiasm of an avid gardener.
Here's what we learned about capturing a lot more than garden-variety views.
The Garden Idea
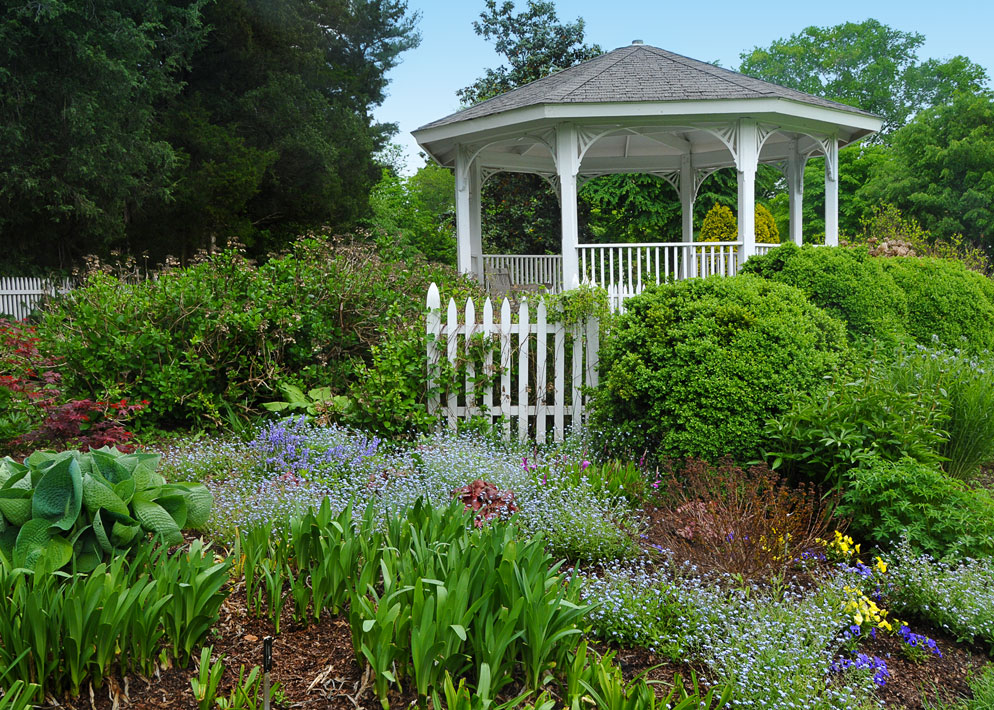
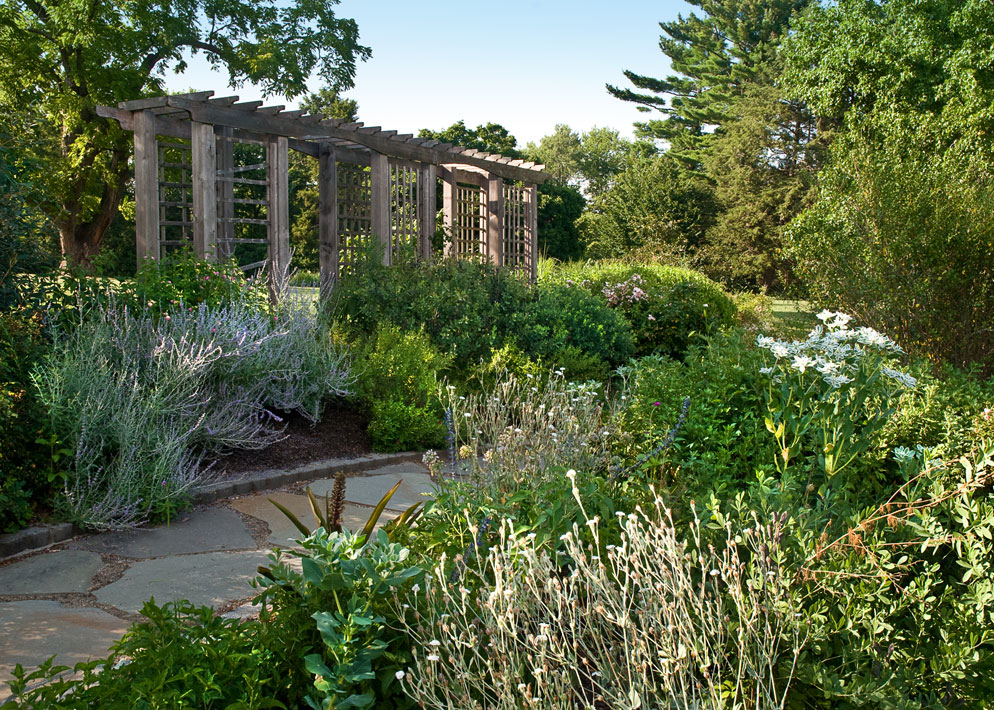
Think of a garden as the sum of its parts—flowers, plants, structures, decorations, perhaps a pond. The key to portraying it is the establishing shot. "Picturing the garden as a whole is a prime goal," Cindy says, "and the establishing shot sets the scene." So first capture vistas that include all the elements of your garden; you'll get to the individual components, of course, but the initial step is picturing the garden as the collection it is.
The Best Time
Honestly, just about anytime is the best time. "There's always something in bloom somewhere in the garden," Cindy says. "As some plants and flowers wane, others come into bloom and color." Because May and early June are especially colorful where Cindy lives in Virginia, that's when she's sure to capture the establishing shots. As the season moves on, she'll narrow the focus for medium-distance images and close-ups.
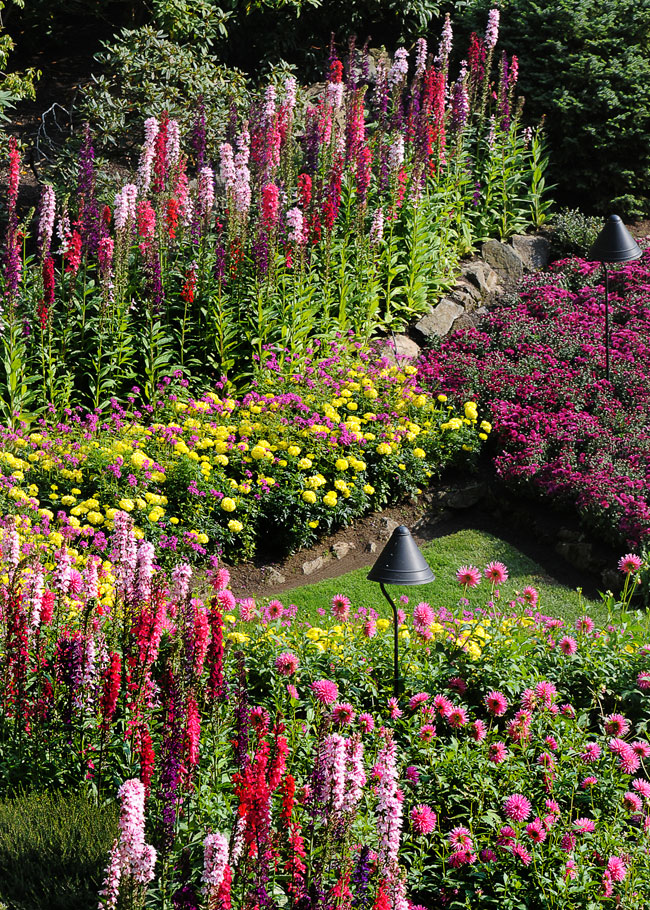
Cindy planned her garden with photo composition and color in mind. "I learned what plants were best for shade and sun, and I looked at other people's gardens and at gardening books to see how the color palette of the garden worked so I'd know what colors are going to complement each other or really stand out. I plant with that in mind. I know, for example, the sweet potato vine is going to be lime green, so in front of it I'm going to plant something that's hot pink, and when those two are blooming, I've got my colors."
Often, getting great shots means choosing the right time of day to shoot. "If you want to improve your garden photography," Cindy says, "shoot when it's overcast." If there's bright sun, the benefit of shooting in your own garden comes into play: you'll know where the light will be and how it will behave.
And don't feel limited by the seasons. "Although most of my garden photography is done from March to October, I also find subjects in the fall and winter," Cindy says. "I love photographing the trees when they're iced over in January. There are red and orange berries in winter, and snow on holly and evergreens. And I'm out there photographing the minute a crocus bloom breaks through the snow."
The thing is, there's always seasonal variety and opportunity.
Subject Matters
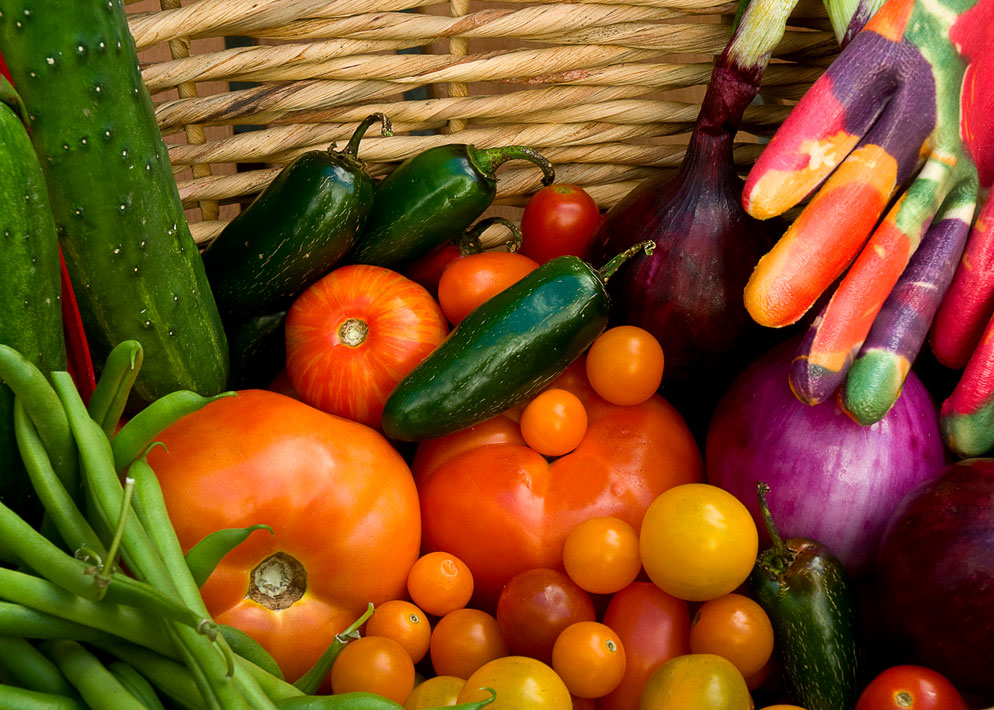
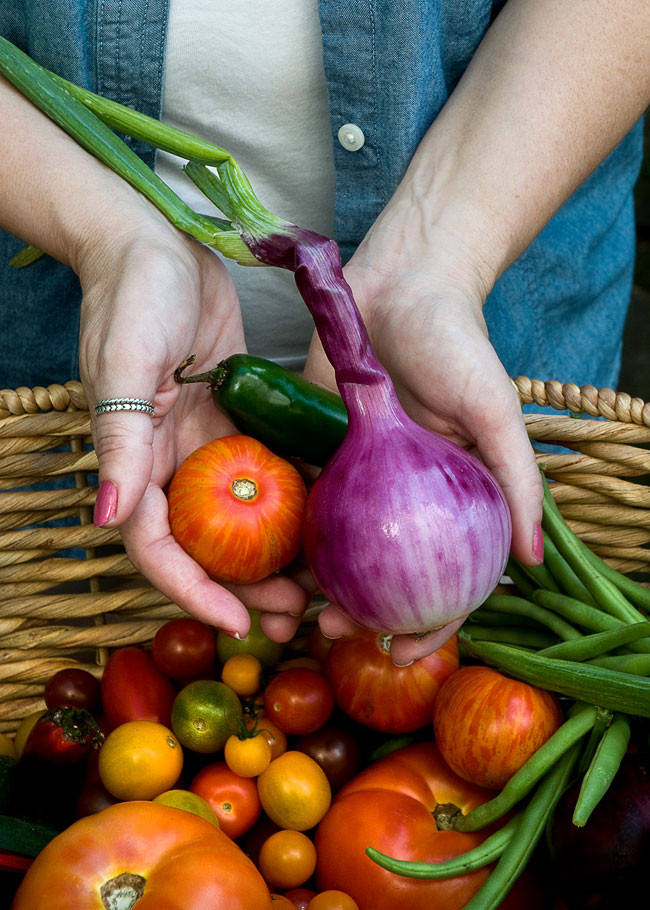
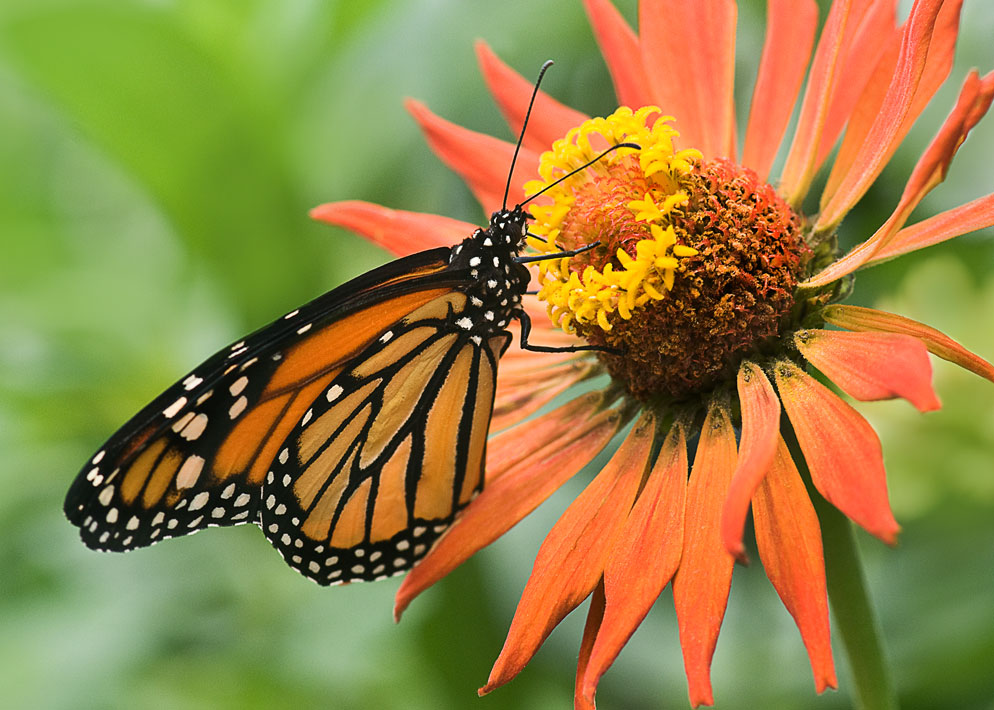
Flowers are probably everyone's number one subject, but they aren't the whole story. There are structures and decorations; and vegetables (not only growing, but pictured in a hands-holding-the-harvest image); and the critters who happen by—or who you entice into the frame, like the monarch butterfly in the ninth photo. "I plant things the monarchs love," Cindy says. "I was photographing somewhere else, saw that one land and went right over to take the photo. Most often I'll go up to a flower that I know is a bug magnet and with my camera on my tripod, I'll wait. If nothing shows up, it's a plant portrait."
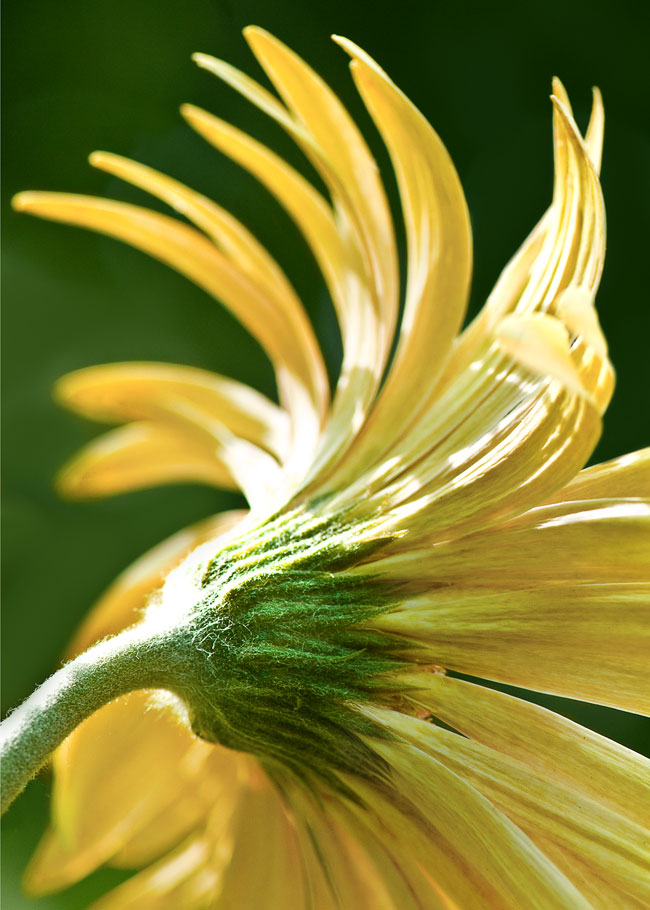
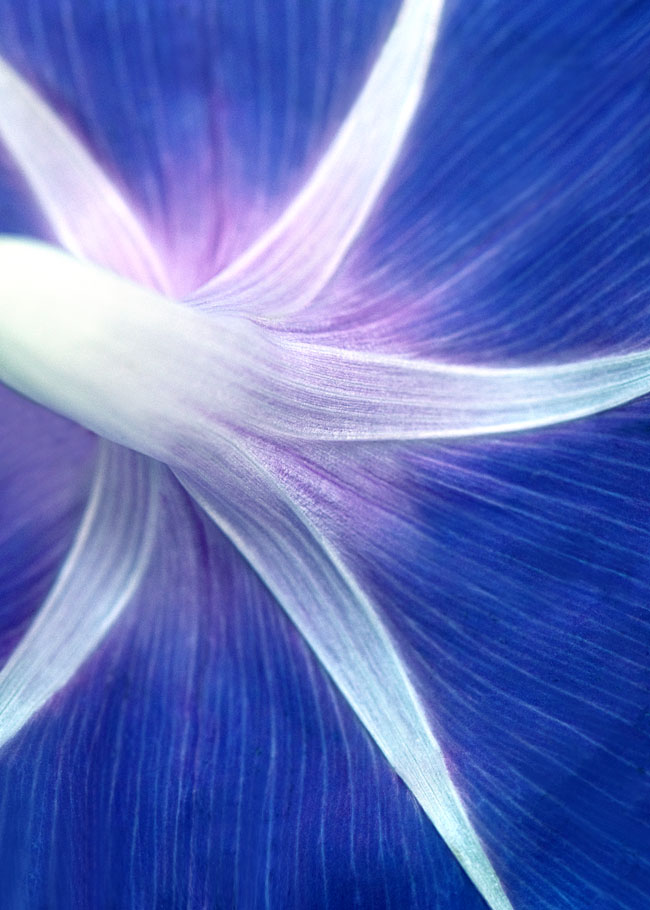
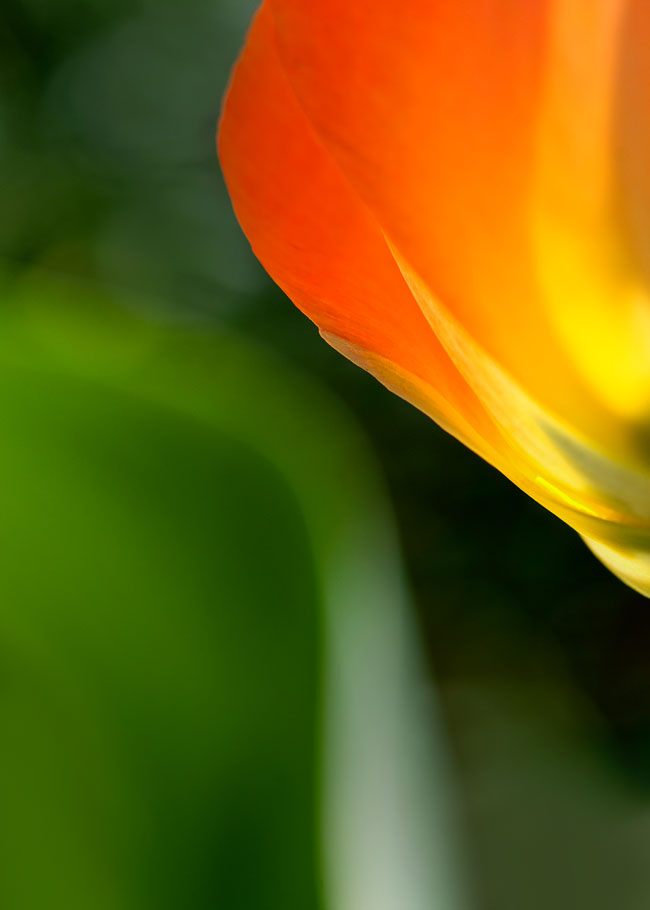
Remember that the garden is, after all, an invitation to get creative, so not all flowers have to be pictured the same way. In fact, you don't have to portray the entire flower, or even hint at its overall shape. The blue flower in the sixth photo, for instance. Cindy's aim here was, in effect, to reshape the flower so she could fill the frame with color, texture and graphic surprise. And to make the sixth photo, Cindy photographed the flower from the back. She agrees that's a good idea for an unusual view, but in this case it happened because she was working the scene and following the light. "I saw where the light was coming from and where it was hitting and that led me to the rear view of the flower—and if the light is leading me to a different kind of shot, all the better. Just look at how those lines radiate; you can't see that from the front."
Cindy says that her work in graphic design is a major influence on her garden photography. "I'm looking for clean graphics and strong colors, and I tend to try most of my subjects in both vertical and horizontal formats. I think that's almost as important as shooting a scene from every angle possible."
Working the angles not only leads to discoveries, it also eliminates problems. "I can often control my backgrounds simply by finding a less distracting background, or by pulling the background into the scene because the color is fantastic against my subject. Varying the angles allows me complete control over how important or unimportant the background is going to be."
Cindy finds that no matter what she's doing in the garden, photos tend to happen. "Most gardeners complain about weeding," she says, "but it's one of my favorite things to do. I began to see my garden up close and notice things I hadn't taken the time to look at before. Now when I weed, my camera's with me."
D300, AF-S VR Micro-NIKKOR 105mm f/2.8G IF-ED, 1/125 second, f/6.3, ISO 400, manual exposure, center-weighted metering.
Garden photography is so much about process—about what you experience as you're doing it. That may be half the reason I love it. You have to slow down and appreciate what you're seeing and experiencing.
The Gear
Cindy shoots with a D300. Her go-to lens is the AF-S VR Micro-NIKKOR 105mm f/2.8G IF-ED (the Micro designation indicates that the lens is designed especially for close-up photography); two other favorites are the AF-S DX Zoom-NIKKOR 18-70mm f/3.5-4.5G IF-ED and the AF-S DX VR Zoom-NIKKOR 18-200mm f/3.5-5.6G IF-ED.
Her tripod is pretty much a constant companion. "I use it 75% of the time—but my D300 has a quick-release plate on the bottom so I'm able to move quickly if I see something that won't wait for me to relocate the tripod."
Even though she prefers to shoot on overcast days, or early in the morning or late in the afternoon, for days when there's bright sun she'll have her Lastolite Tri-Grip diffuser handy, and she'll hold it between the sun and the subject to avoid shadows and get more-saturated colors.
Cindy chooses to manually set her shutter speeds and f/stops for maximum control of the background or the flight of the bumblebee. For establishing shots she'll set her lenses for autofocus, but for close-ups her choice is manual. "The narrow depth of field in close-ups means I have to be more precise in focusing, and I can control it better if I'm doing it manually."
No matter how she chooses to meter—Matrix, spot or center-weighted—bracketing her shots is her default mode.
The Garden's Personality
The uniqueness of a garden, its personality, is defined by more than what grows there. There are specific garden types you'll find in your travels, and capturing their characteristics is vital to portraying their personalities.
"The English garden has a lot of old-fashioned plants," Cindy says, "things your grandmother grew; and topiary, statuary, well-trimmed hedges, benches. There are rolling lawns. It's all very well planned, very formal, very flower heavy, with lots of color and plantings at varying heights.
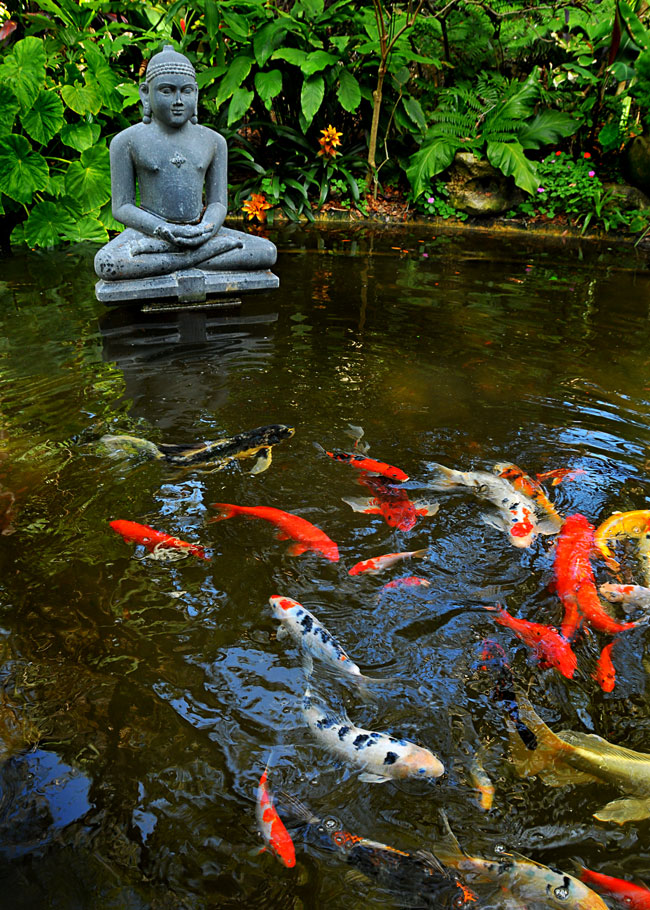
“Japanese gardens are very graphic, with very clean lines and edges; you don't find a lot of flowers but a lot of hedges, a pond and usually a lot of structures, like stone lanterns, even bridges."
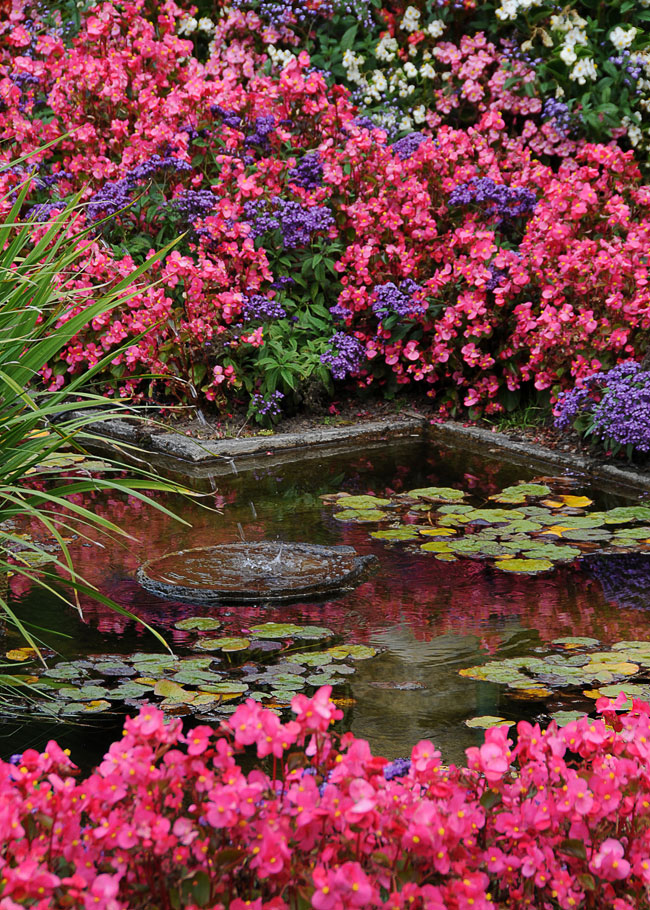
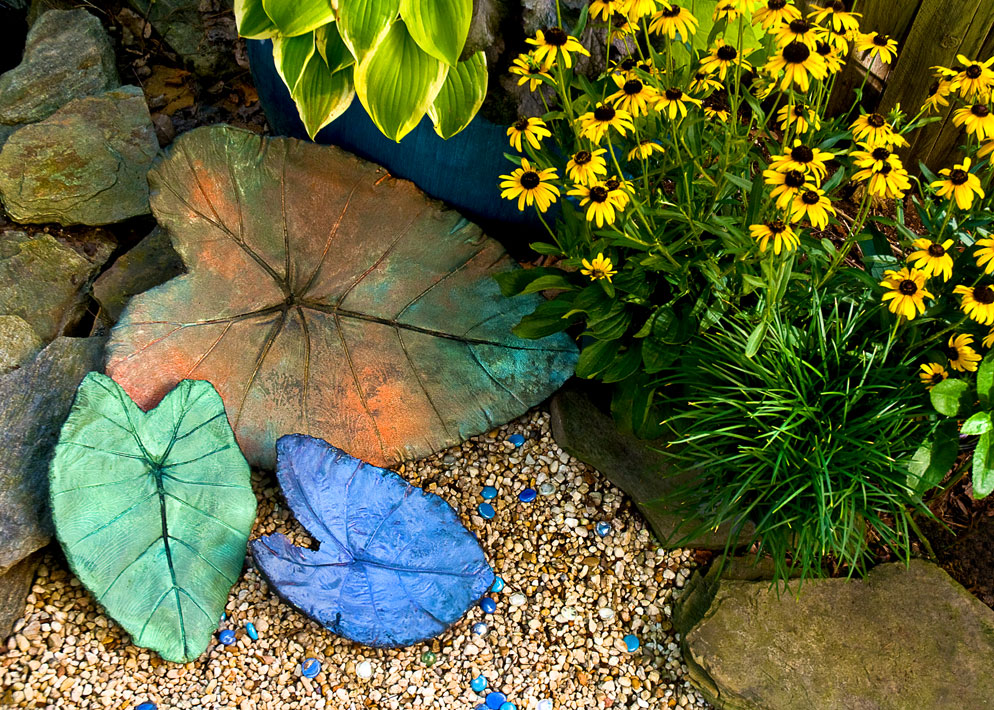
You can, of course, add and photograph your own personal touches. For Cindy, that includes the cast-cement leaves you see in the fourth photo.
What gives your garden its personality is what you choose to plant, place and photograph. Ultimately, garden photography, like gardening, remains a work in progress. "Garden photography is so much about process," Cindy says, "about what you experience as you're doing it. That may be half the reason I love it. You have to slow down and appreciate what you're seeing and experiencing."
5 Tips for Taking Great Photos of your Garden $
-
Shoot establishing shots (wide-angles), zoom in a little (medium shots) and then get close-up or macro photographs.
-
Look for clean lines and strong colors. Make your photographs more graphical by filling the frame with a single color or texture.
-
Don't limit yourself to one format, shoot horizontal and vertical images. Sometimes changing the camera's orientation will get rid of a distracting background or cause you to see a new element you had missed before.
-
Early morning and late afternoon offer the best lighting of the day. Shooting during these times limits the harsh, bright light of the mid-day sun. Overcast skies also provide you with naturally diffused lighting.
-
Remember that a garden is a sum of its parts, so don't just photograph the flowering blooms. Photograph vegetables and trees, handmade objects or structures—the things that give your garden its personality.

