Awesome Skies: Tips and Techniques for Photographing the Northern Lights
You've seen them—if not in person, then on film or in photographs or videos. The northern lights are awesome, and among the most photogenic subjects on...well, actually above...earth.
What causes them? Here's what the website space.com has to say: "The northern lights result when charged particles streaming from the sun collide with molecules high up in Earth's atmosphere, exciting these molecules and causing them to glow."
Space.com is a good place to visit in order to find where and when the northern lights—also known as the Aurora Borealis—will appear. A Google search will turn up numerous other sites, and apps as well.
We recently talked with two photographers who have impressive images of the lights. One shoots single photos, the other often creates composites; both were happy to share ideas and methods.
You've seen them—if not in person, then on film or in photographs or videos. The northern lights are awesome, and among the most photogenic subjects on...well, actually above...earth.
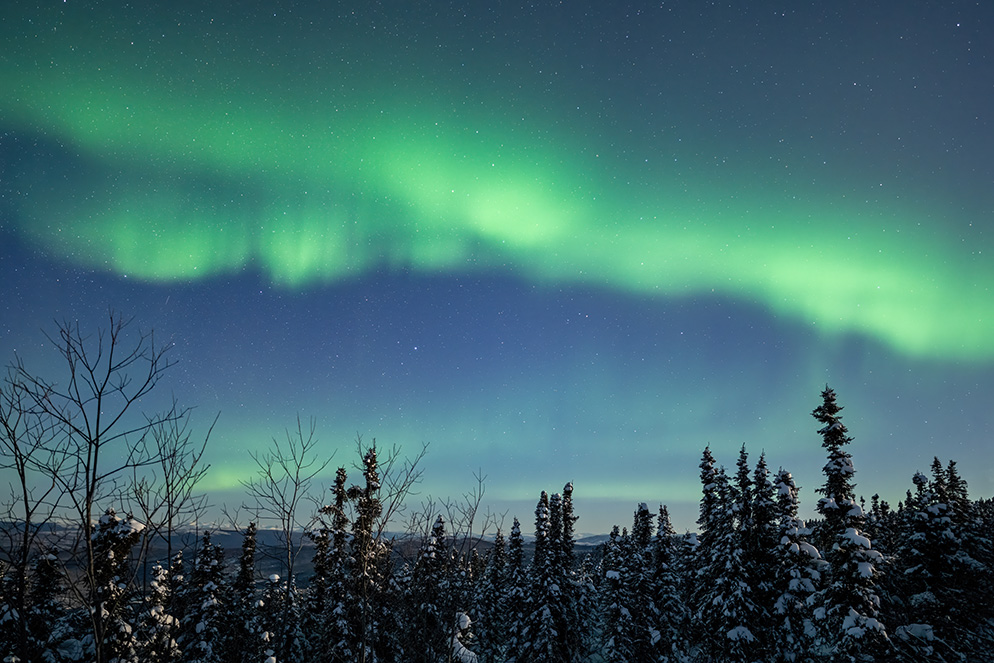
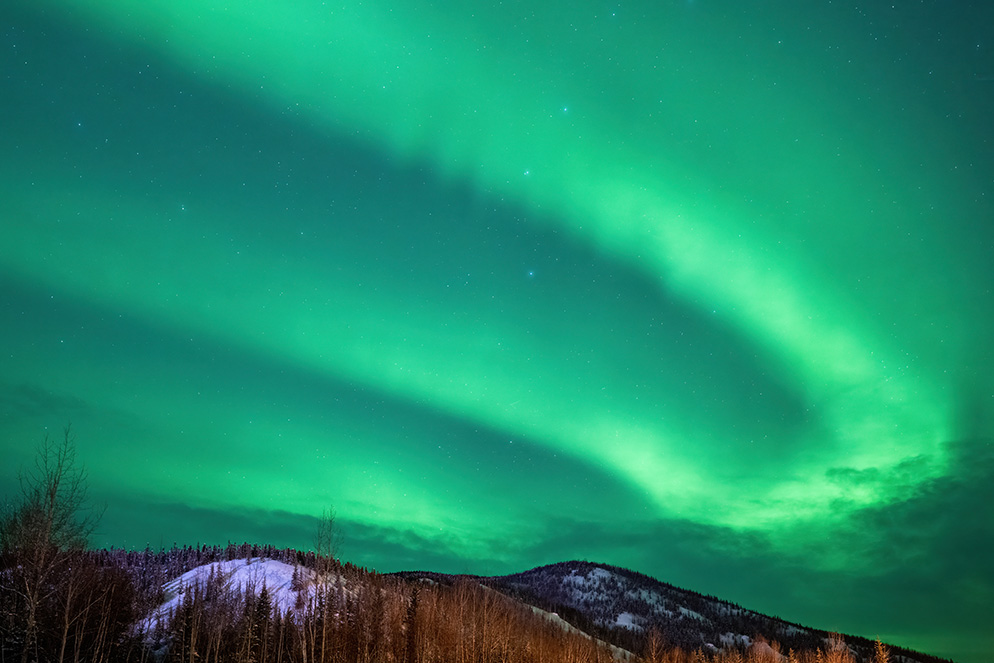
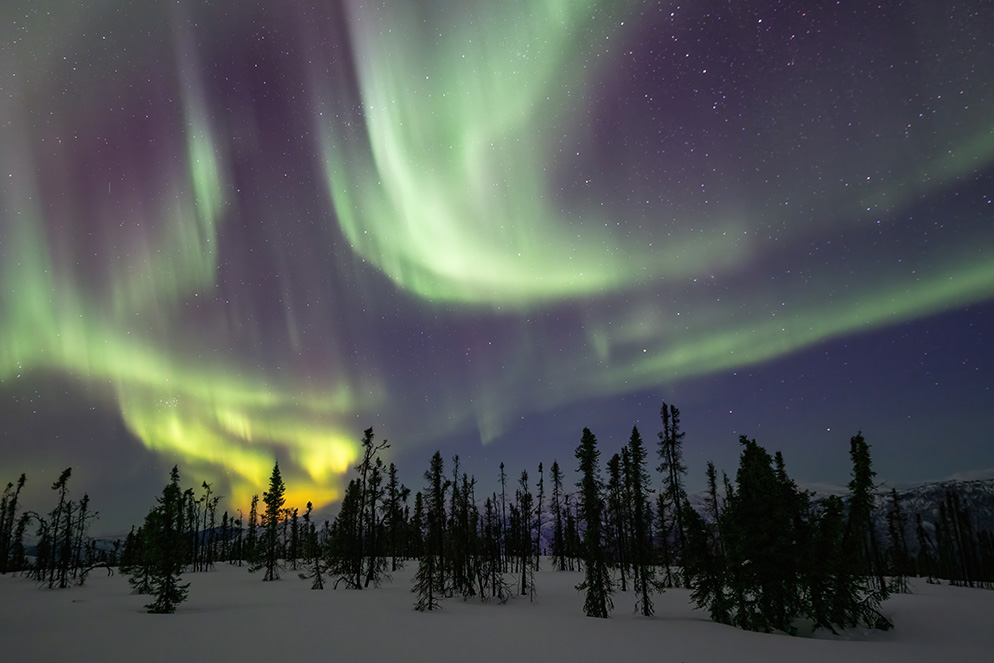
Chena Hot Springs, Alaska. Northern Lights above the trees. Z9, NIKKOR Z 20mm f/1.8 S, 6 seconds, f/1.8, ISO 1600.
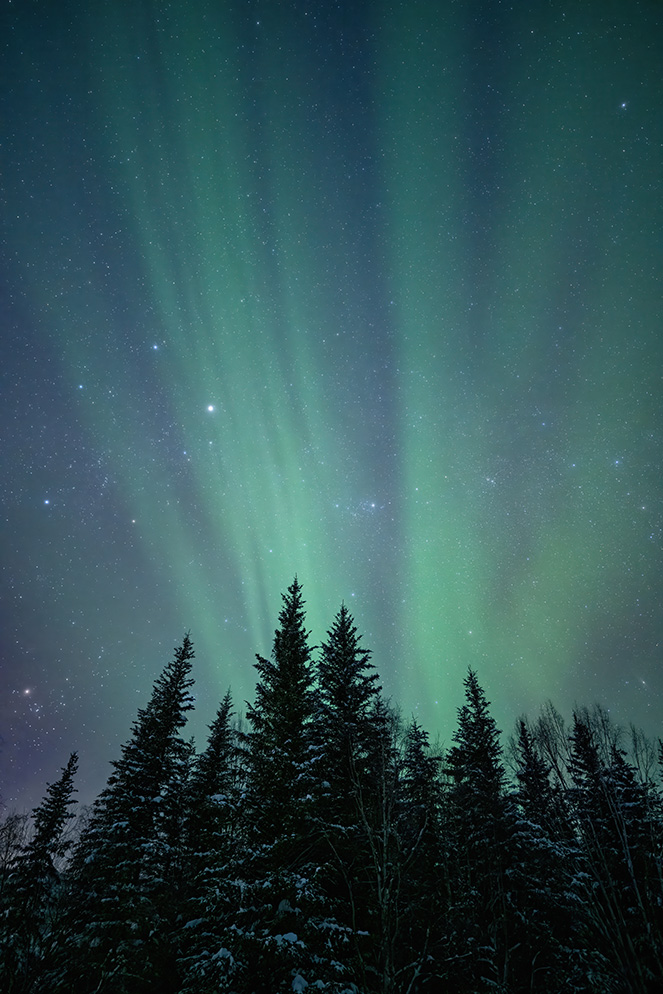
Chena Hot Springs, Alaska. Northern Lights on top of Charlie Dome. Z 9, NIKKOR Z 14-24mm f/2.8 S, 6 seconds, f/2.8, ISO 3200.
Maybe the Moon
The first thing Tom Bol told us to consider about northern lights photography is whether we'll be shooting on a moonlit or a moonless night. "That's going to affect the look of your pictures," he says. A full moon will illuminate the landscape—maybe it'll even be an especially photogenic snowy landscape—and instead of choosing an exposure of, say, 20 seconds, you might choose two or four seconds. So before you set out in pursuit of the lights, do a bit of checking to see what the moon will be doing.
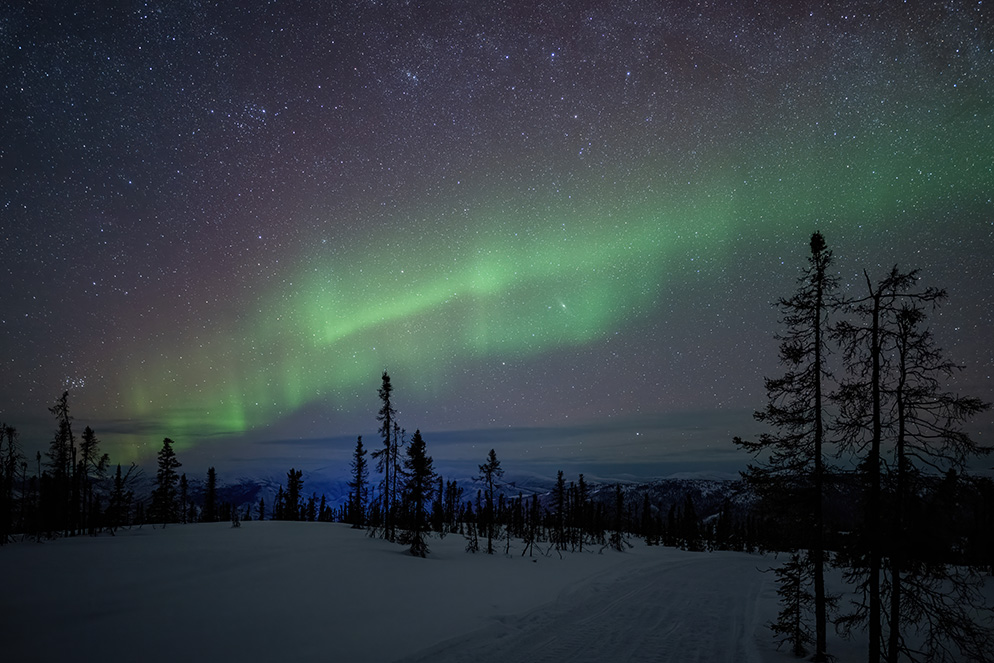
The moon is not always a help. It'll boost illumination of the scene, but that means Aurora displays need to be bright enough to compete with moonlit landscapes. In Tom's accompanying photos, he had light from a partial moon working for him. In any case, a few test shots will tell you how the moon is affecting your exposures.
Then, Tom suggests, go a little further than testing: "I always use my RGB histogram when I photograph the northern lights." That's an important tip because often the Aurora is green, so it's a good idea to watch the green channel to be sure it's not going off the right side of the graph. "it's possible for the image you see on the LCD to look good, but green will still be overexposed." Tom says. The histogram that averages out the color channels may show the exposure as okay, but when you look below that histogram at the three individual channels, you may see the green channel going off the right side—meaning it's overexposed. If that's happening, you should underexpose the image so you don't blow out the green channel. "I close down a little bit [on the f/stop] or just speed up my shutter speed." So it's always a good idea to check the RGB histogram. (You can set your camera's playback menu under display options to choose the RGB histogram; consult your manual for details.)
You're going to be shooting with your camera on a tripod for the long exposures needed to capture the full effect of the lights, and it's best to use a cable release to trip the shutter—Tom's is the MC-30 remote trigger release for his Z 9.
He strongly recommends a fast, wide-angle lens—f/1.8 or f/2.8—for the northern lights—"to get a lot of sky in the picture and for shooting wide open to let in the most light." His go to lenses for northern lights photos are the NIKKOR Z 20mm f/1.8 S and the NIKKOR Z 14-24mm f/2.8 S.
In the Dark
The next thing to consider is focus. Most people will turn off autofocus, turn their lens barrels to the infinity symbol and shoot. You can do that, it's an okay method, but we suggest you check the LCD after you’ve done it to see if you've achieved satisfactory focus—and adjust if you haven't.
Tom, who has led workshops and photo treks to northern lights locations, has a better idea if circumstances permit. "We go out during the day to the area we're going to shoot from that night, and we use AF to focus on a distant point—a mountain, a tree line, a structure, the horizon line. When that point is totally sharp, we turn off AF and use gaffer tape to lock down the lens focus ring so it can't move. When we return at night, if we stand anywhere near our daytime focus spot, we'll be okay. Even shooting wide open, we're still going to have the depth to keep us sharp to the focus point we chose."
In effect, Tom and his workshop students are establishing a focus point for their lenses and the environment. "That's our starting point," he says, "and we'll check the results as soon as we can and do a little fine tuning if necessary."
Light in Motion
The Aurora is not a flash of light, it's an ongoing display, and it goes on for a long time. Some of the displays Tom photographed in Alaska lasted for about four hours. Most of the time he shoots at shutter speeds of two seconds up to 30 seconds to capture the flow of the light.
"The Aurora looks different depending on your shutter speed," he says. "Shoot a 30-second shot as the Aurora moves around the sky and you're going to have less-sharp edges and not as defined shapes to the displays as you'd get with four- or eight-second exposures." (Keep in mind that with exposures longer than 30 seconds, the earth's rotation may result in star trails in your images.)
"Sometimes you'll see a faint display and shoot, say, a 20-second shot," Tom says, "and what appeared to you as fairly faint renders near-saturated because the color built up over 20 seconds. Remember, the eye sees in real time; the sensor captures over time."
Despite reliable techniques and procedures, variations in the intensity of the Aurora, its movement and the effect of the moon means there will be surprises, and if you're getting the idea that photographing the northern lights isn't science, you're right. It's opportunity, challenge and art. Or as Tom puts it, "You'll hit, you'll miss, but you'll get a light show to shoot at."
A Different View
What Adam Woodworth is looking for is control over his northern lights images. "I often create the final image from multiple exposures in order to get the entire scene in focus and well-exposed from the foreground to the sky," Adam tells us.
Essentially Adam's technique is a response to the natural conditions of Aurora photography. "If it's really dark out, and you want an exposure for the sky that doesn't blow out, then the foreground might be very dark," he says. And if that foreground will add interest or drama, or if it's just a cool setting for the northern lights, he'll go the composite route, using Adobe Photoshop Layers to create final images that replicate what he saw when he took the pictures.
Like Tom, Adam's lens of choice for most of his Aurora photography is the AF-S NIKKOR 14-24mm f/2.8G ED, and he, too, often uses it wide open to let in as much light as possible. "But if there's anything close to the lens—within a few feet up to maybe 10 feet—it's likely to be out of focus, so I'll take two shots: one focused for the sky, the other for the foreground." And he might take more than two exposures if there's something in the middle distance that calls for its own exposure to clearly render detail.
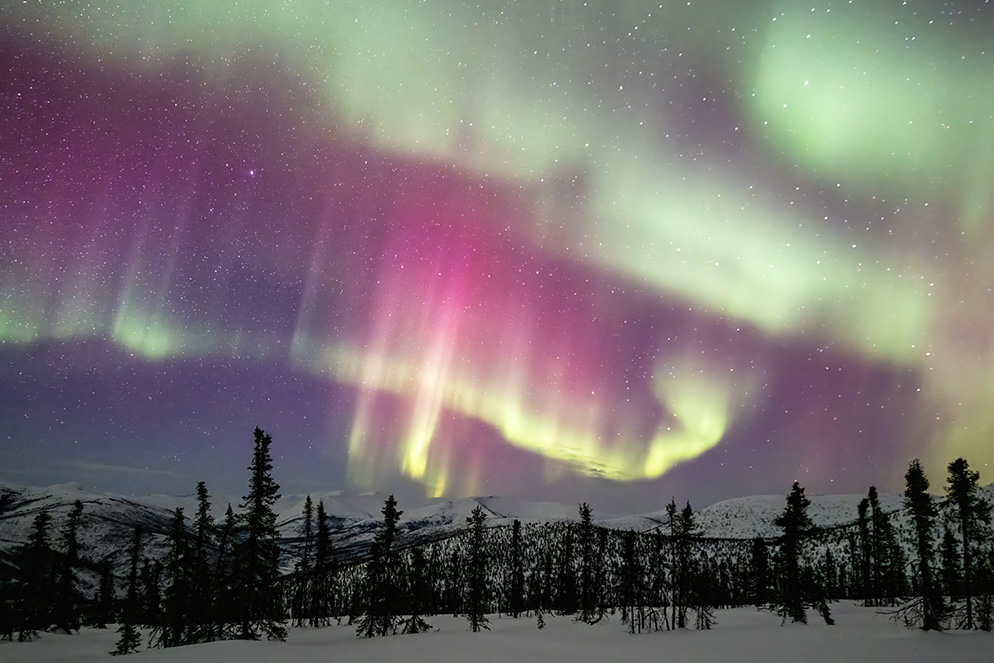
Chena Hot Springs, Alaska. Northern Lights on top of Charlie Dome. Z 9, NIKKOR Z 14-24mm f/2.8 S, 5 seconds, f/2.8, ISO 2000.
Image Control
For exposures of 30 seconds or shorter, Adam will set the camera's shutter speed and trip the shutter with a cable release. For longer exposures, he uses an intervalometer that has a programmable timer. He will also often use the camera's exposure delay mode so the camera steadies for a couple of seconds before taking the image.
When Adam combines images, most of the effort goes into blending and feathering edges "to make everything seem smooth and of one piece. And I'll change the opacity of the masking to make the transitions look natural. There are a lot of technical details involved in the composites to make them look good."
The work is well worth the effort, as he's out to create something different, something beyond what's ordinarily seen in Aurora photos. It can be more drama, more detail, a greater sense of reality, or simply greater graphic impact.
Or all of the above.
5 Tips for Capturing the Best Northern Lights Photos
-
The moon's presence or absence will affect the look of your Aurora photos. To know its location and phase, you can Google "best apps for moon locations" or check out an app like Star Walk or PhotoPills.
-
Don't overlook the foreground in your pursuit of the lights. Shapes, shadows and contrast add drama and appeal.
-
Regardless of your level of interest in northern light photography, a wide-angle lens, a tripod and a cable release are essential.
-
Really serious? Think intervalometer.
-
The Aurora isn't a flash of light, it's an ongoing display, so plan on spending some time. It's also unpredictable, so have patience.

