Underwater Photography
Tips for Getting Started
Underwater photography? Sure, you've thought about it...who hasn't? A whole new world to capture; fascinating creatures in exotic locations; adventures in paradise. Okay, we're getting carried away, but the attractions are obvious and the potential for incredible images is practically unlimited.
It is, of course, photography that requires specialized training and equipment, including SCUBA diving experience and gear, waterproof camera housings and underwater flash.
Or you could just get a COOLPIX W300 and shoot stills and 4K UHD movie clips in your backyard pool or while snorkeling in the Bahamas or diving down to 100-feet in the ocean of your choice. The W300 is by far the easy way to test the waters.
But if you've set your sites on the wider, and deeper, world of underwater photography, there's some serious business to consider.
First and foremost, you've got to be an experienced diver; there's no way around it. "Competent, relaxed, with at least a hundred dives to your credit and open water qualifications," is how David Doubilet, whose images accompany this story, and who is one of the world's renowned underwater photographers, puts it. The thing is, those qualifications aren't out of reach. Here's a quick story:
About 20 years ago, John Conn, an indomitable and intrepid photographer of our acquaintance, wanted to add underwater photography to his list professional pursuits. Problem was, he didn't know the first thing about diving. In fact, he didn't know how to swim. But on vacation in Cancun, he rented a Nikonos underwater camera and went into the water with fins, snorkel and a life jacket—and the magic happened. "I'm snapping away at fish, a barracuda—I even see a turtle go by," John says. "I was amazed and fascinated. But when I came out of the water, I felt like a jerk in that life jacket, so I decided to do something about it."
And so he learned to swim, learned to dive and learned to shoot underwater. Search out his website and you'll see examples of his underwater images. The point of the story is obvious: you can do it, too.
But you have to keep in mind what's most important about underwater photography, and that's safety. Both John Conn and David Doubilet will tell you that when you go into the water your first goal is to come out; photography, exploration, adventure, the pure joy of the experience—all are second to safety. "You're in an environment that demands caution," David says. "You have to be situationally aware."
Underwater photography? Sure, you've thought about it...who hasn't? A whole new world to capture; fascinating creatures in exotic locations; adventures in paradise. Okay, we're getting carried away, but the attractions are obvious and the potential for incredible images is practically unlimited.
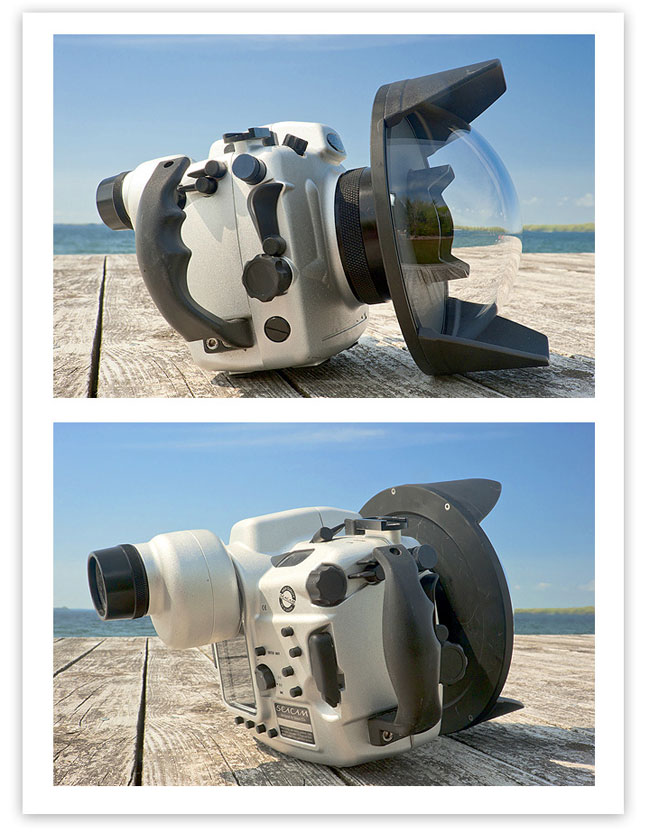
Shown here is a Nikon D3S DSLR in a Seacam housing. The top image shows the lens, the bottom image shows the LCD and viewfinder. Using the external knobs and buttons, the photographer has control of the camera inside the housing.
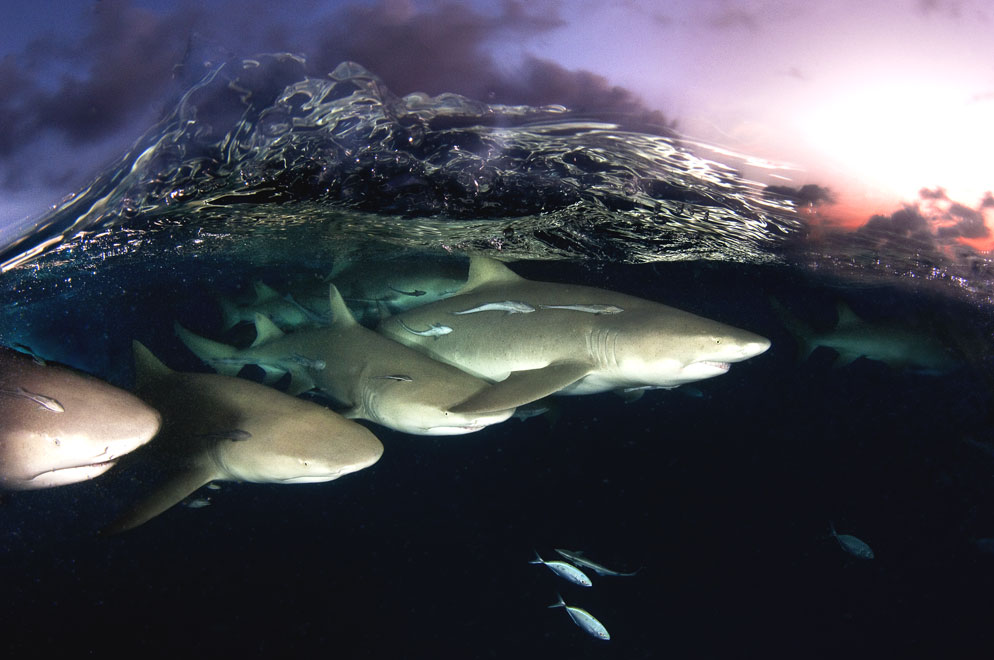
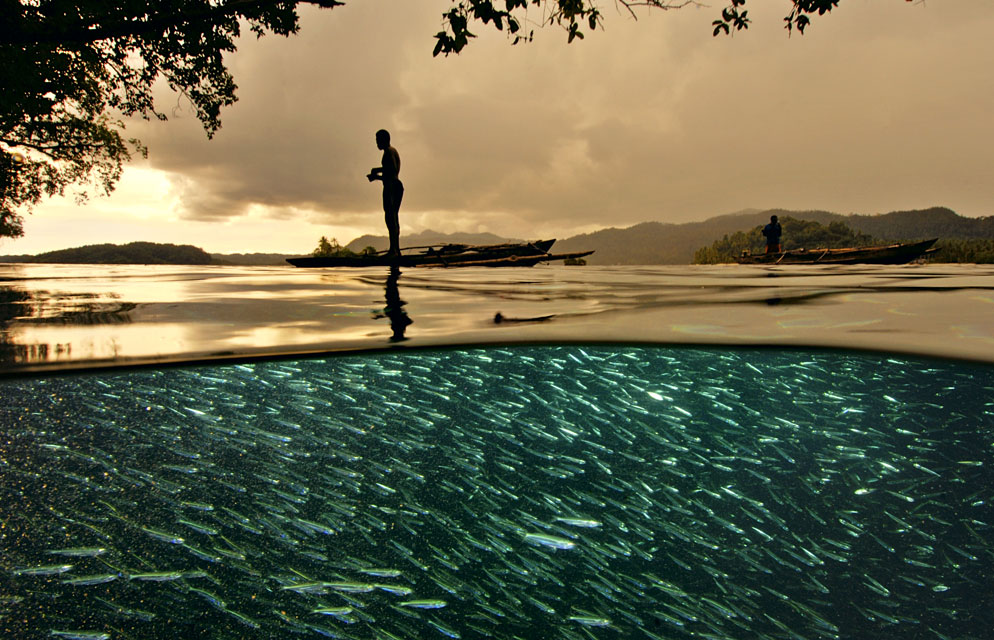
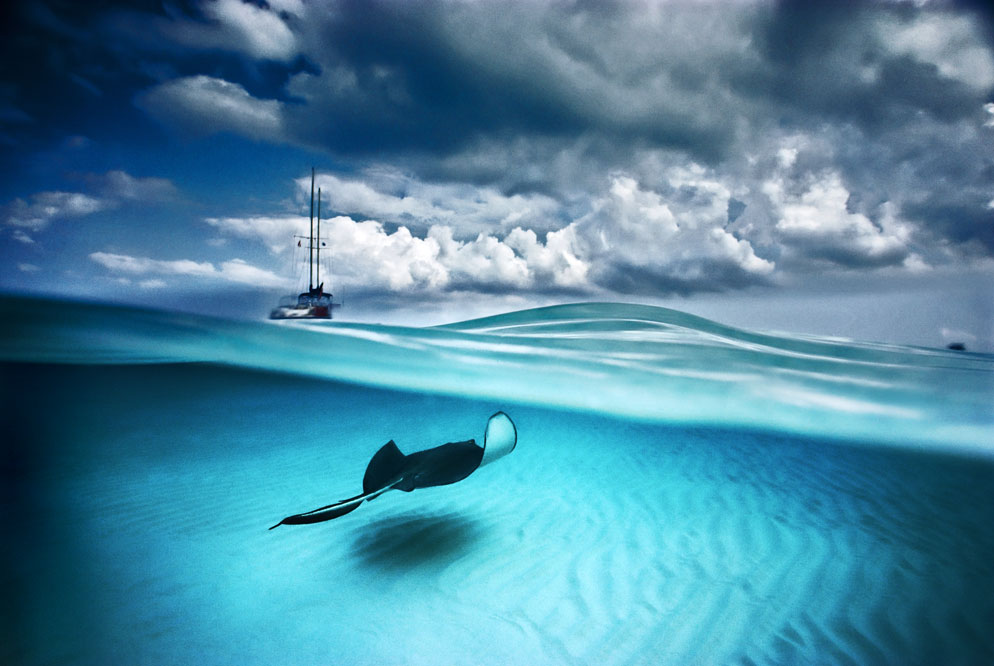
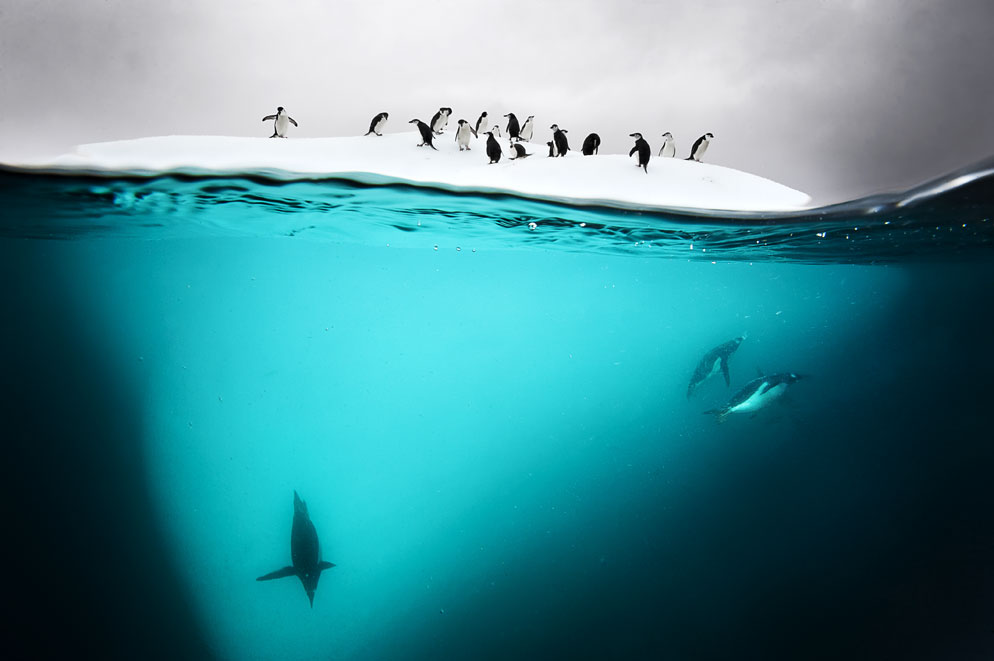
A technique David uses from time to time [in the above photos] is the split field image, in which you see above and below the water line. "There are no shortcuts to this technique," he says. "You need to use a DSLR [or mirrorless camera] and a super wide-angle or fisheye lens and a sophisticated housing that has a dome, not a flat port. Underwater images are magnified by 25 percent, and the dome will correct for that."
The technique requires a small f/stop—"f/16 or smaller," David says—for great depth of field, plus a lens capable of close-focus; "you always focus on the subject below the water line."
You also have to balance the light. "I look for a light bottom—white sand is best—or a light underwater subject. I'll put the strobes down below and light the bottom and then expose for the top. If you shoot at, say, ISO 400, you'll have plenty of exposure for the top, and the strobes will take care of the bottom. Of course, you need subjects that suit the technique."
And with all of David's experience, it's a technique that's always a bit of trial and error. "You shoot a lot, you get a little," he says.
Tweaking Images in Post Production
David suggests that most if not all underwater images will need post production attention. "Generally with an underwater photo you'll end up with an unsaturated image that needs to be worked on. Every digital shot that I use has been worked on in post. The biggest fight in an underwater image is the fight for contrast and saturation; even when you're lighting things up with strobe, the photo will lack saturation and contrast, and you have to restore those in post production."
David also suggests that the best way to learn to shoot underwater images is to start by setting your camera to shoot black-and-white. "Color won't be an issue, and you'll be able to shoot at decent depths to perfect what you're doing and learn how light works in the sea."
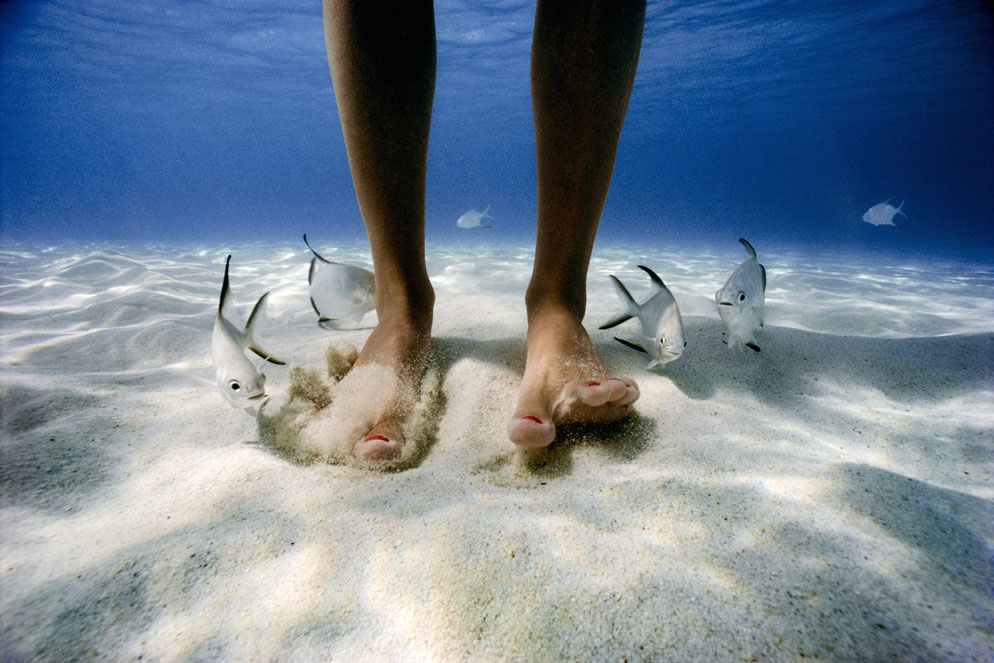
Best places to start? "The tropics are good," David says. "There's clear water everywhere." The best bet for beginners is to take a diving course, learn in swimming pools and then head for a resort in the Caribbean. Photographing while snorkeling is always a good way to begin. "Snorkeling pictures are like family snapshots," David says. "I'd suggest Sting Ray City in the Cayman Islands. It's a great opportunity—there's shallow water and white sand that gives you brilliant colors; go wide-angle on the zoom.
"When you get serious about it, you have to put on air tanks and SCUBA gear. Check with diving organizations or start with a local dive shop, if your location has one. You need to build up experience and education."
Underwater photography isn't photography made easy. It takes dedication and effort, but the results are amazing...and so is the world you'll explore.
If you've read this far, you've taken the first steps.
Underwater Photography Tips $
-
Safety should be your #1 concern. Don’t swim, snorkel or SCUBA dive beyond your abilities or in dangerous areas.
-
Wide-angle is the way to go. Water is a thick medium to shoot through. If you’re shooting through a lot of water—using a telephoto lens—you’ll lose contrast and color. By using a wide-angle lens, near the surface, you’ll have more colorful photographs.
-
Digital photography gives you the ability to check your exposure on the camera’s LCD which is useful because exposures will differ underwater than they do on land. If your camera has an exposure bracketing feature, you may want to enable it so you don’t have to worry about changing exposures while shooting.
-
When taking underwater photographs with the Nikon COOLPIX W300 or similar waterproof camera, use the Underwater Scene Mode which will boost the contrast and color saturation while deactivating the flash. You don’t want to use flash on-camera underwater because it will light up the miniscule floating particles in the water that are between your camera’s lens and your subject. This is called Backscatter. If you’re shooting with a DSLR or mirrorless camera inside an underwater housing then you can use underwater strobes which are placed on arms that are off to the side of the camera, so you only illuminate your subject, not the Backscatter.
-
Because photographing underwater means you will often lose contrast and/or color, you will likely be boosting the contrast and/or color saturation in post-production on the computer.

